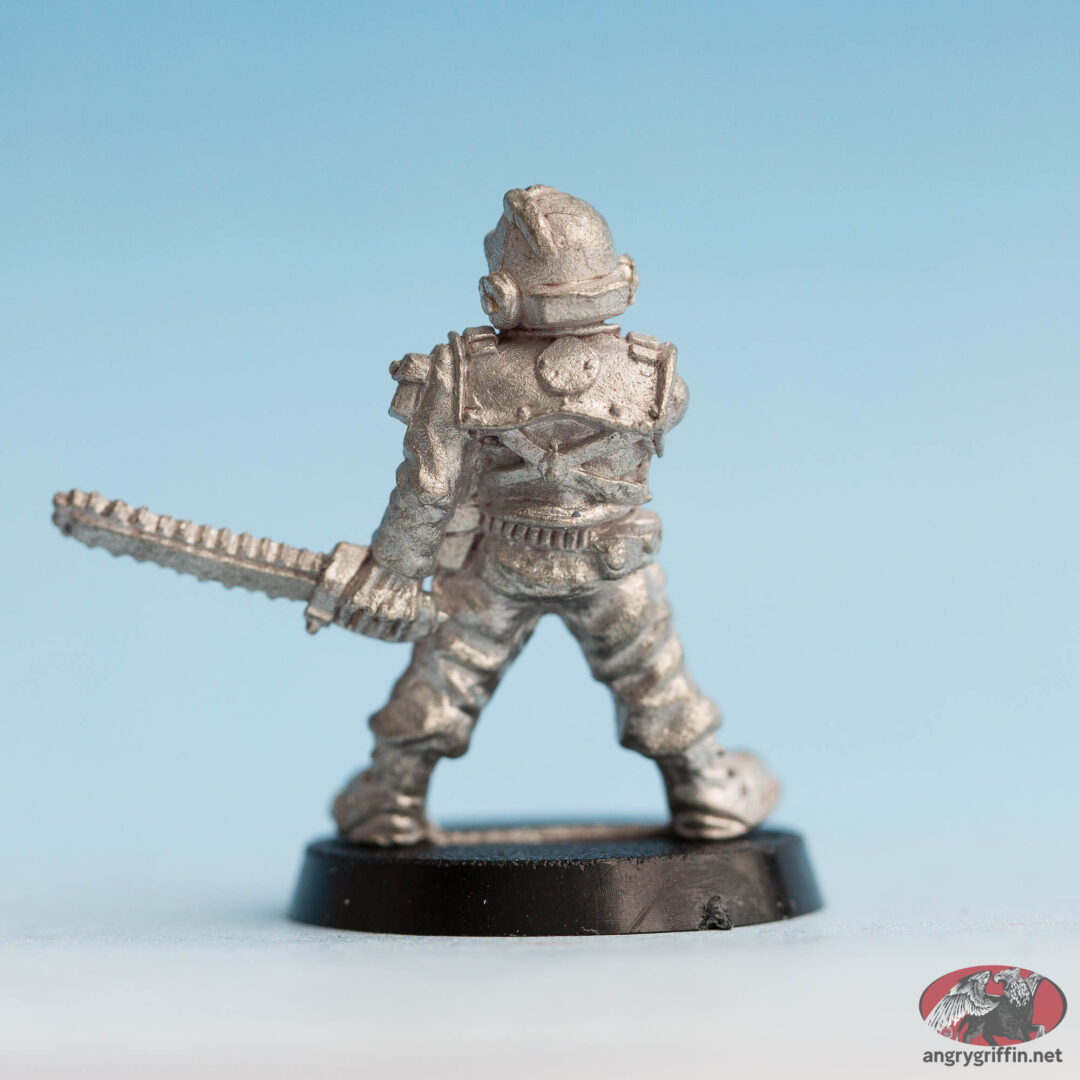
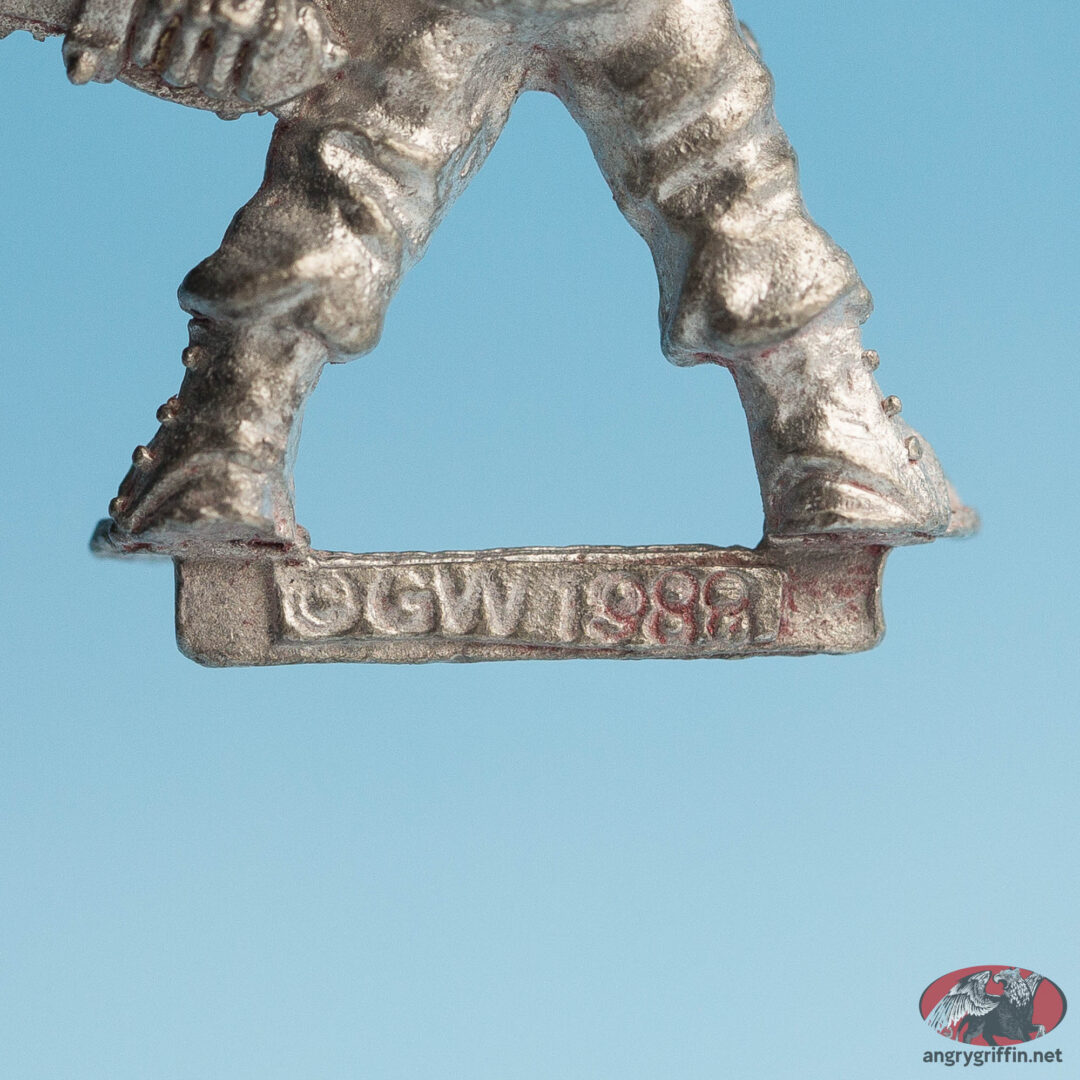
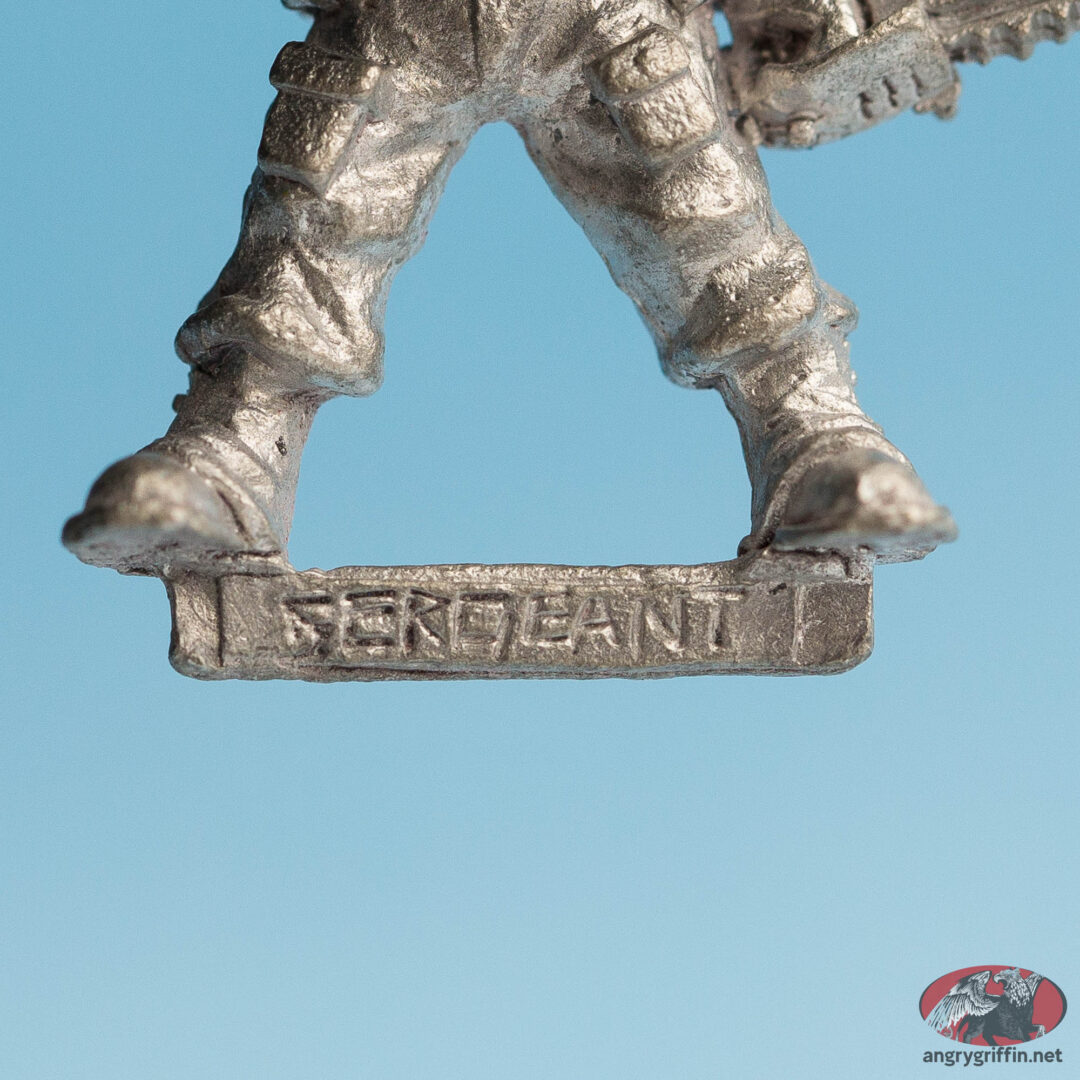
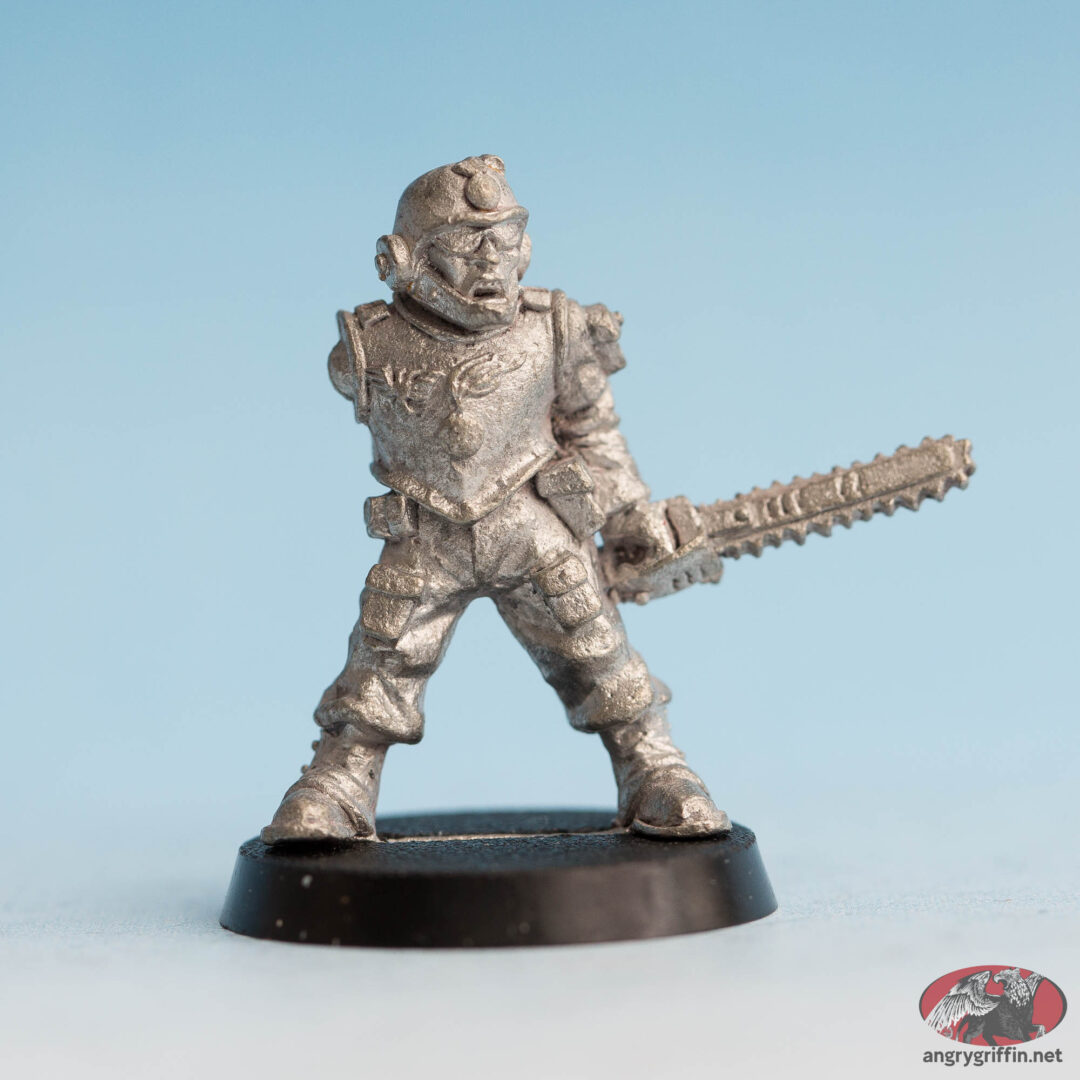
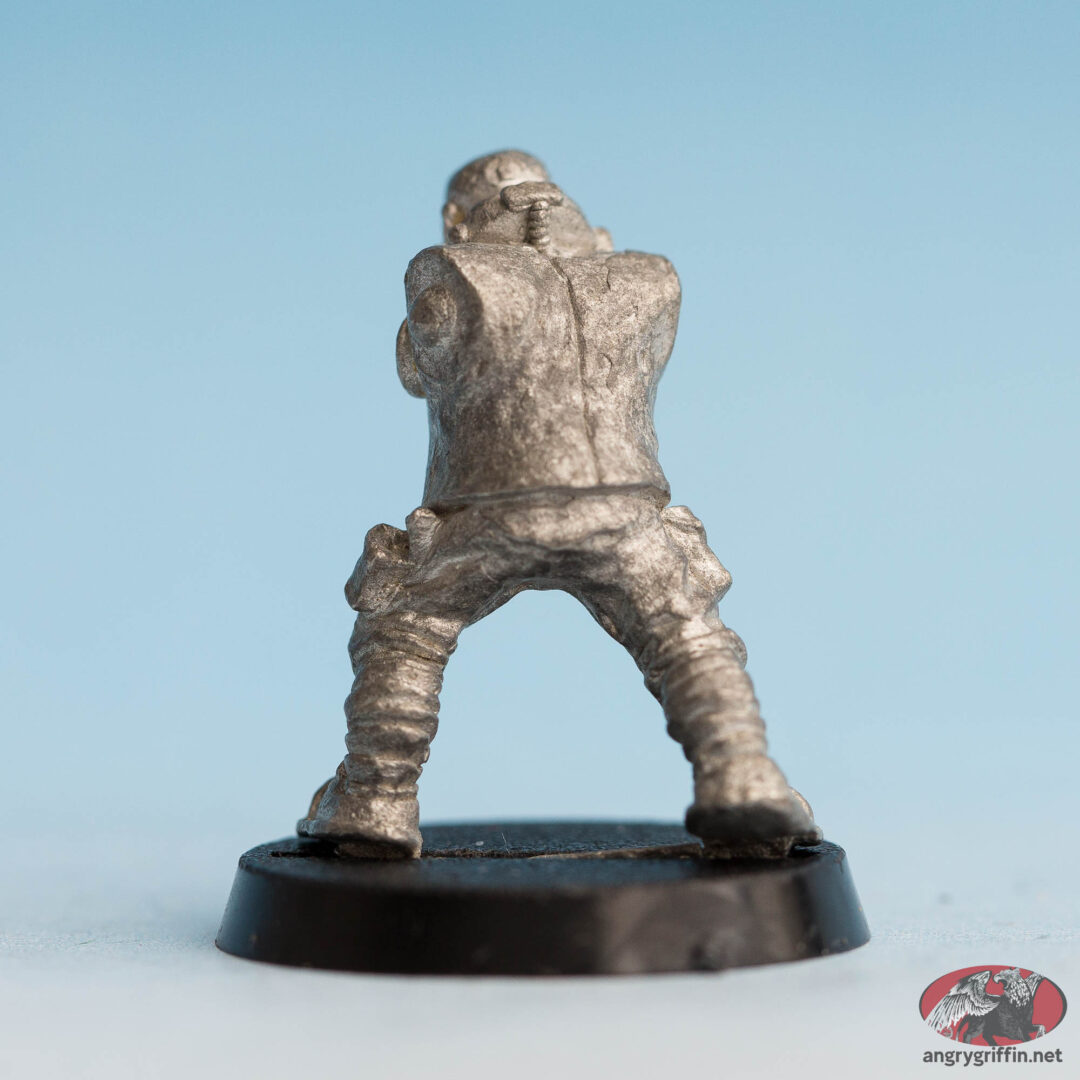
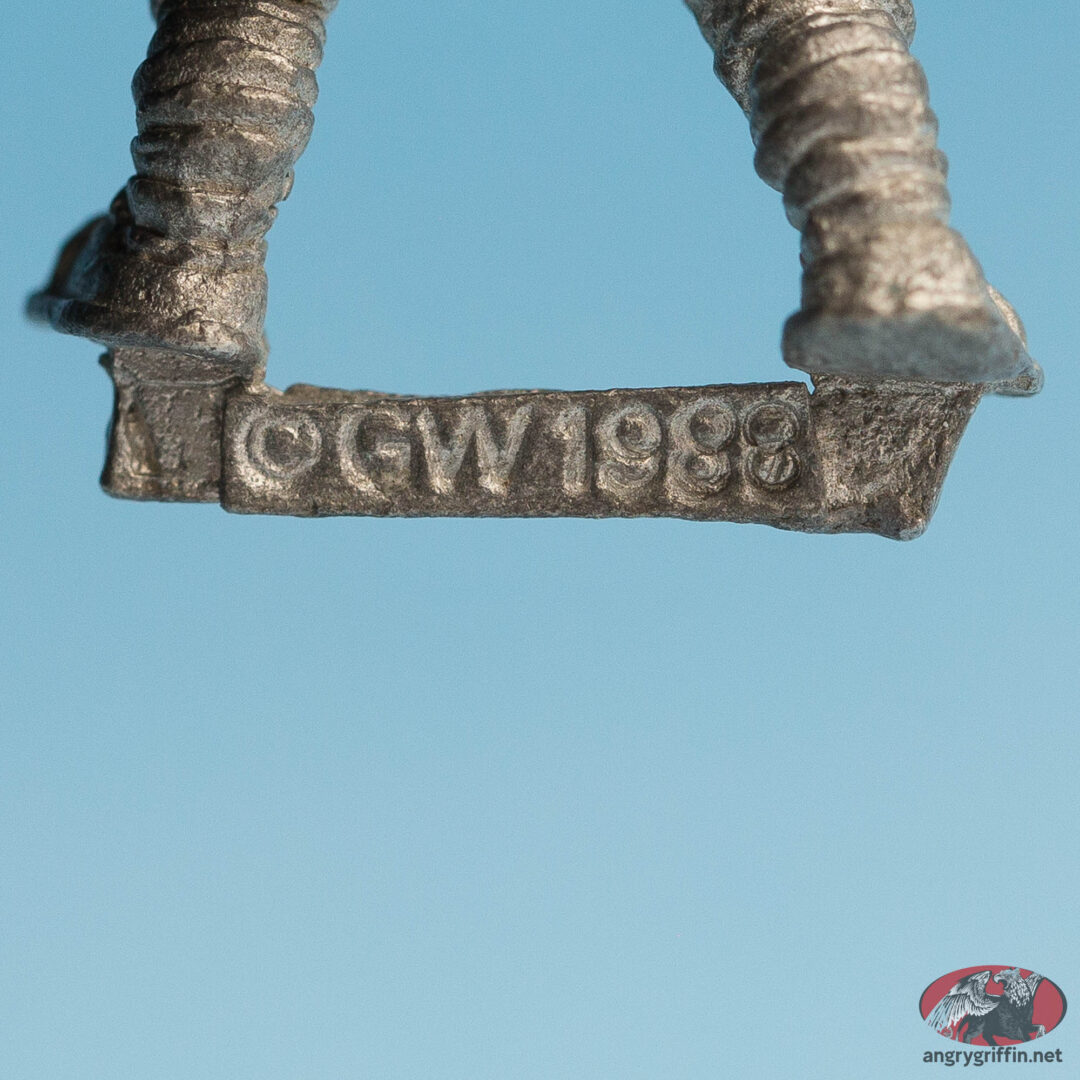
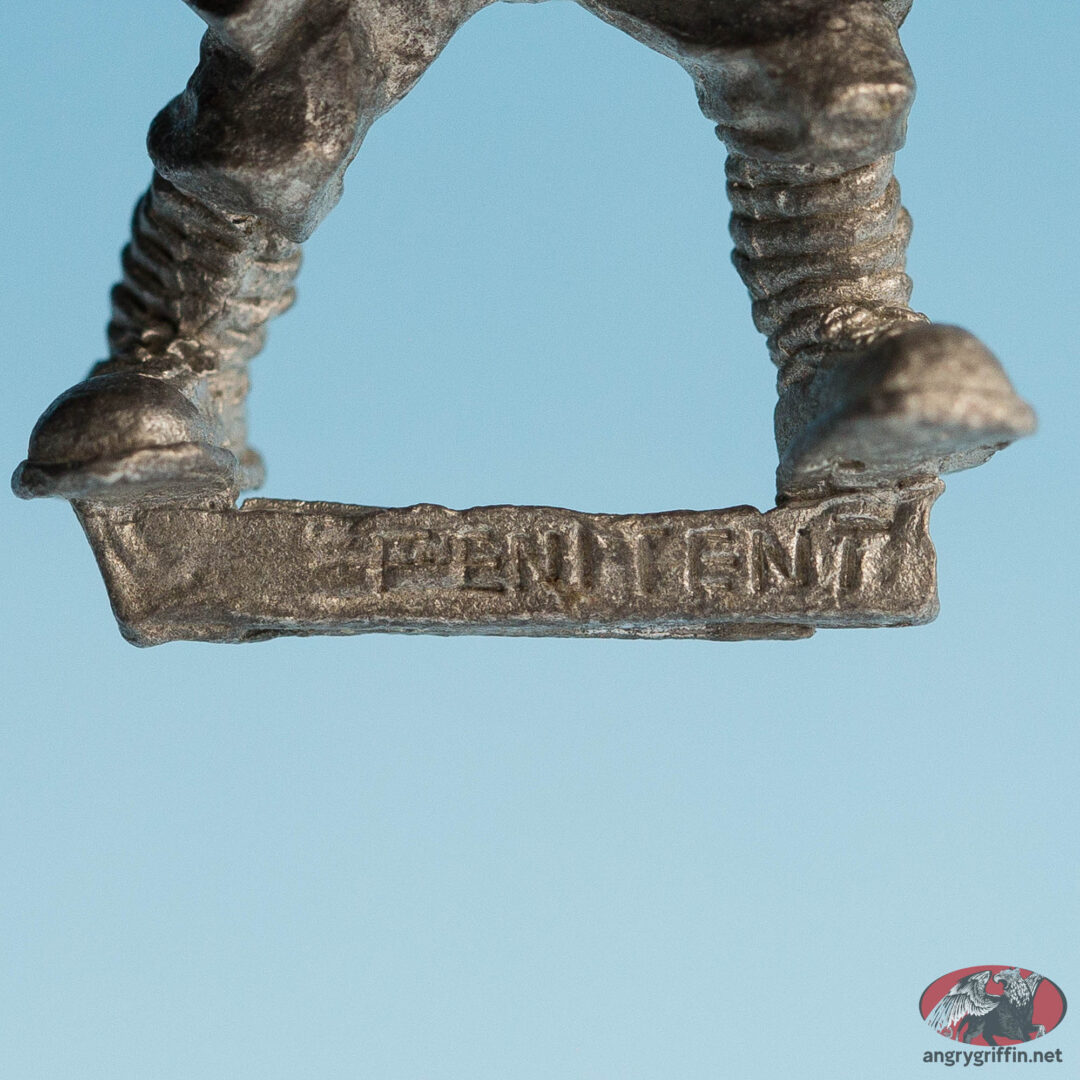
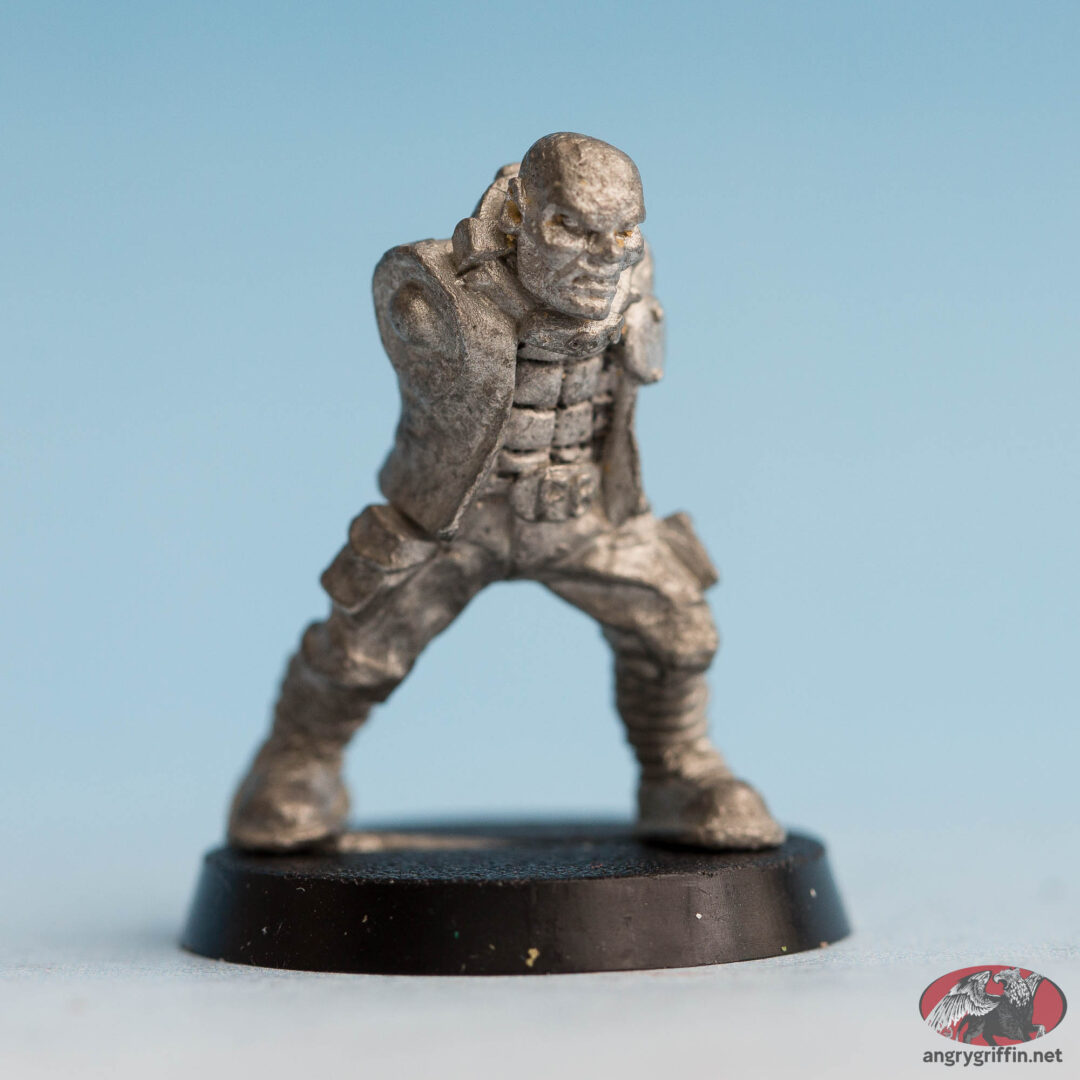
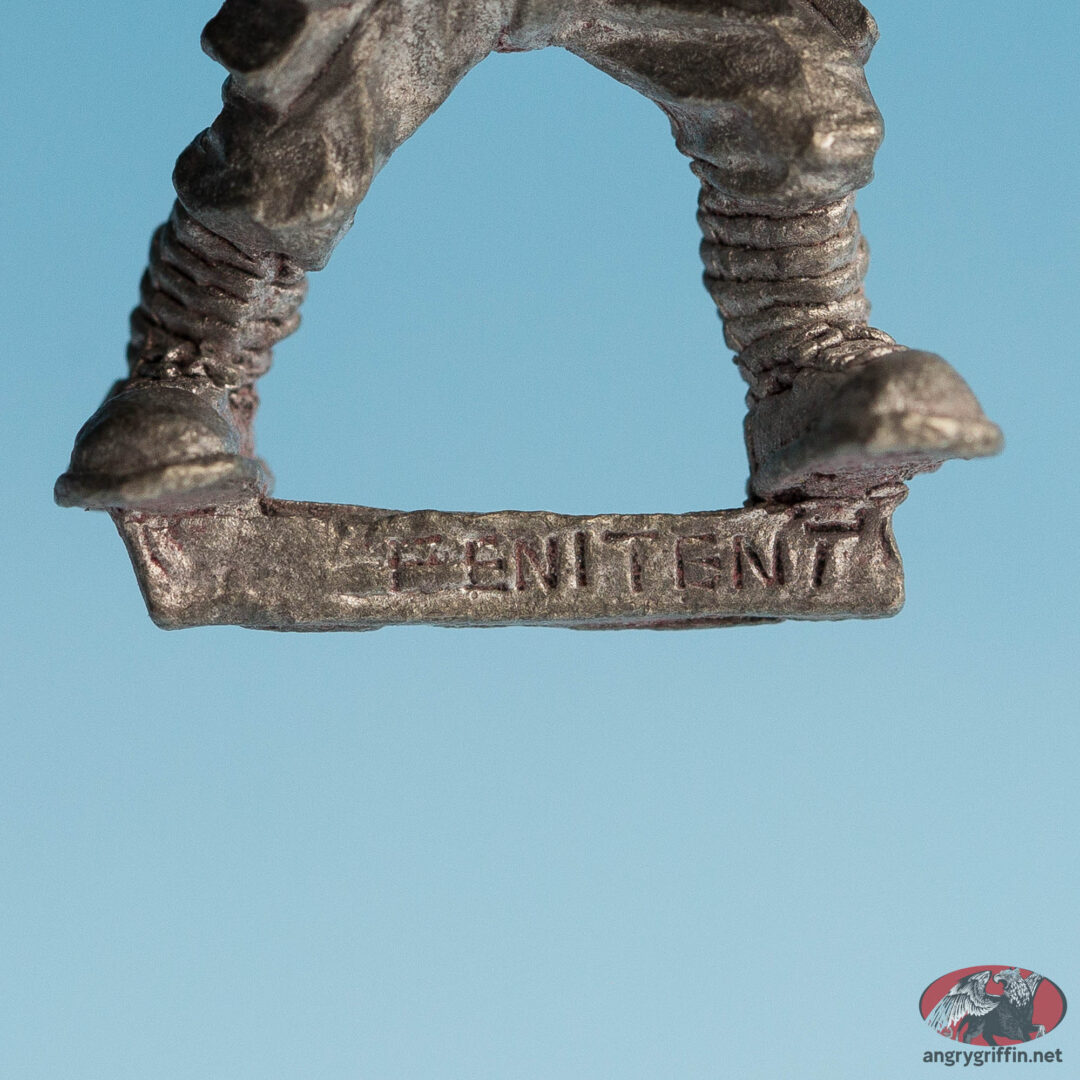
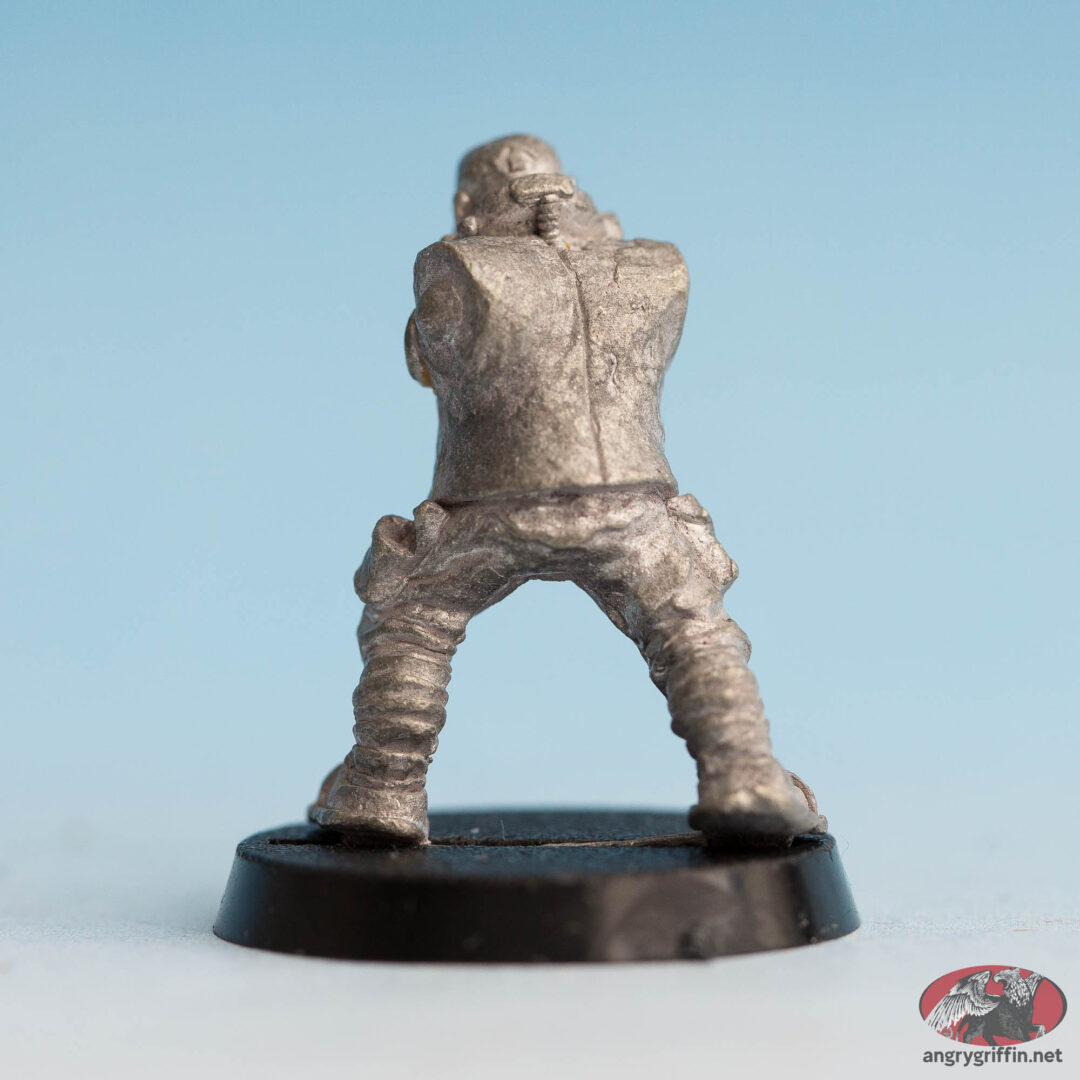
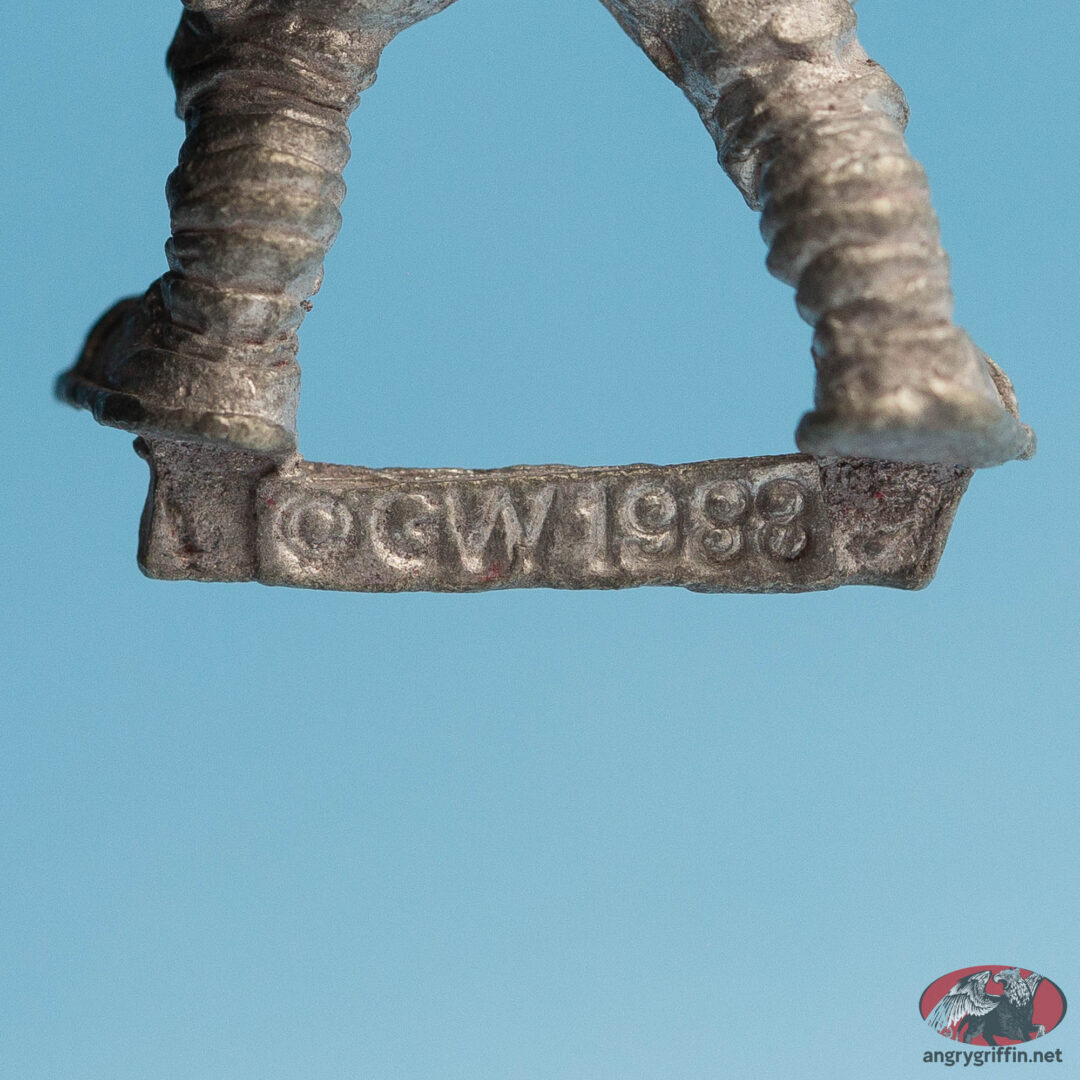
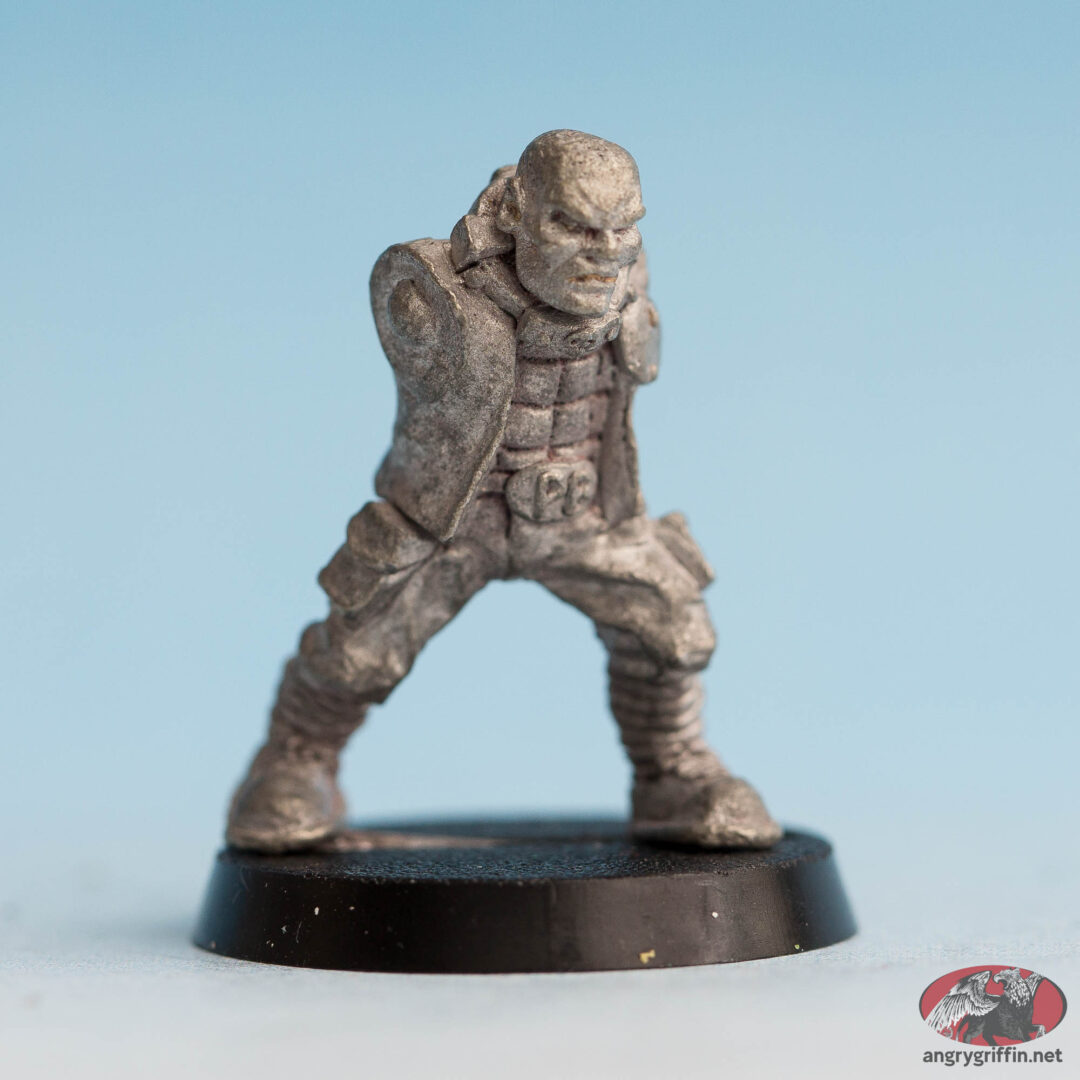
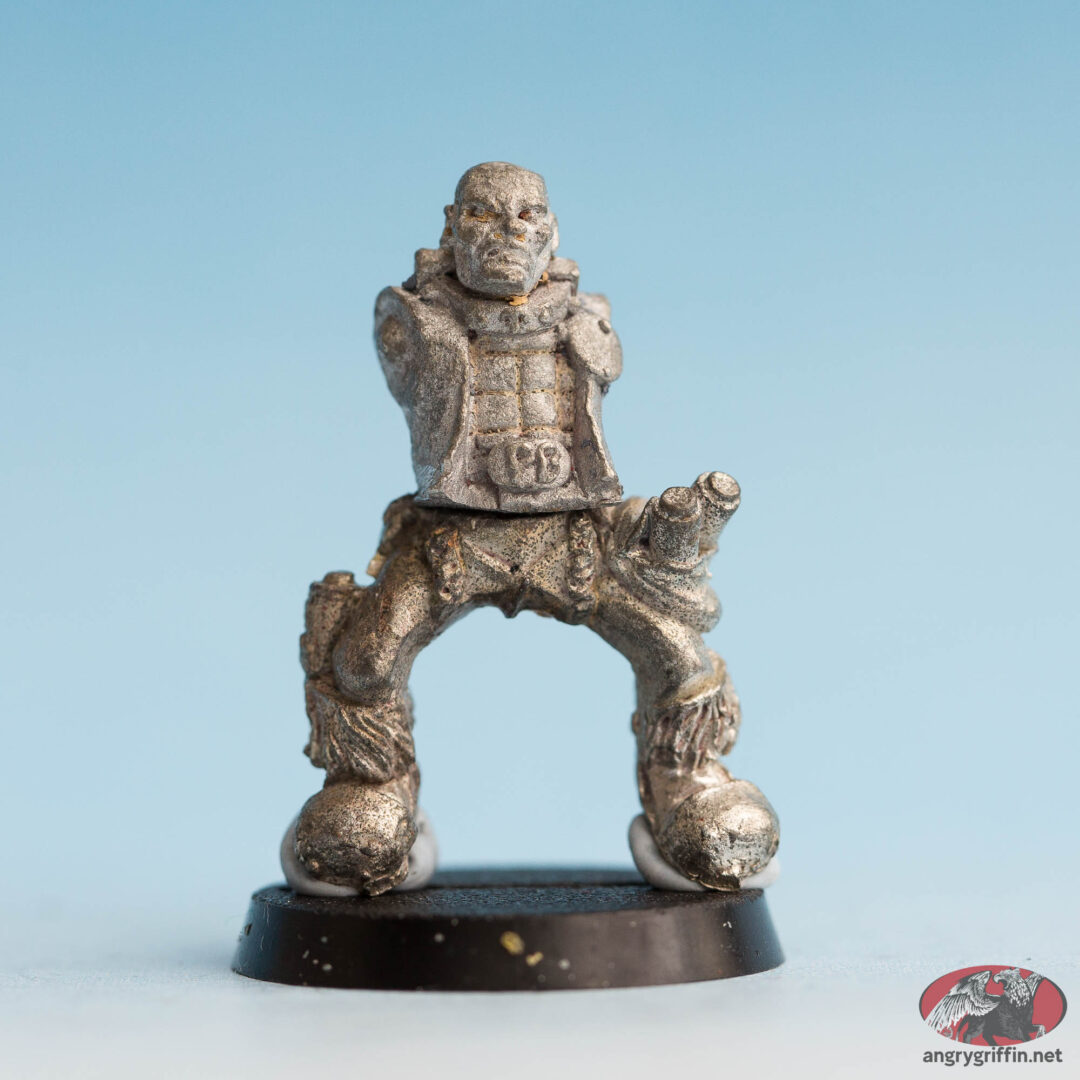
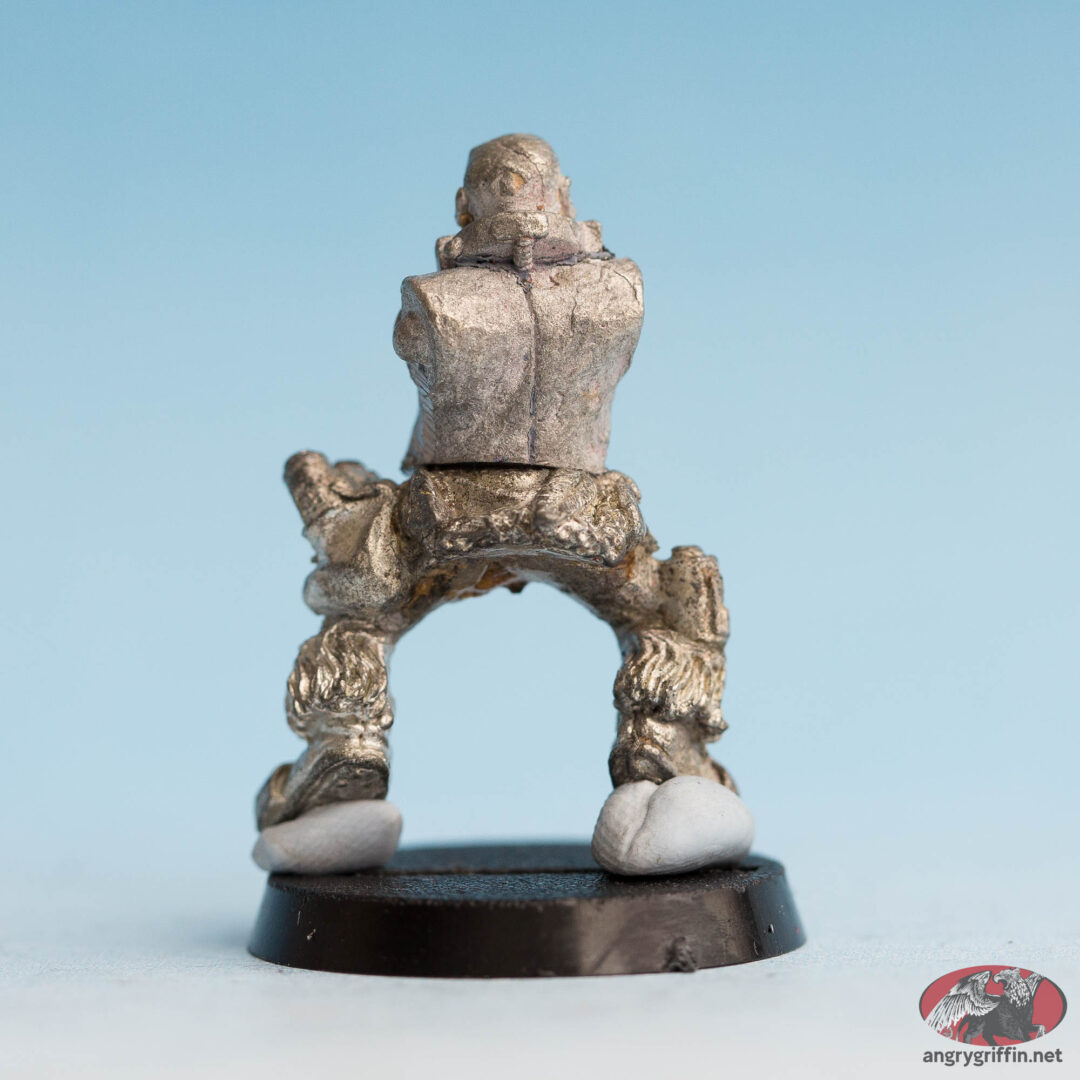
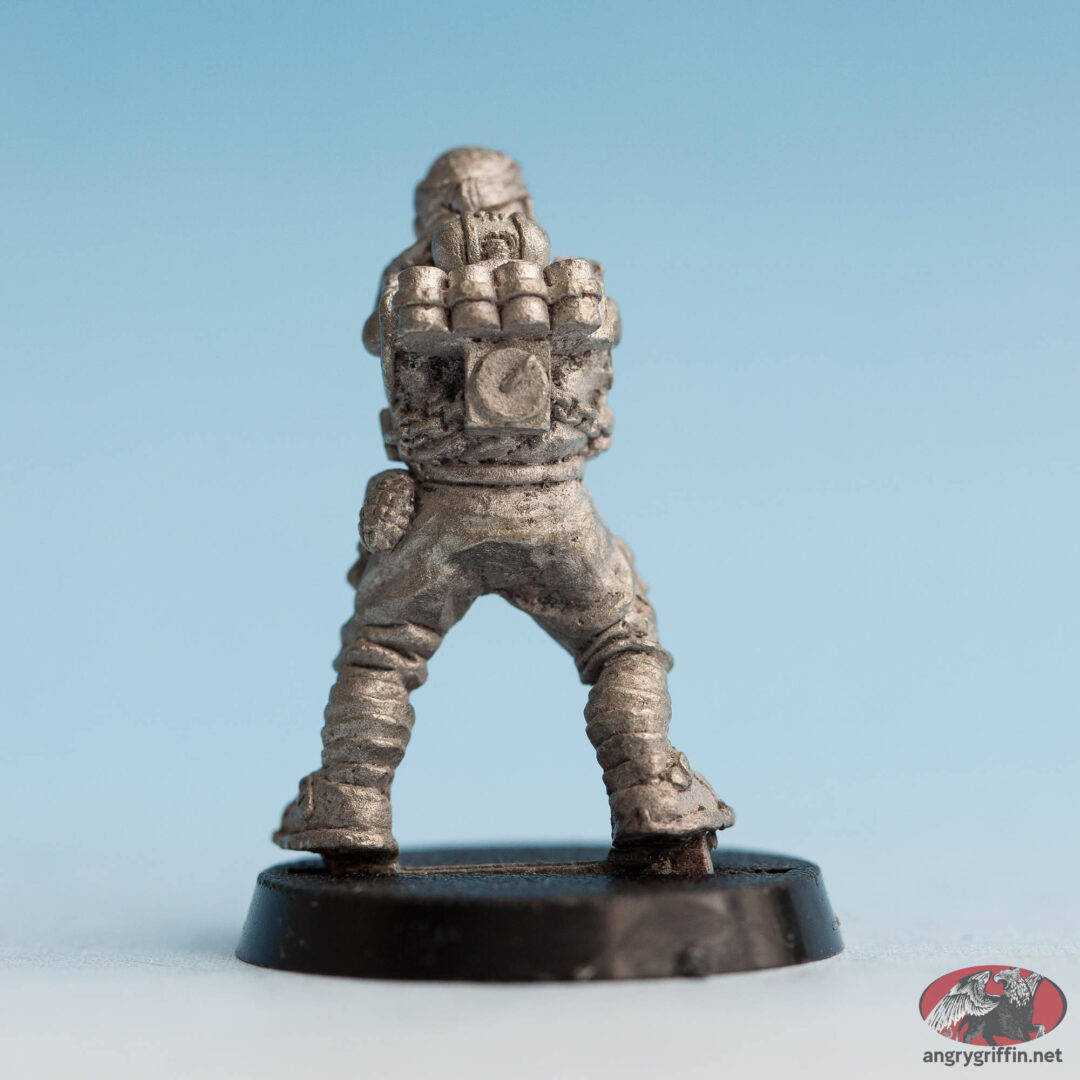
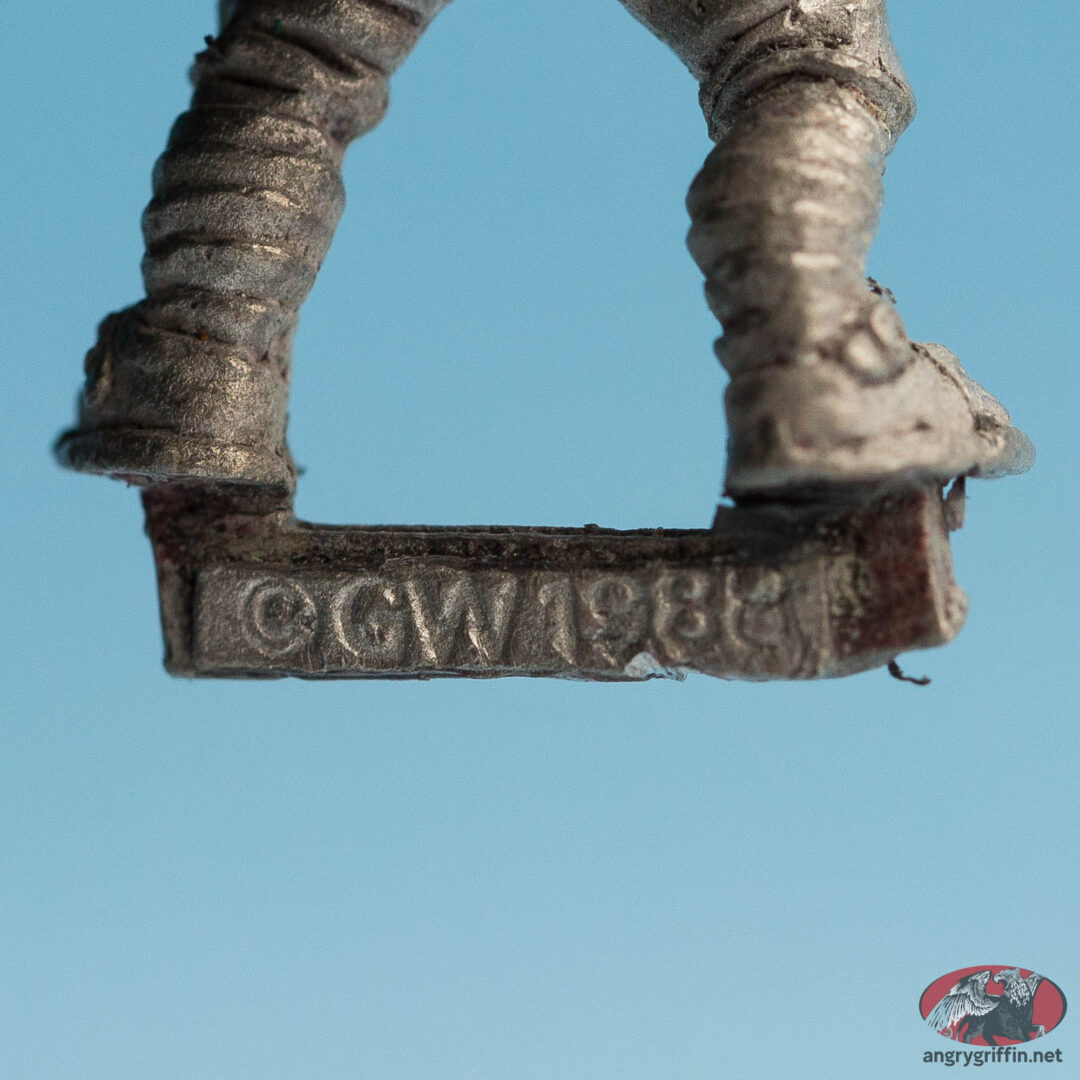
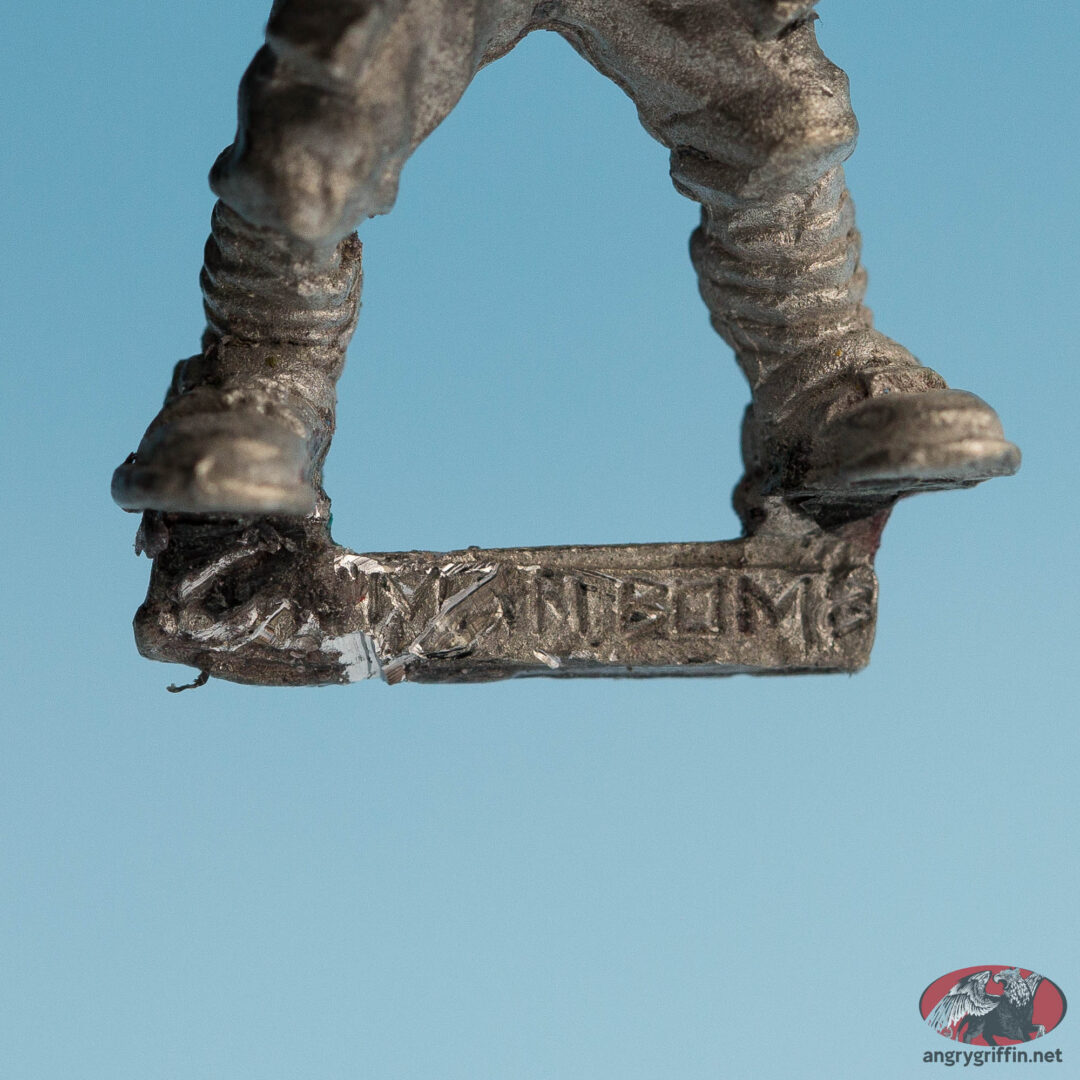
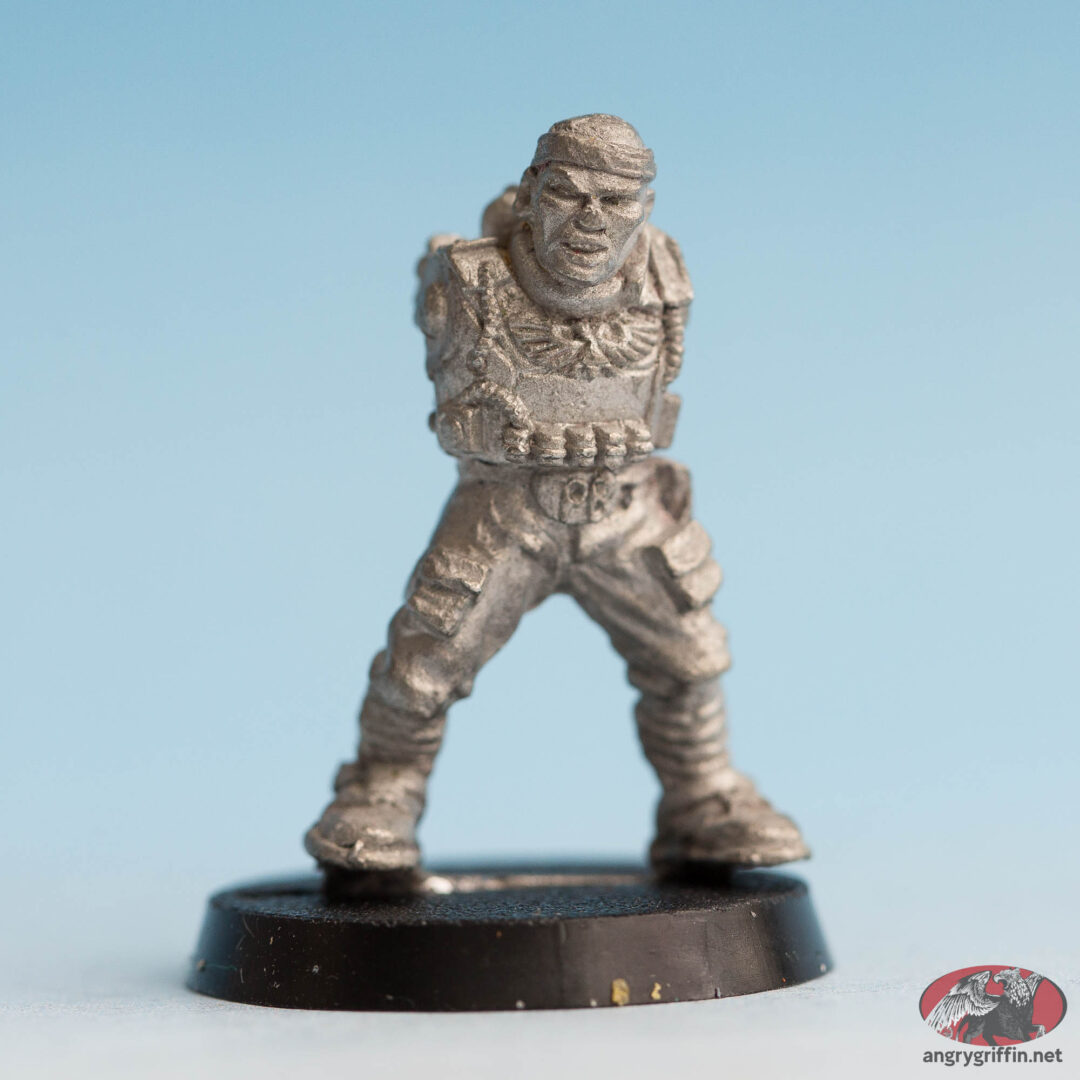
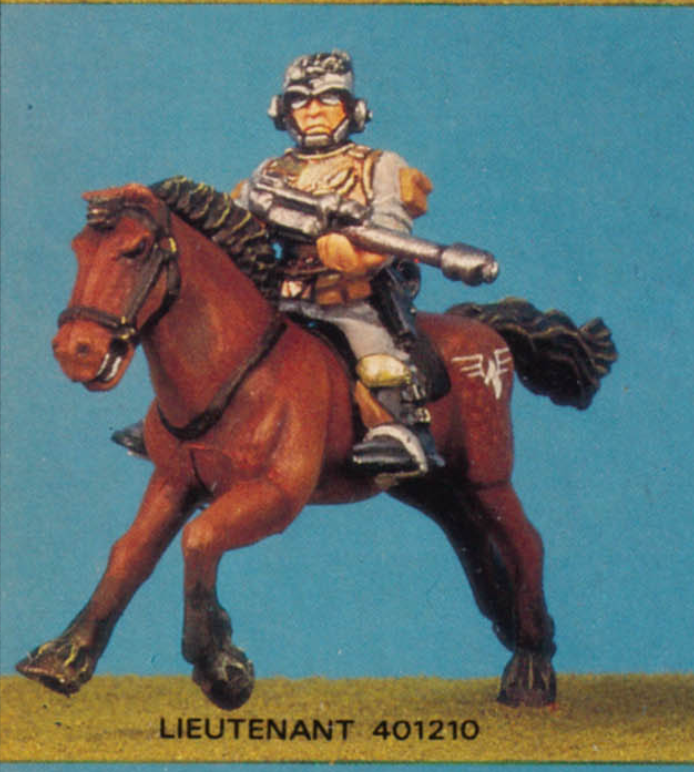
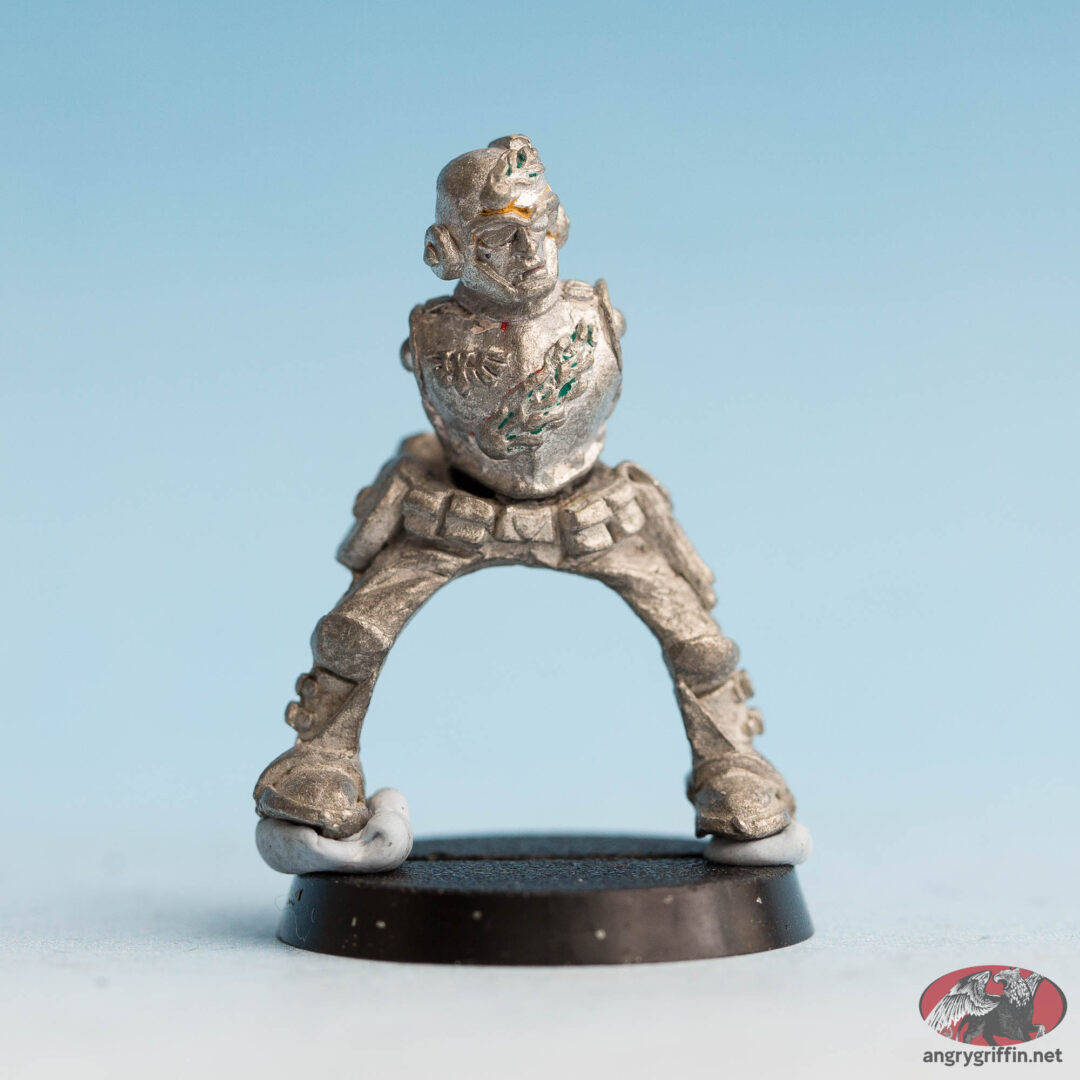
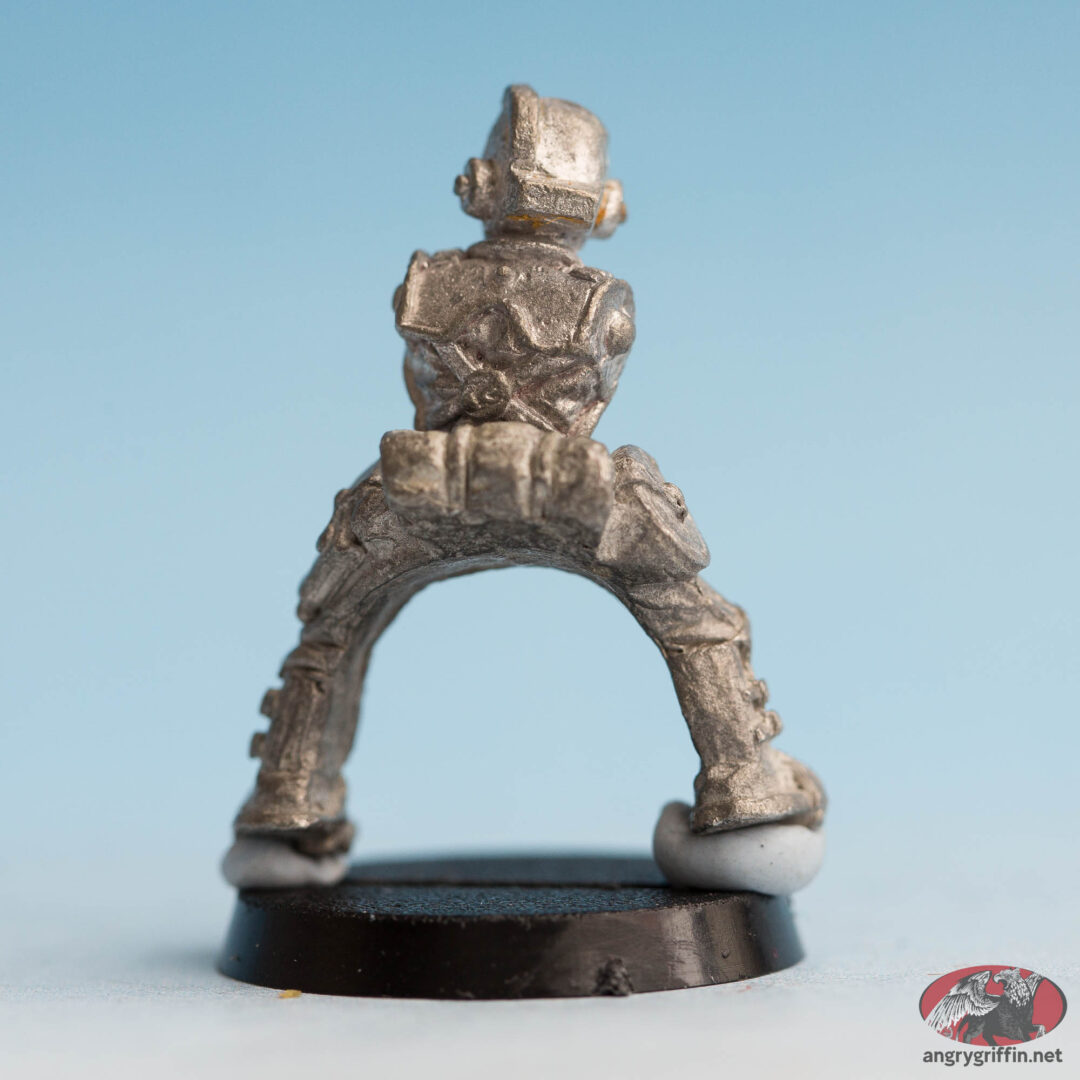
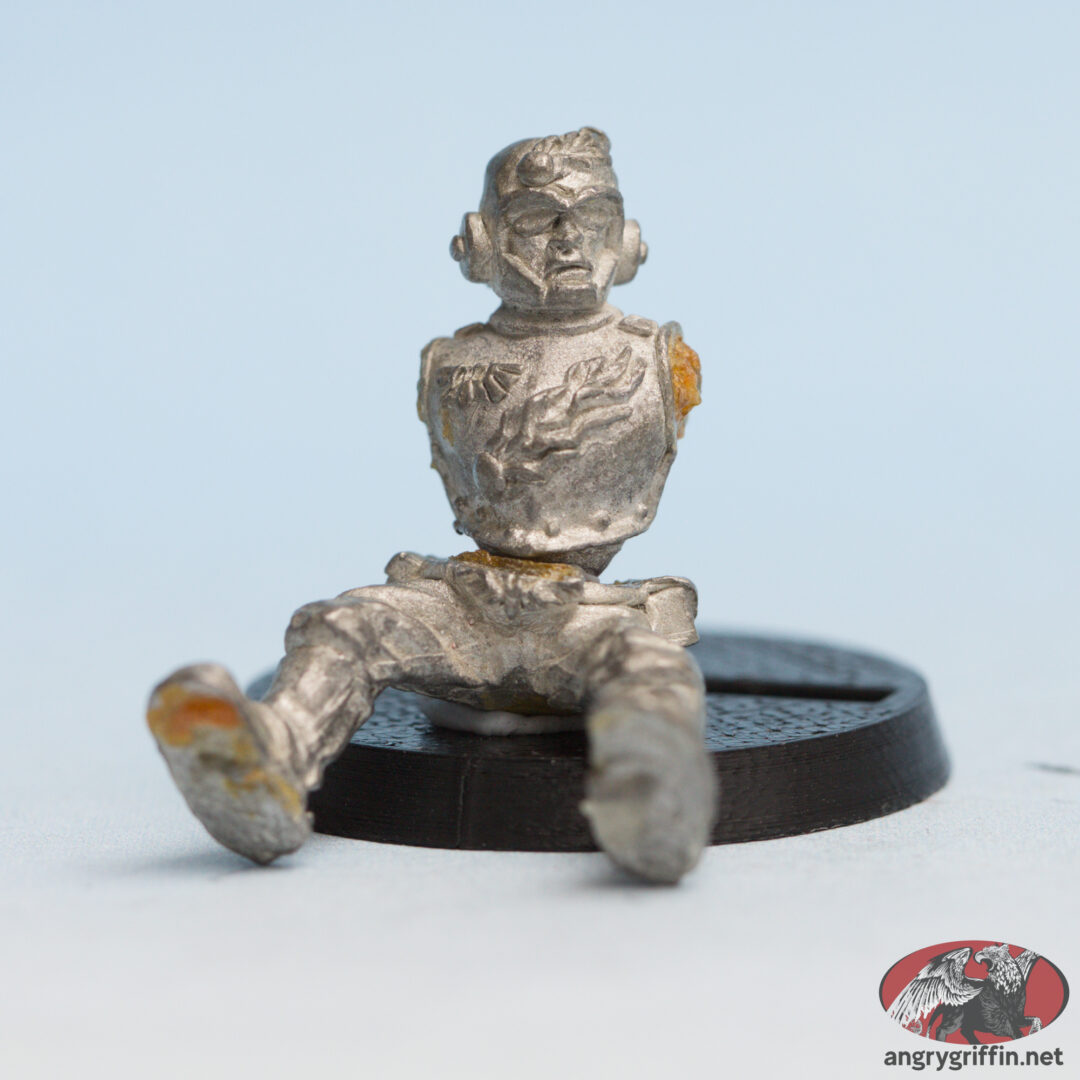
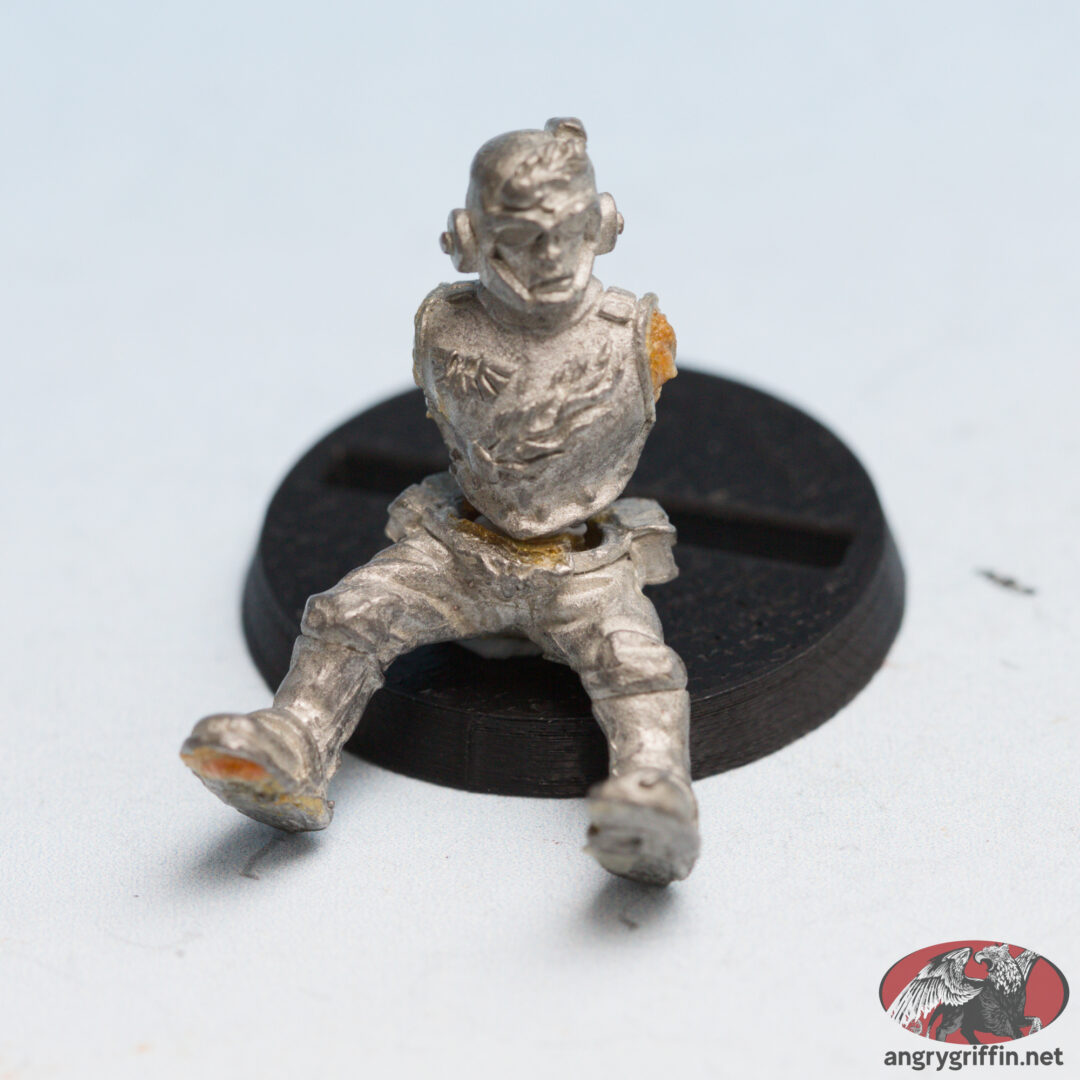
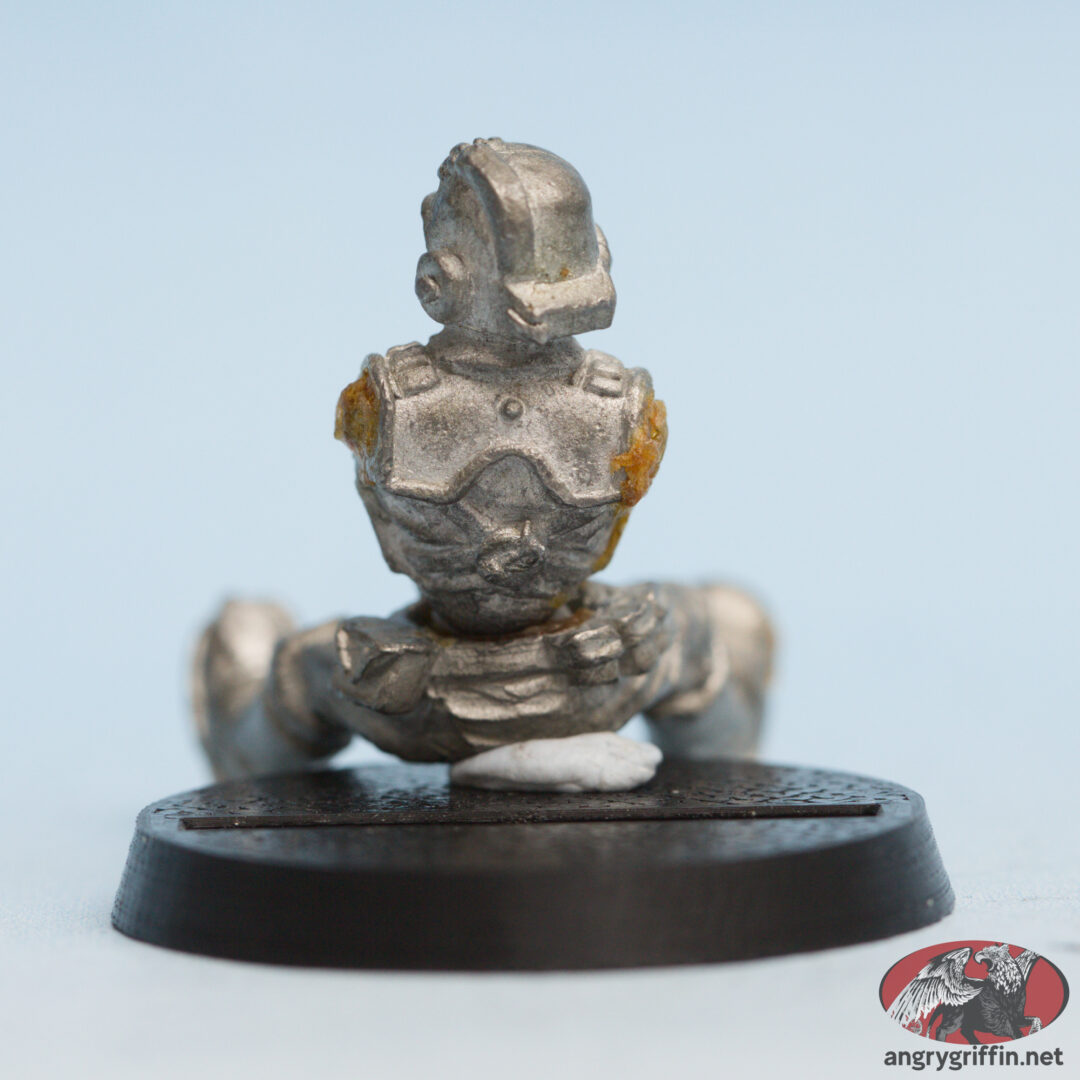
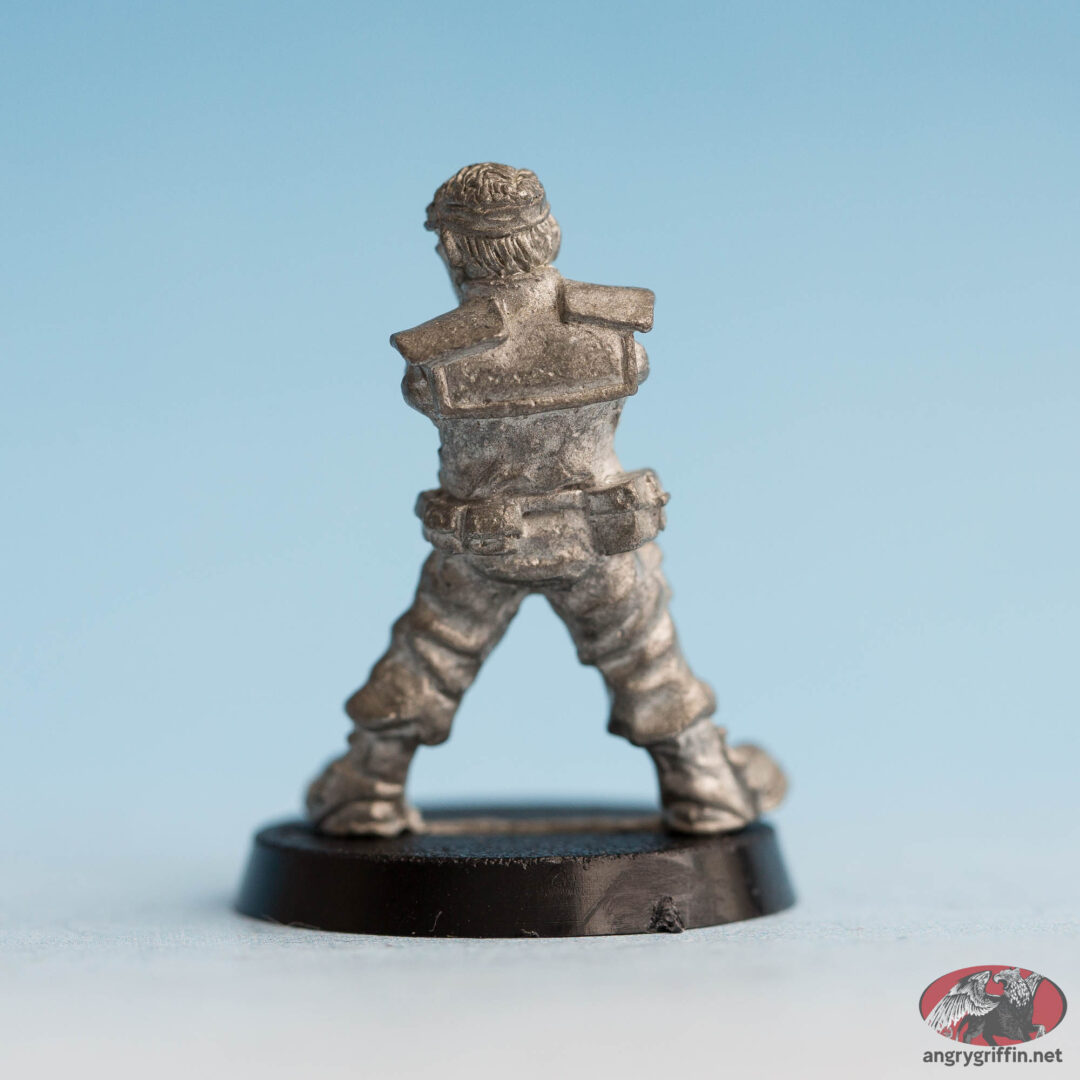
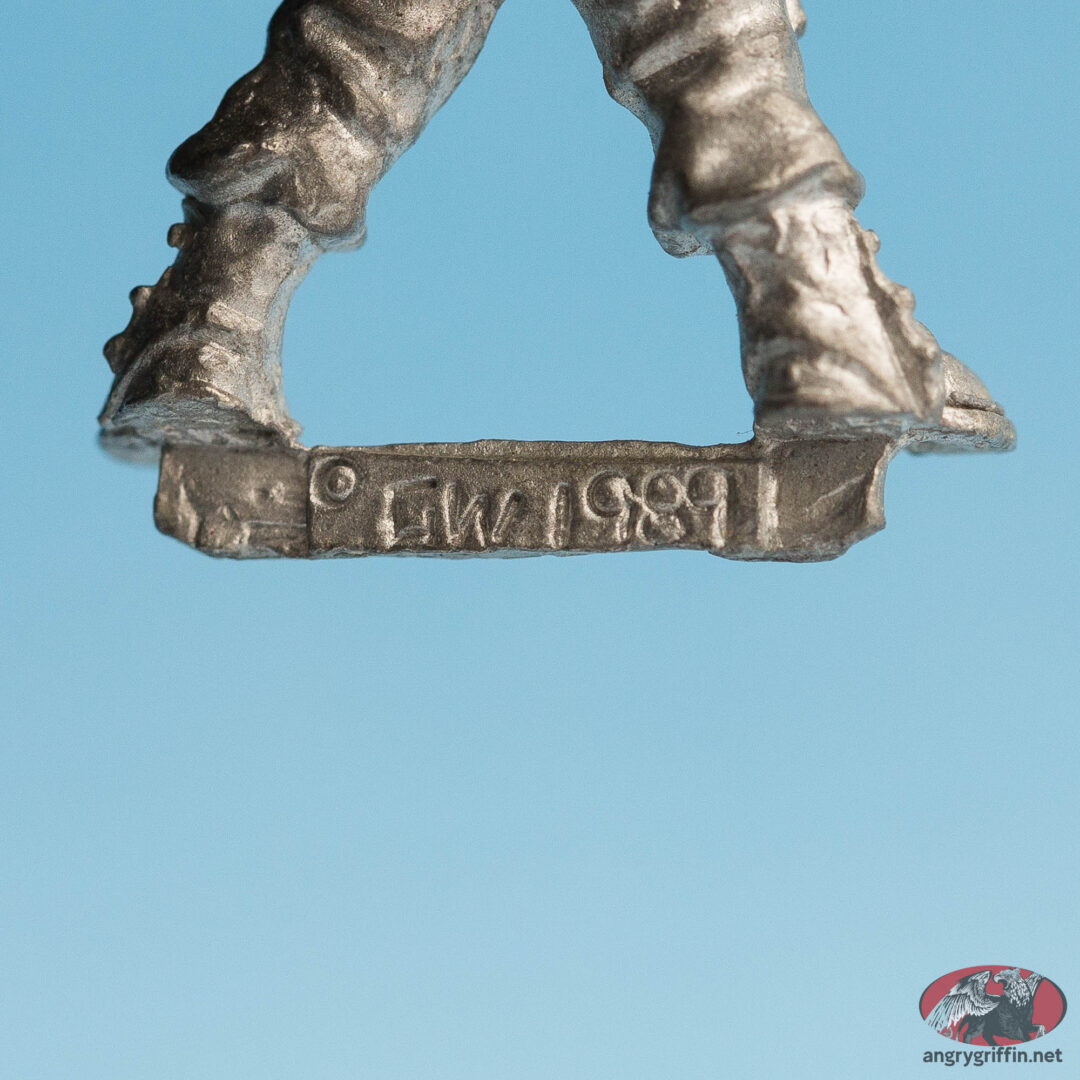
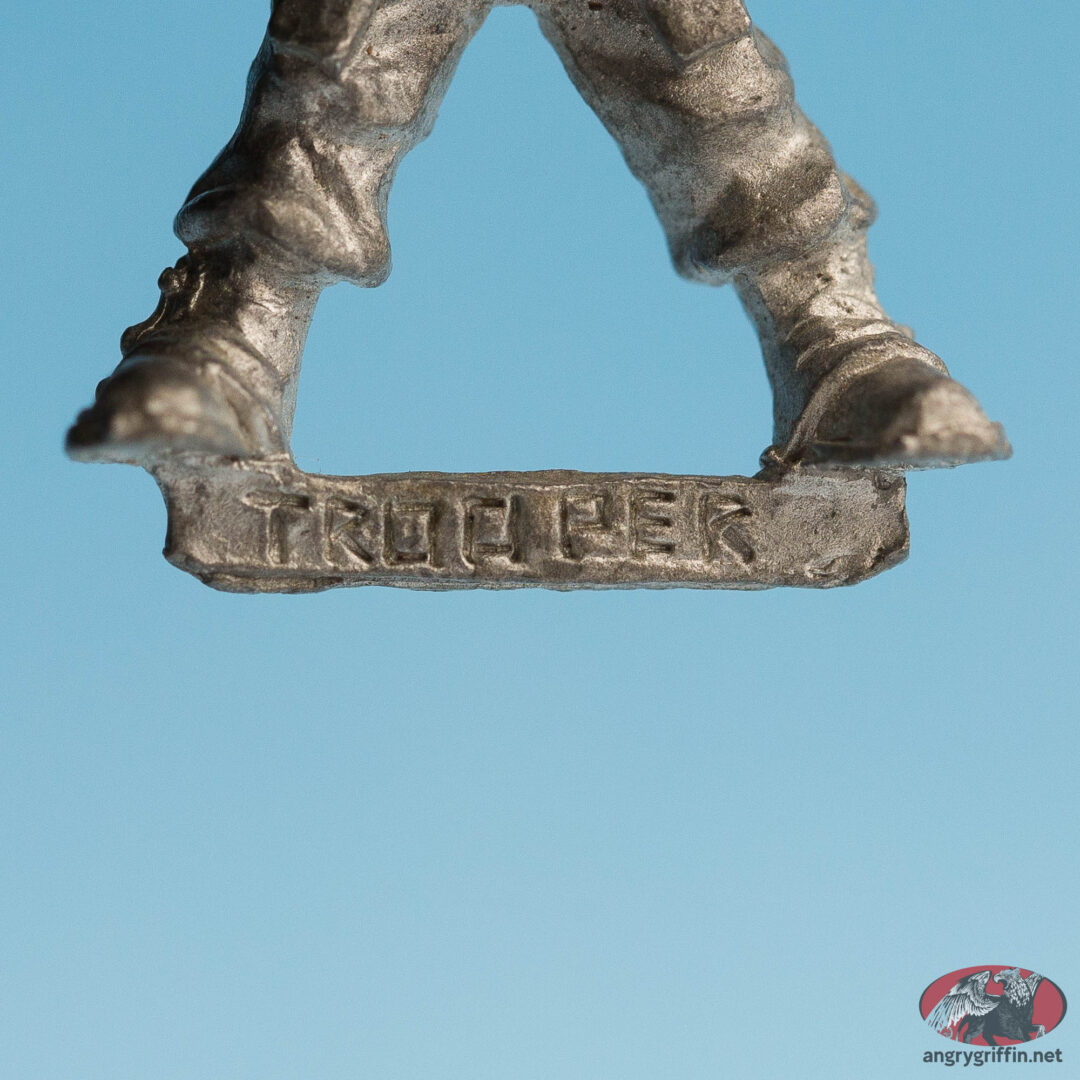
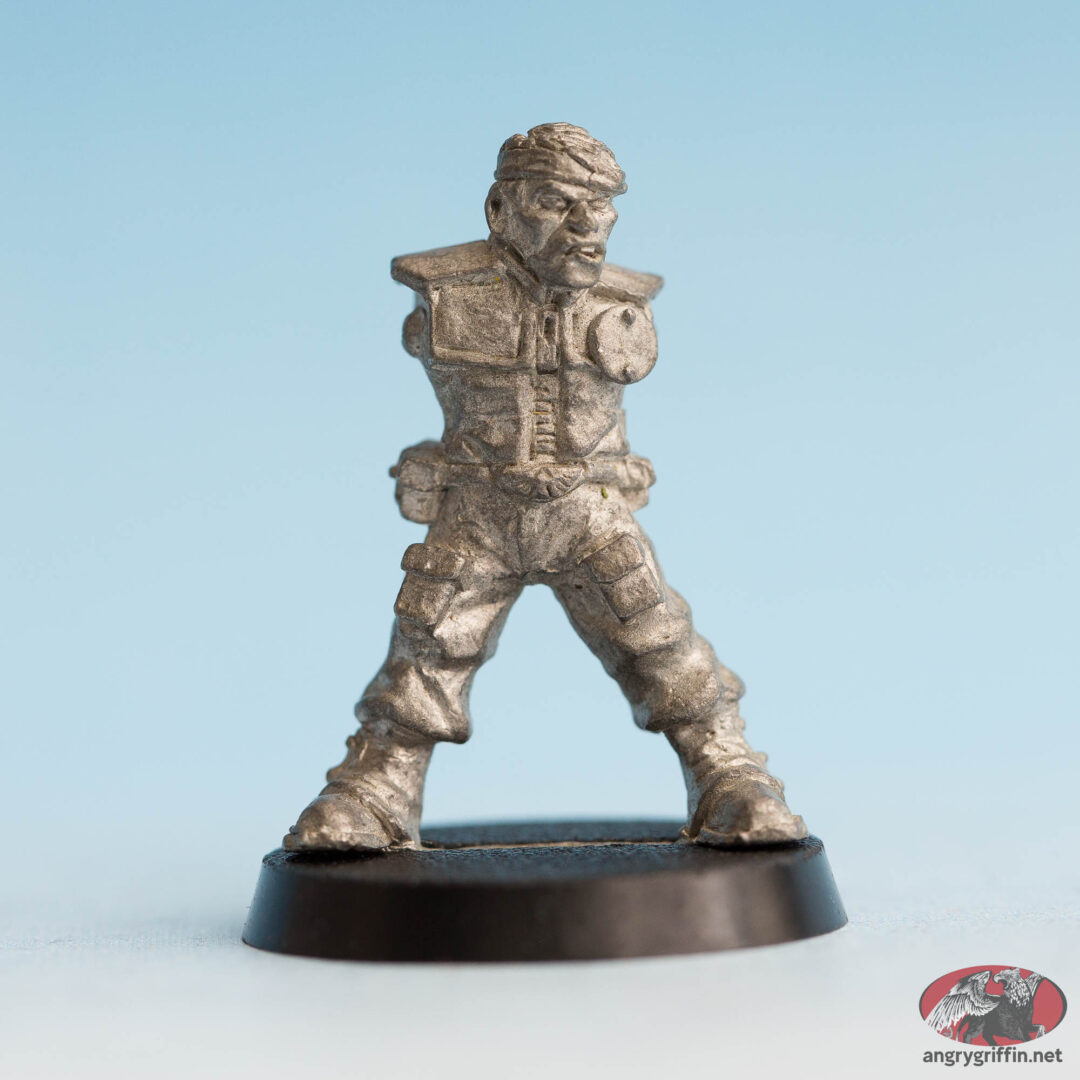
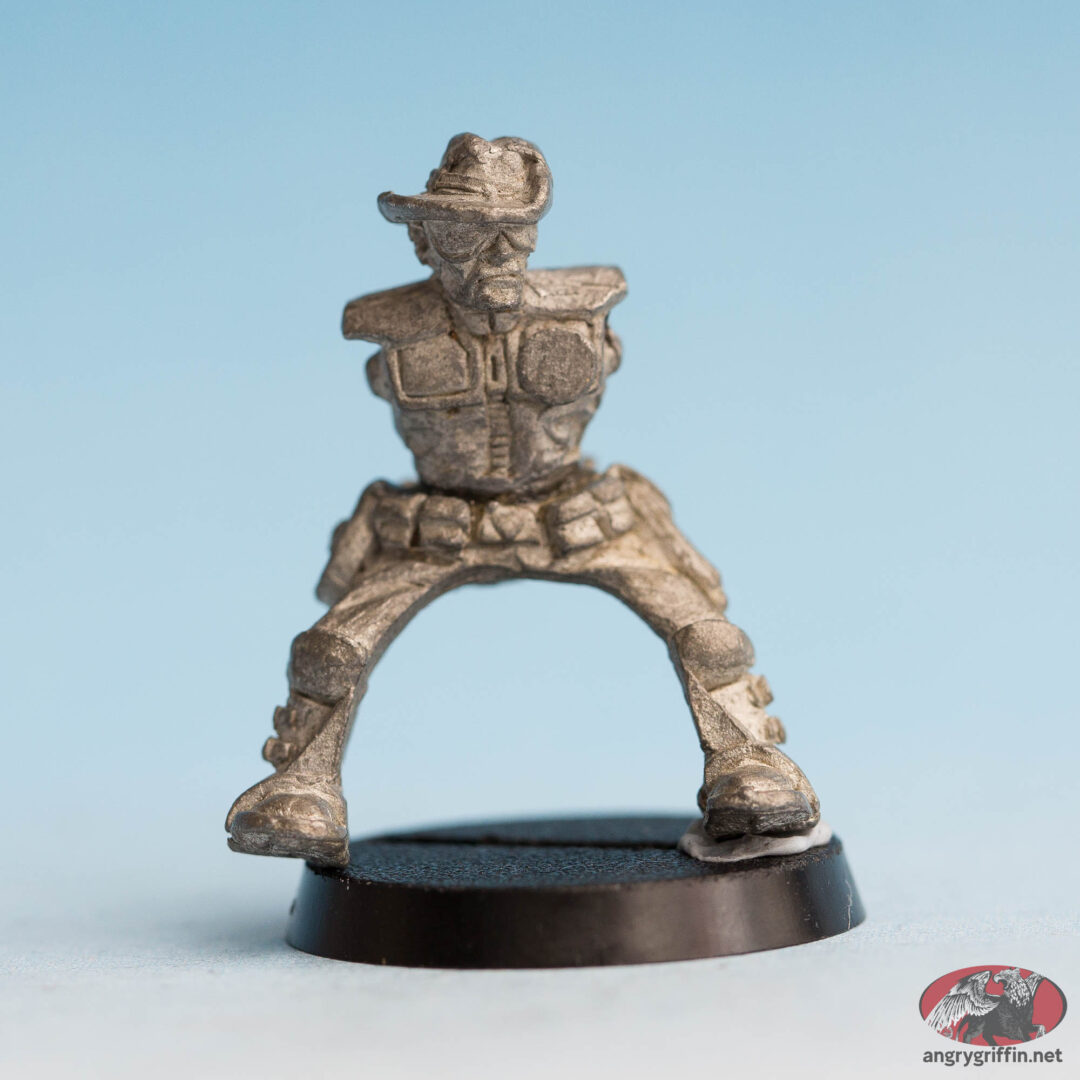
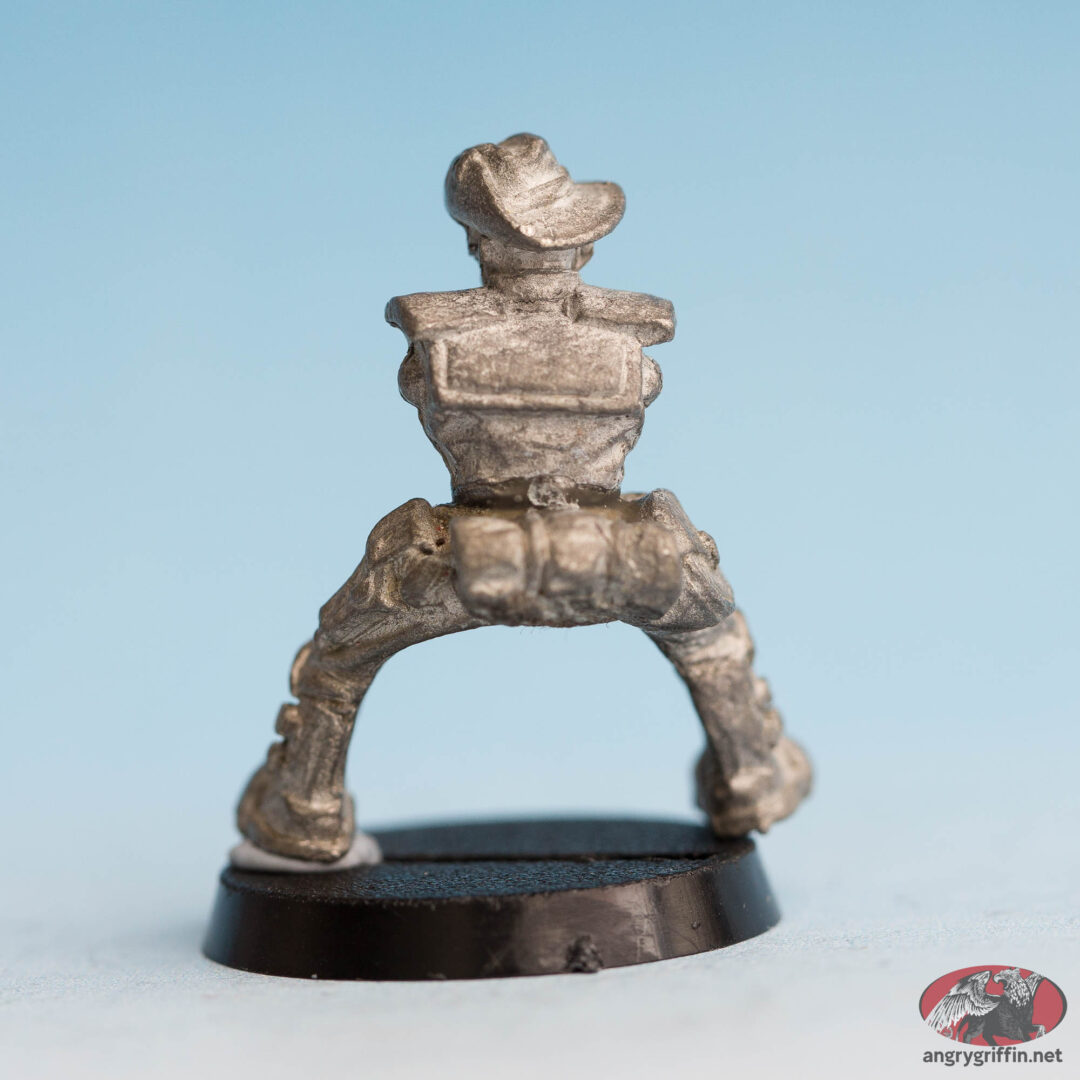
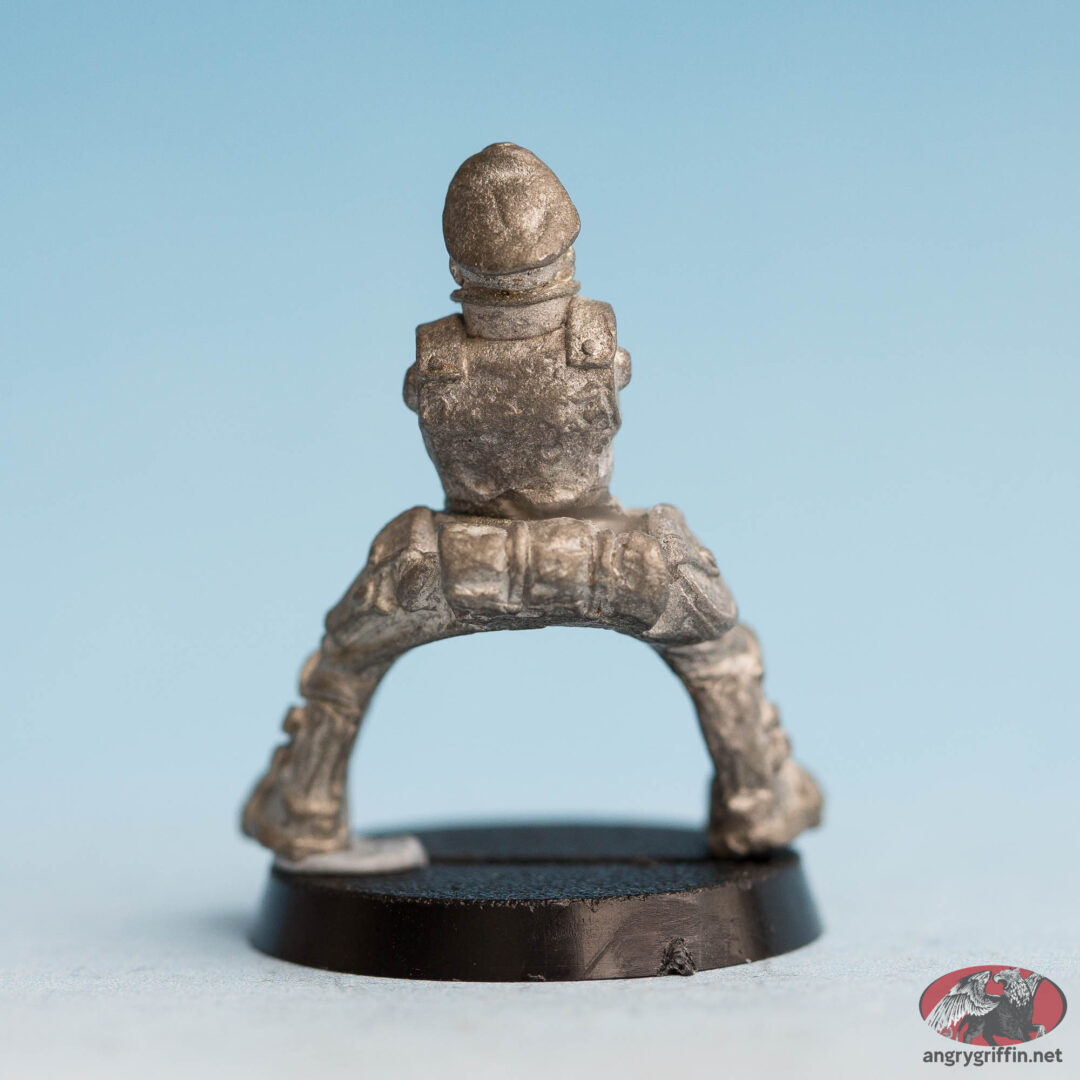
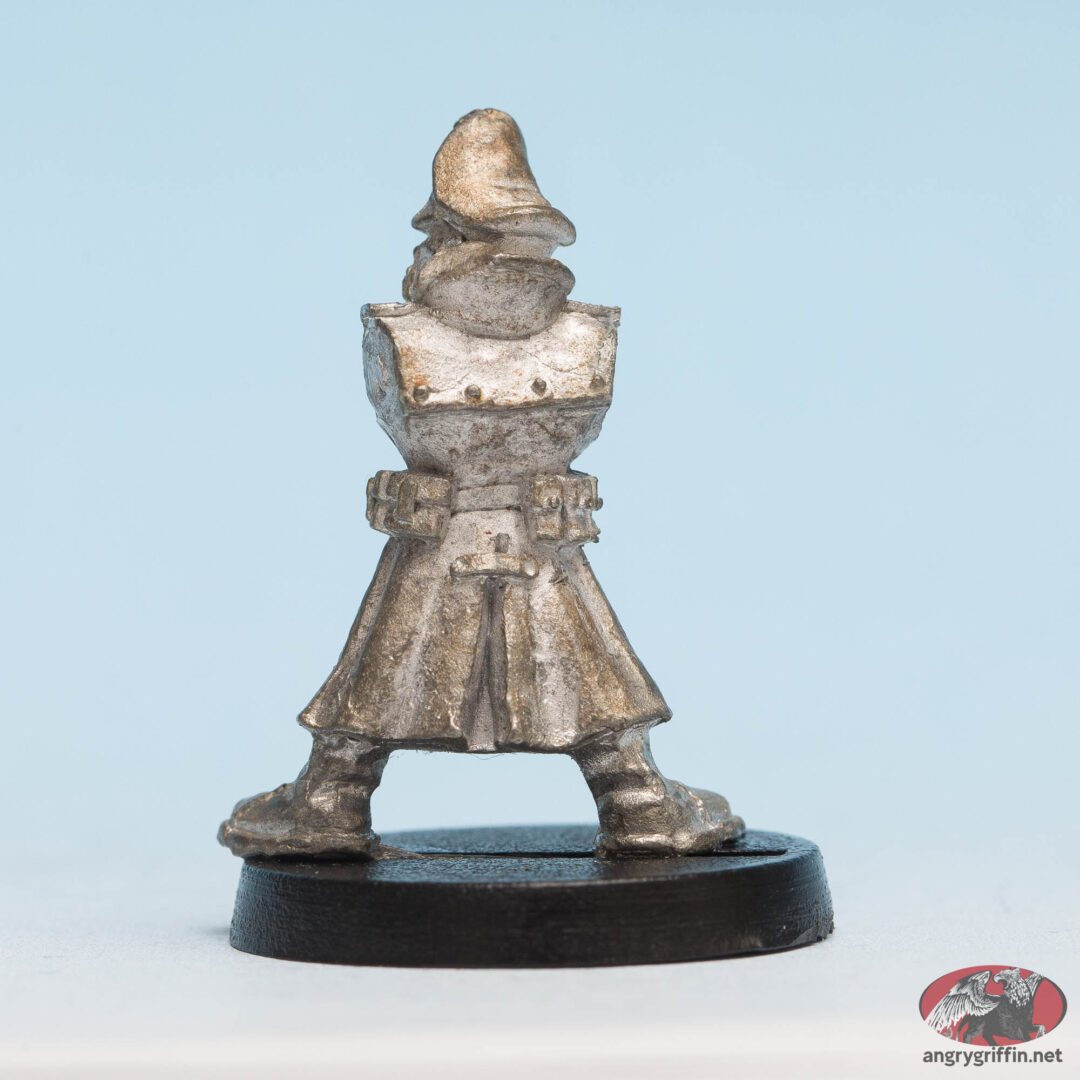
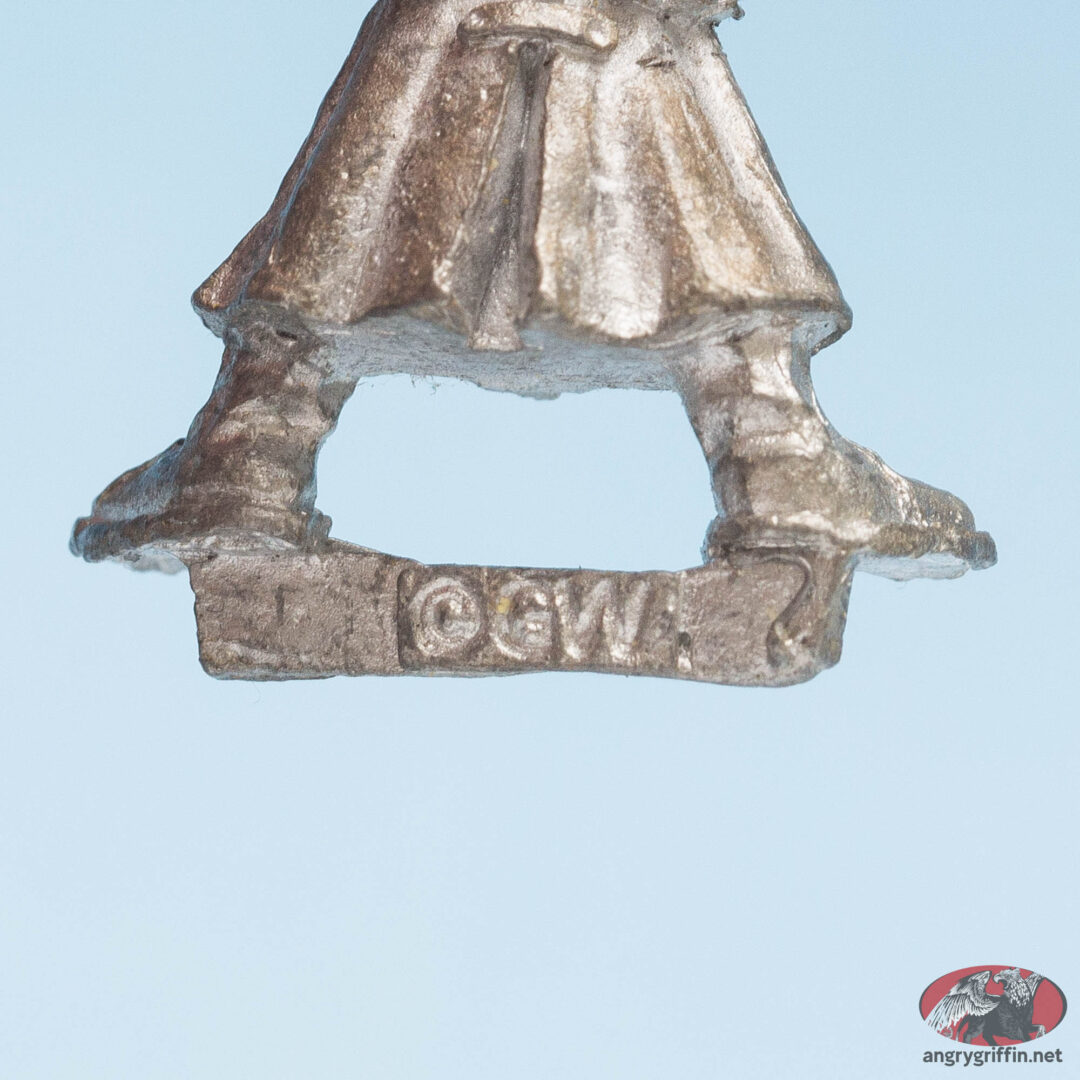
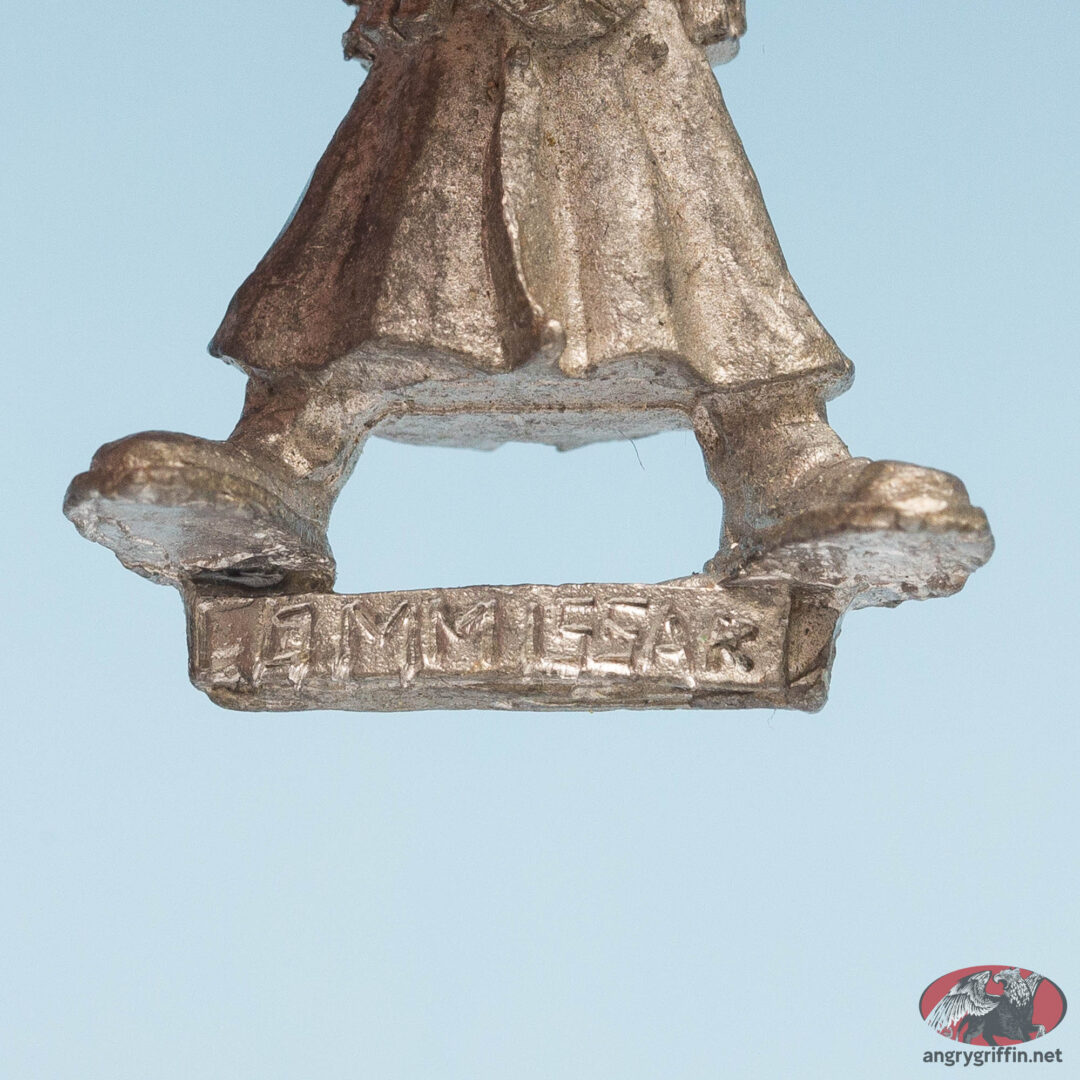
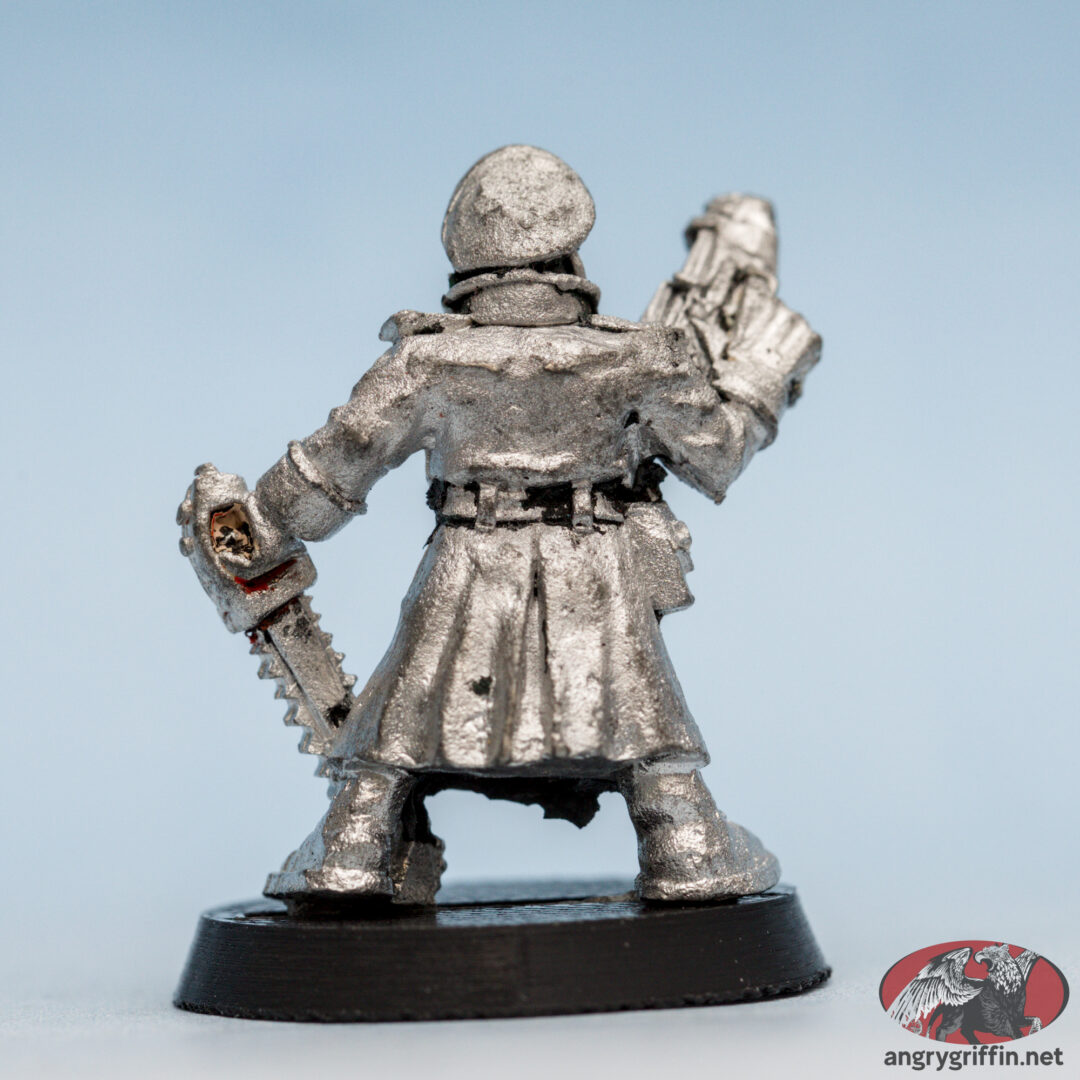
This guy was Tech Marine with Toolbox 410506 initially, later part number 070133/74. He’s a Mark Copplestone sculpt.
Tag: Sculptor: Mark Copplestone
-
Metal Space Marine Death Eagle with Bolter
This guy was initially shown as one of the three Death Eagles, part number 410612. In the 1991 catalogue he’s shown as Bolter 1, part number 070145/14.
-
Metal Rogue Trader Space Marine Death Eagle with Plasma Gun
This guy is one of three Death Eagles shown, and he’s part number 410613 or later Plasma Gun 1, 070145/18. He’s a Mark Copplestone sculpt.
-
Vintage Rogue Trader Space Marine Techmarine with Power Driver Warhammer 40K
This chap was part number 070133/73 or 410505 and is a 1988 sculpt by Mark Copplestone.
- Undercoat: Vallejo Mecha Black
- Red: Kimera Red Oxide then The Red
- Black: Kimera Carbon Black
- Yellow: Kimera Cold Yellow
-
Metal Space Marine Rogue Trader Techmarine with Bolt Pistol
This guy is shown as 410504 in the early flyers and 070133/70 in the 1991 catalogue. He’s a Mark Copplestone sculpt.
-
Metal Rogue Trader Space Marine Death Eagle 410614
Amazing pose on this chap. He’s a Mark Copplestone sculpt, part 410614 and later Power Glove and Bolter.
-
Metal Rogue Trader Warhammer 40K Space Marine Techmarine with Adjustable Wrench
This guy shows up as part number 410502 in the early flyers and 070133/71 in the later catalogues. He’s a 1988 sculpt by Mark Copplestone.
Undercoat: Vallejo Mecha Black
Red: Pro Acryl Burnt Red followed by Bold Pyrrole Red, washed with Targor Rageshade, highlighted with Bold Pyrrole Red mixed with Pro Acryl Golden Yellow
Bone: Pro Acryl Ivory, washed with Targor Rageshade, highlighted with Ivory
Base: Pigments of Soilworks Natural Soil and Sand, a Vallejo tuft and some Woodland Scenics rocks
Green: Sap Green, Spring Green, highlighted with Golden Yellow and shaded with Art Black
Silver: Black Metal, Nuln wash, Thrash Metal, Speed Metal, White Alchemy
Rim: Vallejo Black Grey
Yellow: Golden Yellow, highlighted with a mix of Titanium White and Golden Yellow, shaded with a mix of Bold Pyrrole Red/Art Black and Golden Yellow
The decals had both reds sponged over them to make them blend in a bit more.
-
Metal Rogue Trader Warhammer 40K Space Marine Lieutenant Commander 070145 11
This guy was a lieutenant commander and was part number 070145/11. He was one of two Firstborn Lieutenant models I’m aware of – the other is Lieutenant with Power Sword and Bolt Pistol. He’s a Mark Copplestone sculpt.
Note the marking on his forehead. As per the How to paint Space Marines book:
- Undercoat: Vallejo Mecha Black
- Blue: Scale75 Art Cobalt Blue, shaded with Dark Prussian Blue and Prussian Blue. Highlight with Primary Blue and Titanium White
- Base: Scale75 Art Burgundy Wine Red, skull Buff, rocks Yellow Ochre, drybrush of Golden Flesh, pigment of Reddish Brown in center, then Natural Soil further out, then Sand, then a light brush of Gypsum on the rocks/skull
- Parchment: Buff, shaded with Buff + Burnt Sienna Umber, text with the latter. Highlight of Buff, then further highlight of Buff + Pro Acryl Titanium White
- Power sword: Pro Acryl Titanium White, blended to Primary Yellow, then blended to Intense Yellow, then blended to Permanent Orange, then blended to Orange, then blended to Crimson, then Burnt Sienna Umber, then Art Black
- Bone: Buff, shaded with Garaghak’s Sewer. Bone end to sword was Scale75 Art Off White, shaded with watered down Burnt Sienna Umber, highlighted with Off White and Titanium White
- Rim: Vallejo Black Grey Model Colour
- Yellow: Titanium White then Primary Yellow, shaded with Intense Yellow, further shading with Primary Yellow + Pro Acryl Bold Pyrrole Red
- Red: Bold Pyrrole Red, shaded with Art Black, highlighted with Primary Yellow, dot of Titanium White
- Gauntlet: Prussian Blue mixed with Titanium White, Art Black and Titanium White. A little bit of the yellows in the underside reflection.
- Eye lenses: Spring Green, shaded with Art Black, highlighted with Primary Yellow then Ardcoat.
I pushed the blue darker to contrast a bit more with the sword and make it stand out. I had to try something different with this power weapon – the three facets on each side meant that the technique I used previously didn’t work out quite how I had hoped.