The same colour palette as last time – this time I finished off the broken level and added it to the intact one:
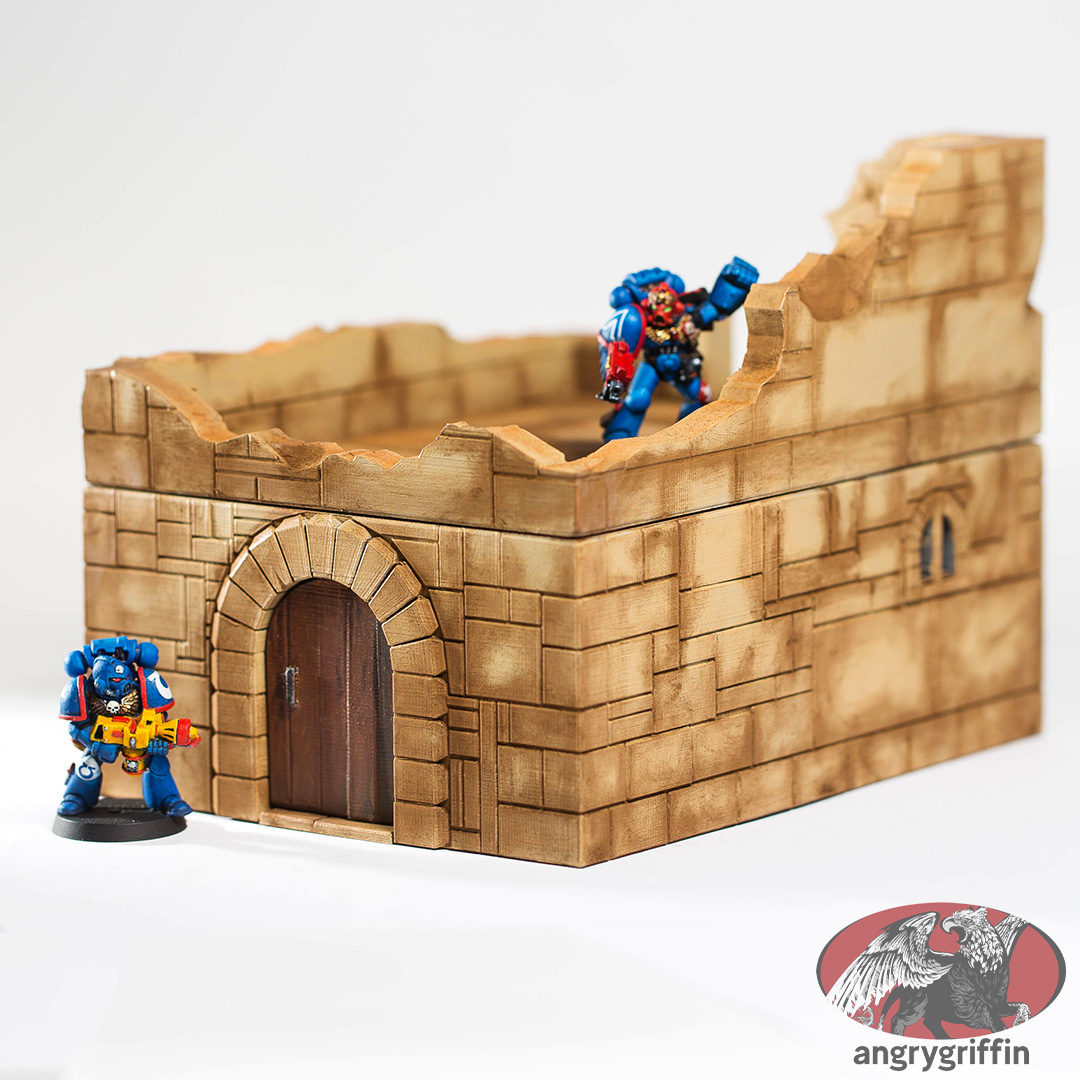
You can see the colours used here.
The same colour palette as last time – this time I finished off the broken level and added it to the intact one:

You can see the colours used here.
This one was super quick:
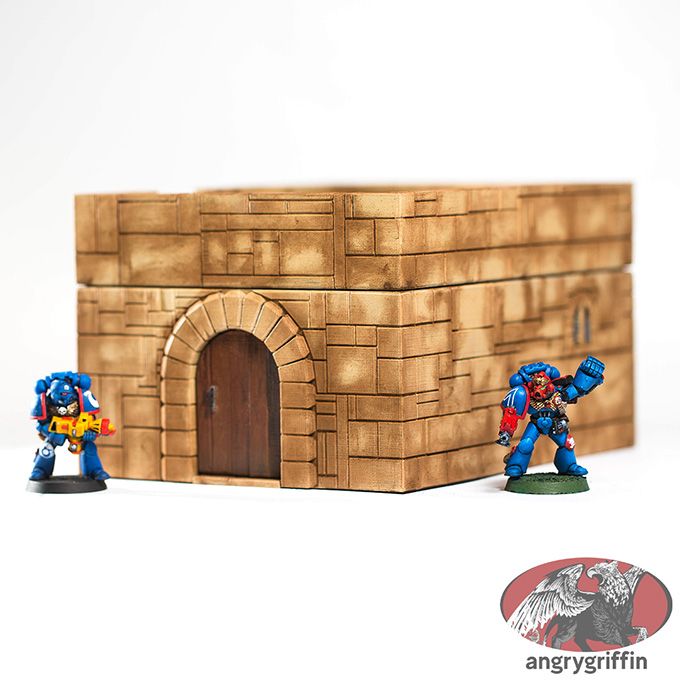
Stone:
Undercoat: Vallejo Mecha Black
Base Coat: Citadel Morghast Bone
Pigment: Scale75 Soilworks Dark Earth SPG-10
That’s it. It’s a very speedy way of getting something tabletop ready in short order.
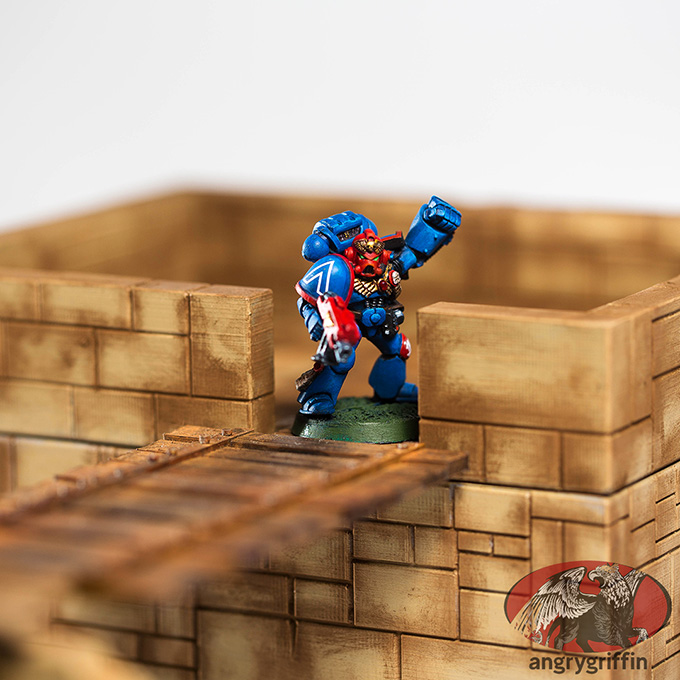
The door was painted with the same colours as the gangway. Speaking of the gangway:
Managed to get a couple of things painted today from the stone town Kickstarter – the undamaged flooring, the ruined level, the table and the wardrobe. It proved a lot easier to show what the accessories looked like on the damaged level than the solid one, so let’s just pretend someone put them there after the building was damaged!
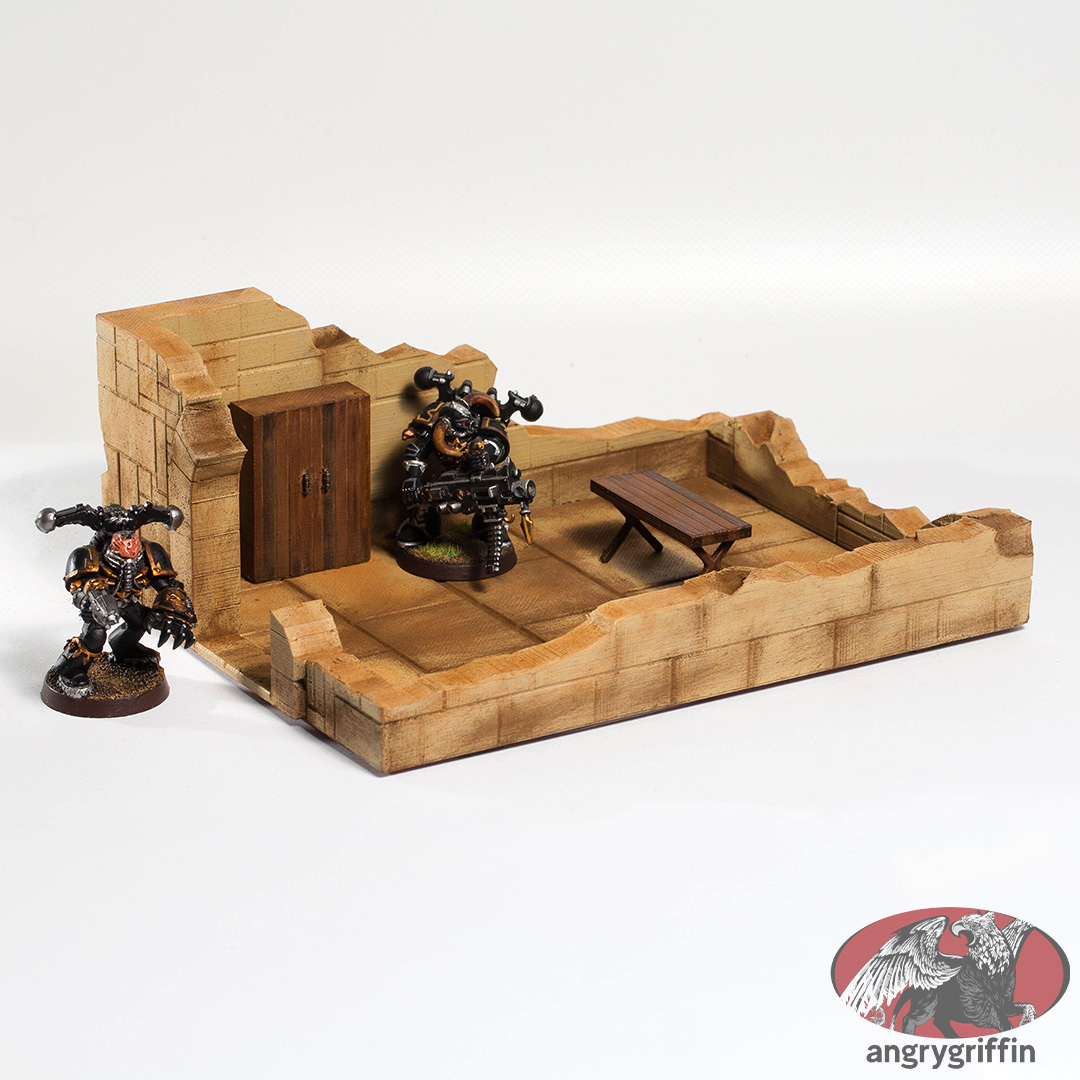
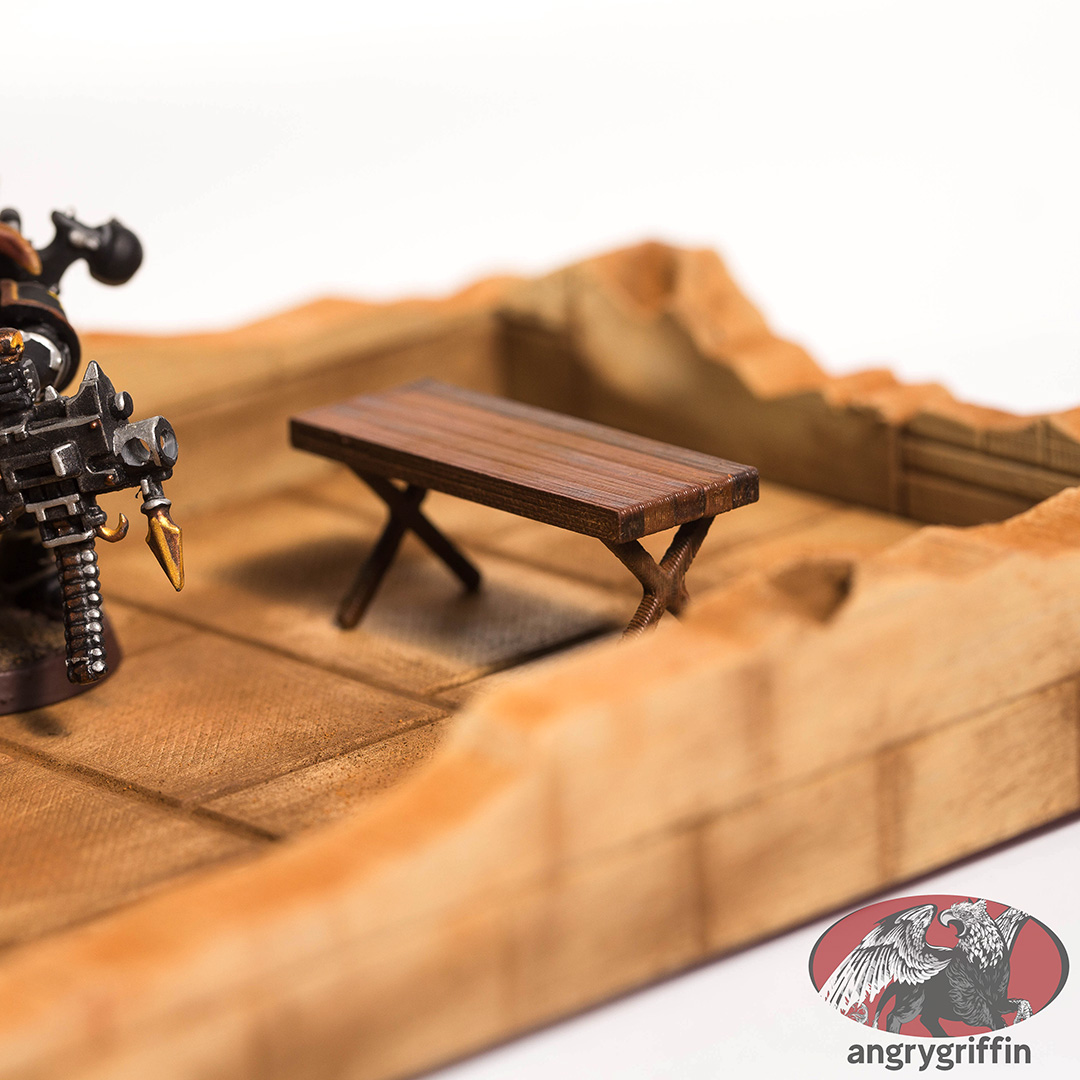
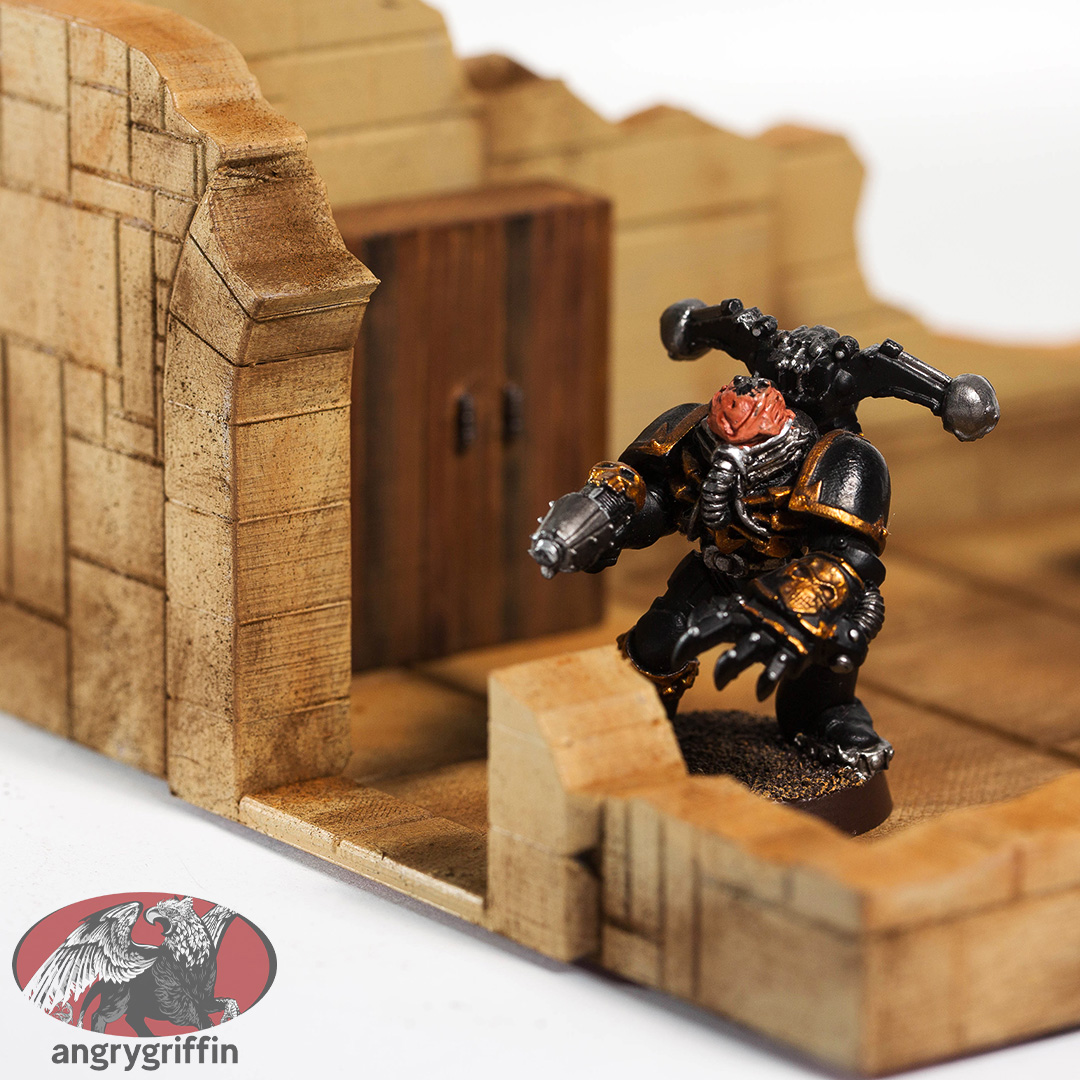
Colours used:
Undercoat: Vallejo Mecha Black
Base coat: Citadel Morghast Bone
Recess pigment: Soilworks Dark Earth
Other pigments: 50:50 Soilworks Dark Earth and Vallejo Yellow Ochre
Wood base: Mournfang Brown
Lines in wood: Death Guard Green, XV-88 or Averland Sunset
Wood contrast: Nazdreg Yellow, Guilliman Flesh, Wyldwood or Aggaros Dunes
Metal handle on wardrobe: Leadbelcher
You can find more out about the Kickstarter here.
If you have been following along you’ll know we have an active Kickstarter for some cut stone terrain. The gangway is part of that set and is designed to go between two of the buildings – here’s my take on painting it:
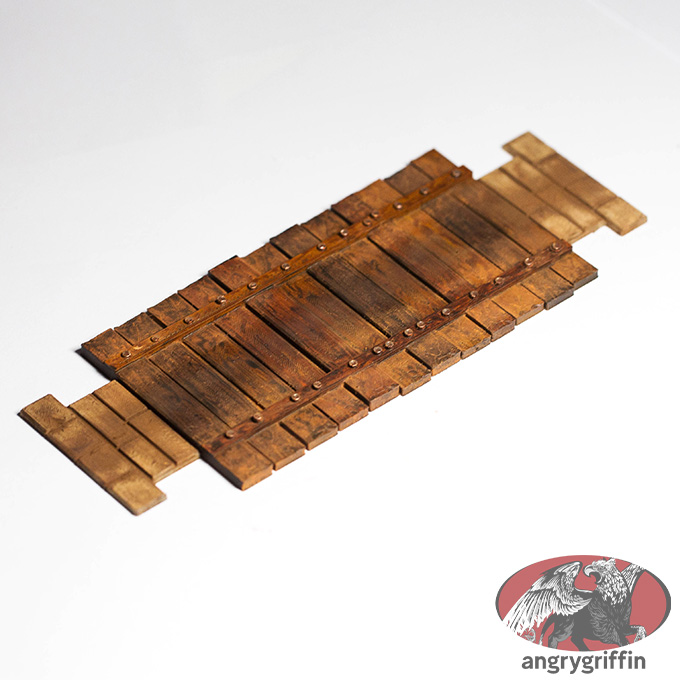
Paints used:
Undercoat: Vallejo Mecha Black
Base coat for stone ends: Morghast Bone
Base coat for wood: Mournfang Brown
Lines in wood: Hobgrot hide or Averland Sunset
Wood contrasts, randomly: Snakebite Leather, Wyldwood, Gore-Grunta Fur, Nazdreg Yellow
Bolts: Scale75 Heavy Metal
Bolt corrosion: Vallejo Rust Texture
Central, worn pigment: Scale75 Dark Earth
Outer pigments: 50:50 Vallejo Dark Yellow Ochre and Scale75 Reddish Brown
Today I’m looking at the well which is part of our January Kickstarter.
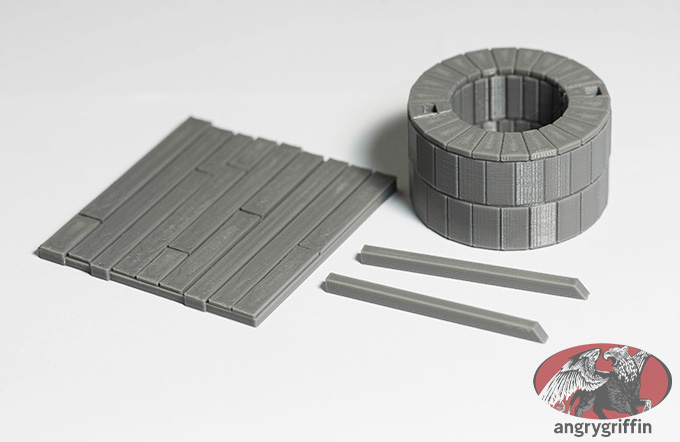
Assembled it looks like this – I painted it in pieces, however:
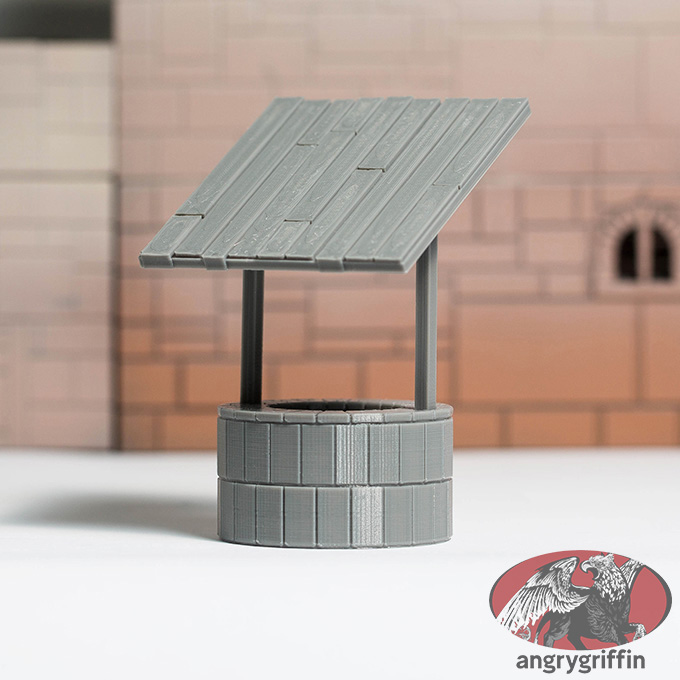
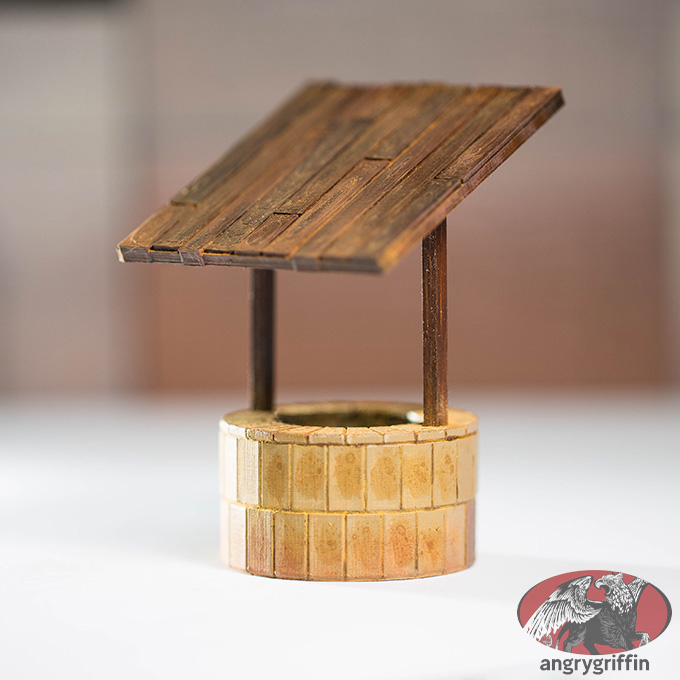
The paint recipe I used was this – all with a brush, no airbrush used this time around:
Undercoat: Vallejo Mecha Black
Well base coat: Zandri Dust
Well recesses: Aggaros Dunes
Well highlights (left and bottom of each brick): Instant Phoenix Egg 50:50 with Instant Medium
Well highlights in lower left corner only: Flayed One Flesh 50:50 with Vallejo Matt Medium
Well highlights on edge of topmost bricks: Flayed One Flesh
Well brick center: Sponged on XV-88
Well upper pigment: Vallejo Dark Yellow Ochre
Well lower pigment: Vallejo Dark Yellow Ochre 50:50 with Scale75 Reddish Brown
Water stain across back of well: Vallejo Slimy Grime with Vallejo Petrol Stains in recesses
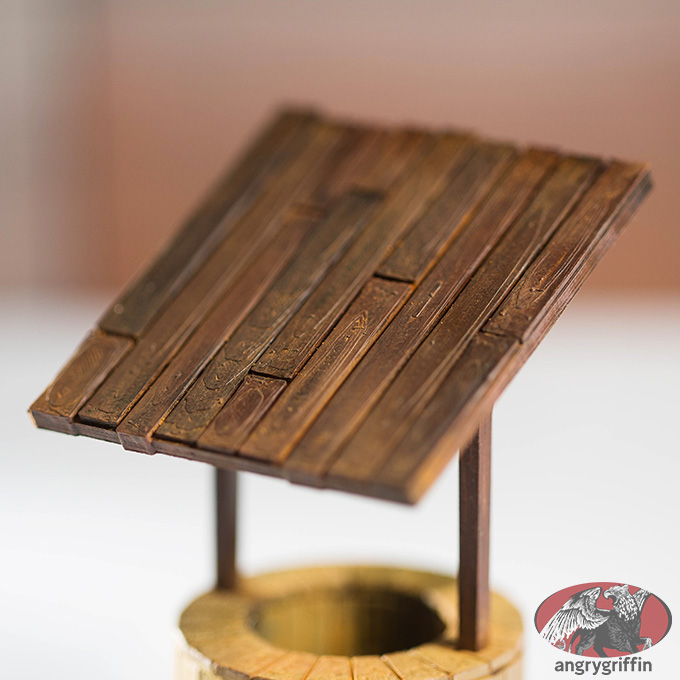
Wood base coat: Mournfang Brown
Lines in wood: Averland Sunset or Steel Legion Drab
Wash for wood, at random: Gore-Grunta Fur, Guilliman Flesh, Snakebite Leather or Wyldwood
Pigments for wood: Well lower pigment: Vallejo Dark Yellow Ochre 50:50 with Scale75 Reddish Brown, mostly rubbed off high points
Check out the Kickstarter here: https://www.kickstarter.com/projects/angrygriffin/3d-printable-stls-stone-town-terrain-pay-what-you-want
Take Two! Notes for those who requested, photo coming soon.
Claws: Wet blending Macragge Blue/Sotek Green/Baharroth Blue
Cannons: Vallejo Steel, dry Ironbreaker, dry Hexos Palesun, dry Underhive Ash, dry Kindleflame, dry Ryza Rust, dry Astorath Red, dry Naggaroth Night, dry Abaddon Black, rim highlight Ironbreaker, wash of Casandora Yellow over the yellow parts
This is the third attempt at a colour scheme for a Stormcast Annihilator from the Dominion box and the second gold attempt – I think it’s much better than the first, the gold shading really made a lot of difference.
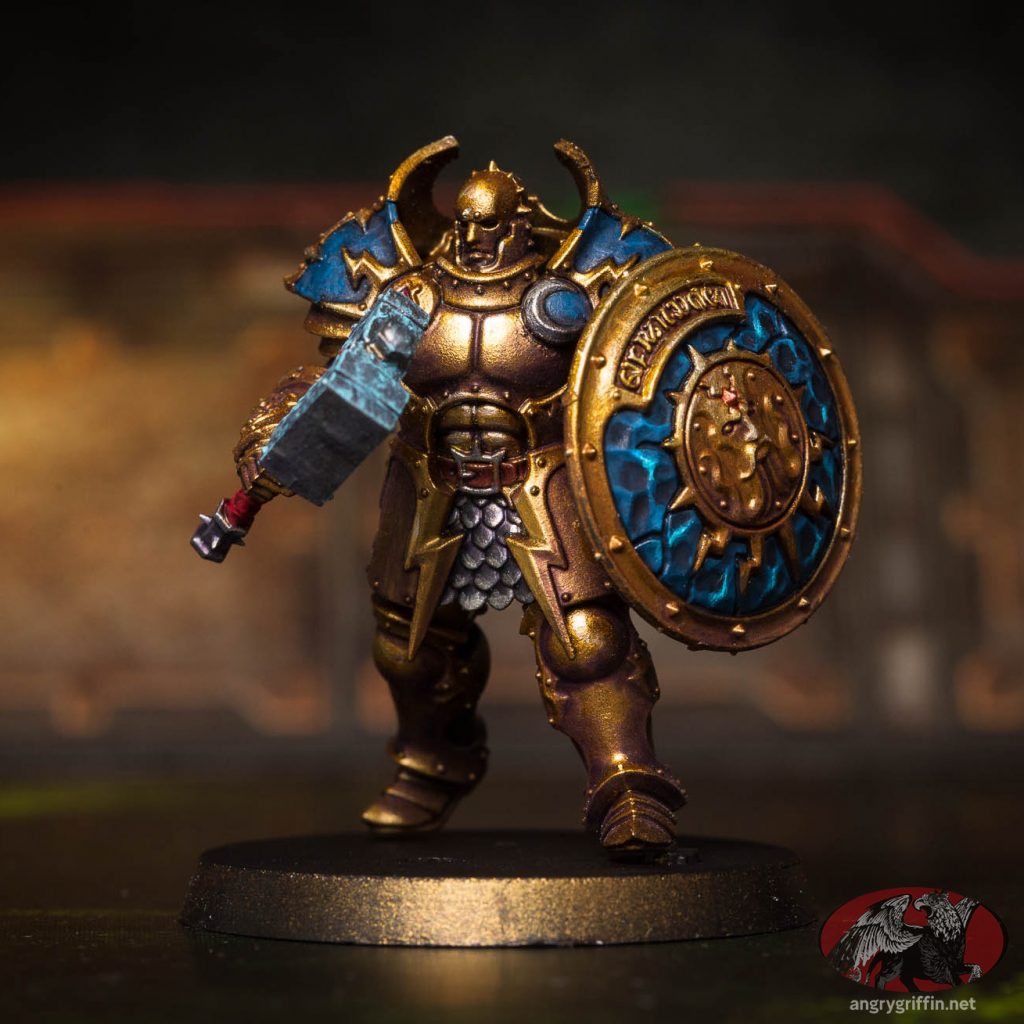
Undercoat: Vallejo Mecha Black
Metal base: Scale75 Necro Gold, Scale75 Viking Gold over that
Metal shade: Watered down Scale75 Instant Arcane Purple, 7 or so layers at the darkest point
Highlight with Dwarven Gold
Highlight that with Elven Gold
Highlight that with Peridot Alchemy
Highlight that with Citrine Alchemy
Silver:
Black Metal
Thrash Metal
Heavy Metal
Wash in recesses – hold model upside down – with Fairy Blood, followed by Shadow Black
Leather:
Mournfang Brown
Shade with Grizzly Brown
Red handles:
Vallejo Heavy Red
Shade with Grizzly Brown
Gems:
Vallejo Heavy Red, shade with Grizzly Brown, highlight Vallejo Model Color Cold White
Blue: Prussian Blue, shade with Drak, further spot shade with Fairy Blood, highlight with Prussian Blue and some light scratches with same
Lightning: Dry Skink Blue
Shield blue: Prussian Blue/Drak/highlight Prussian Blue, 50/50 Prussian+Temple Guard, then straight Temple Guard
I’m painting up some Raven Guard Primaris Intercessors squads where the sergeants have thunder hammers, and here’s the recipe I’m using to get the following look:
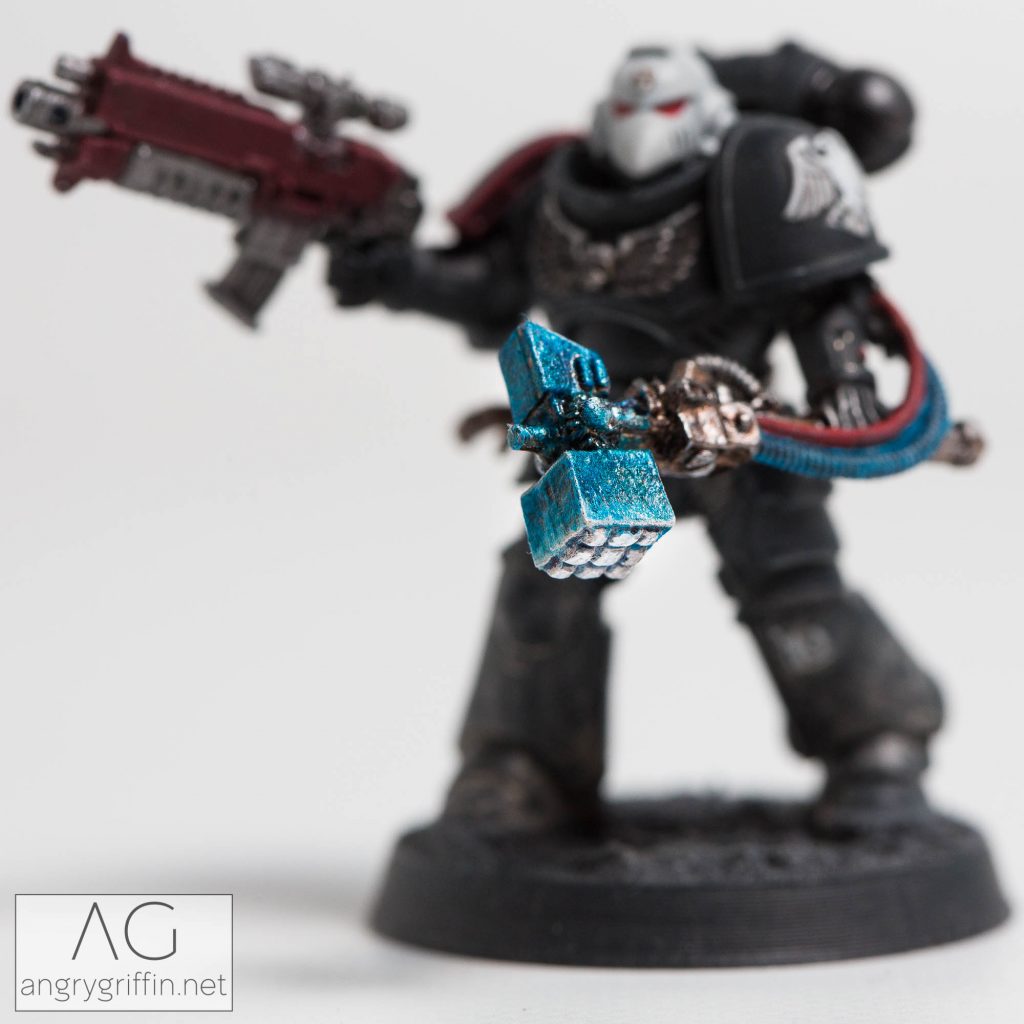
The hammer started off being undercoated in Mecha Black and a base coat of Hashut Copper was applied. A wash of Canoptek Armourshade was next and once that dried a heavy drybrush of Ironbreaker followed. The contact face of the hammer then received some White Scar and a drybrush of Praxeti White was applied, brushing from the face back so that it faded the further it went.
Calth Blue Clear was applied to the sides of the hammer. It dries a little more slowly than the Citadel washes so it’s a little easier to move it around to create a light to dark transition without having to get it right first time around.
Talassar Blue was applied closer to the face of the hammer to help with the transition, then Drakenhof Nightshade was carefully painted onto the face in the recesses and further back on the hammer where there were still lighter spots visible in recesses.
A little more drybrushing with Praxeti White and then some careful edge highlighting with White Scar got it to the point you see above.
This is my current favoured formula for very weathered/aged/battle damaged Imperial Knight miniatures. It’ll work on vehicles like tanks or armoured miniatures like Space Marines as well, but it’s probably easiest on the scale of a tank or Knight!
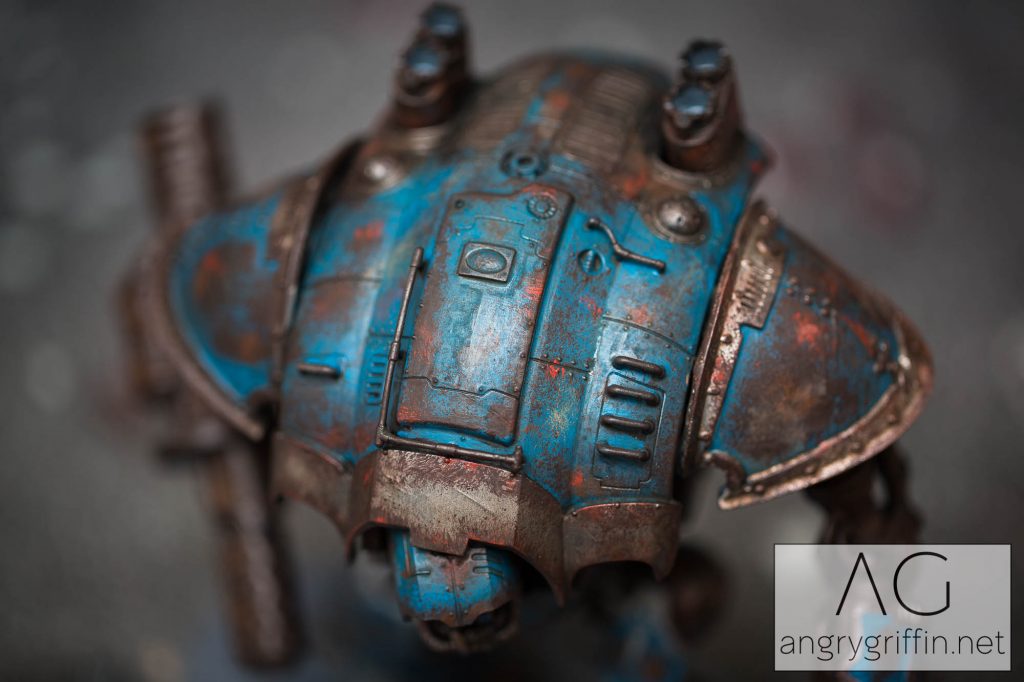
I undercoated with Vallejo Mecha Primer in black, then base coated the silver section with Citadel Iron Hands Steel. The blue was Citadel Thousand Sons Blue. I used thinned paints to build up a smooth and solid colour.
Next comes Citadel Rhinox Hide on a sponge (actually a torn out piece of a pick ‘n pluck-style miniature storage case) applied along any raised edges and across the center of any broad surfaces.
After that, I heavily stippled Citadel Mournfang Brown in smaller areas than the Rhinox hide, generally staying within the Rhinox Hide-covered areas. After that, a lighter stippling of Citadel Evil Sunz Scarlet and Citadel Zandri Dust added in a couple more variations on the rusted look. I’m on the fence as to whether Evil Sunz is too bright or not – the next time I’m going to try something a touch darker to try and make the red pop less.
A heavy wash of Citadel Agrax Earthshade really took the brightness out of the colours and made the Knight look like he’d been fighting for some time on an acid-rain world.
For the chassis beneath, I used the same technique but did a heavy drybrush of Citadel Ironbreaker after the Agrax Earthshade wash to differentiate the frame from the carapace.
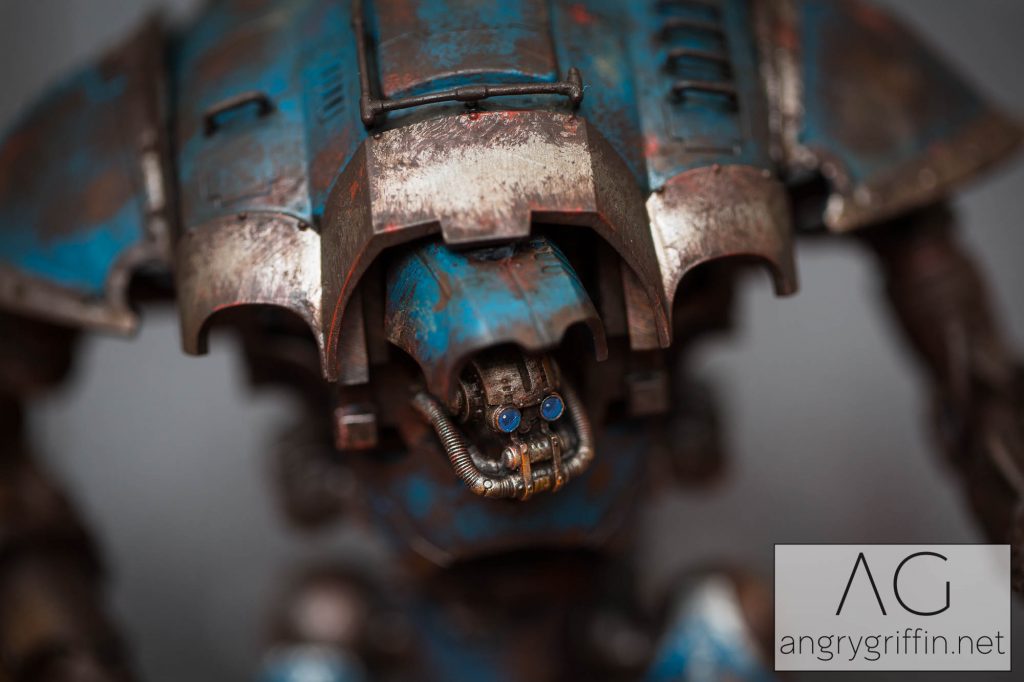
After the drybrush I did a light drybrush of Citadel Ryza Rust on select areas such as below the eye lenses.
More in progress shots next time!