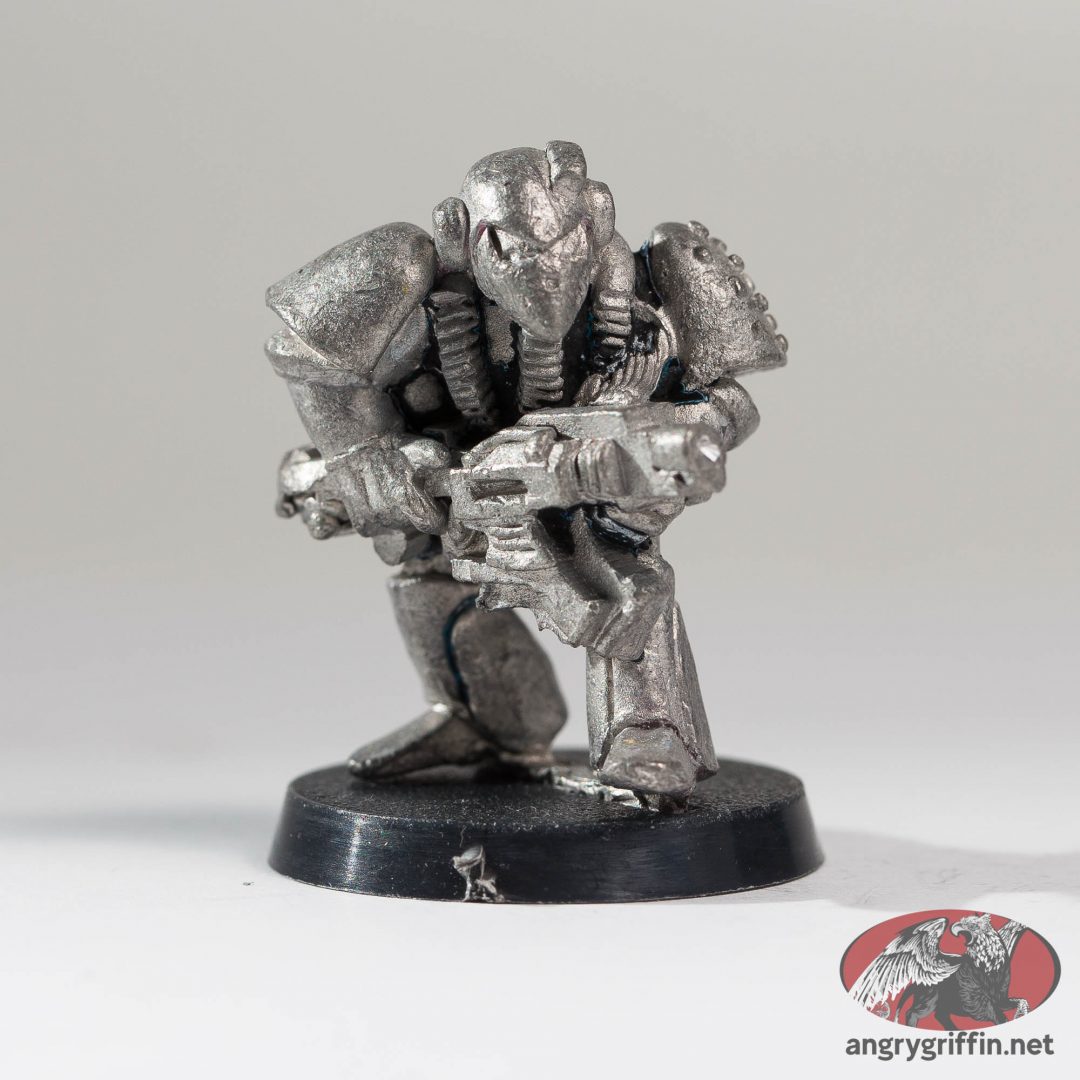
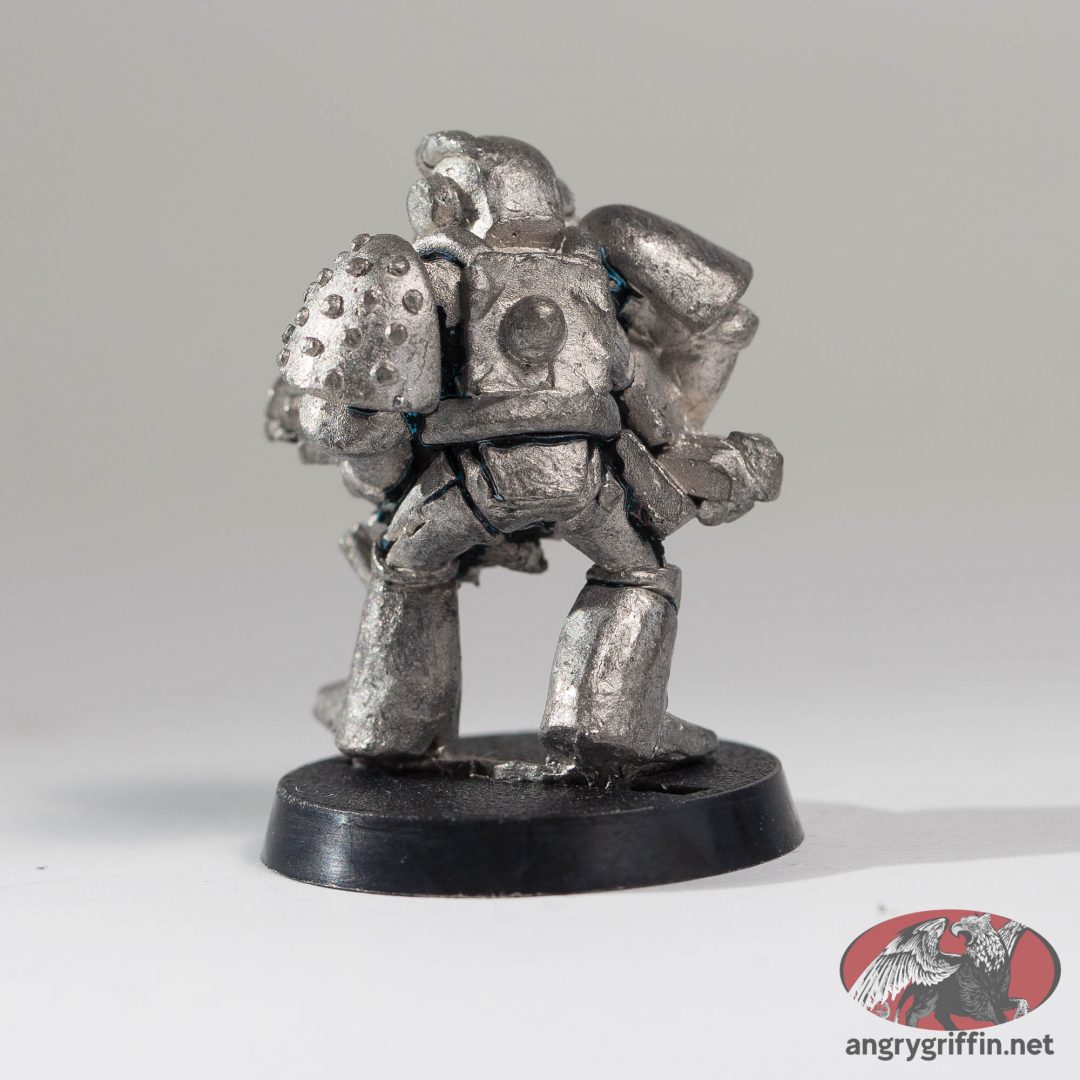
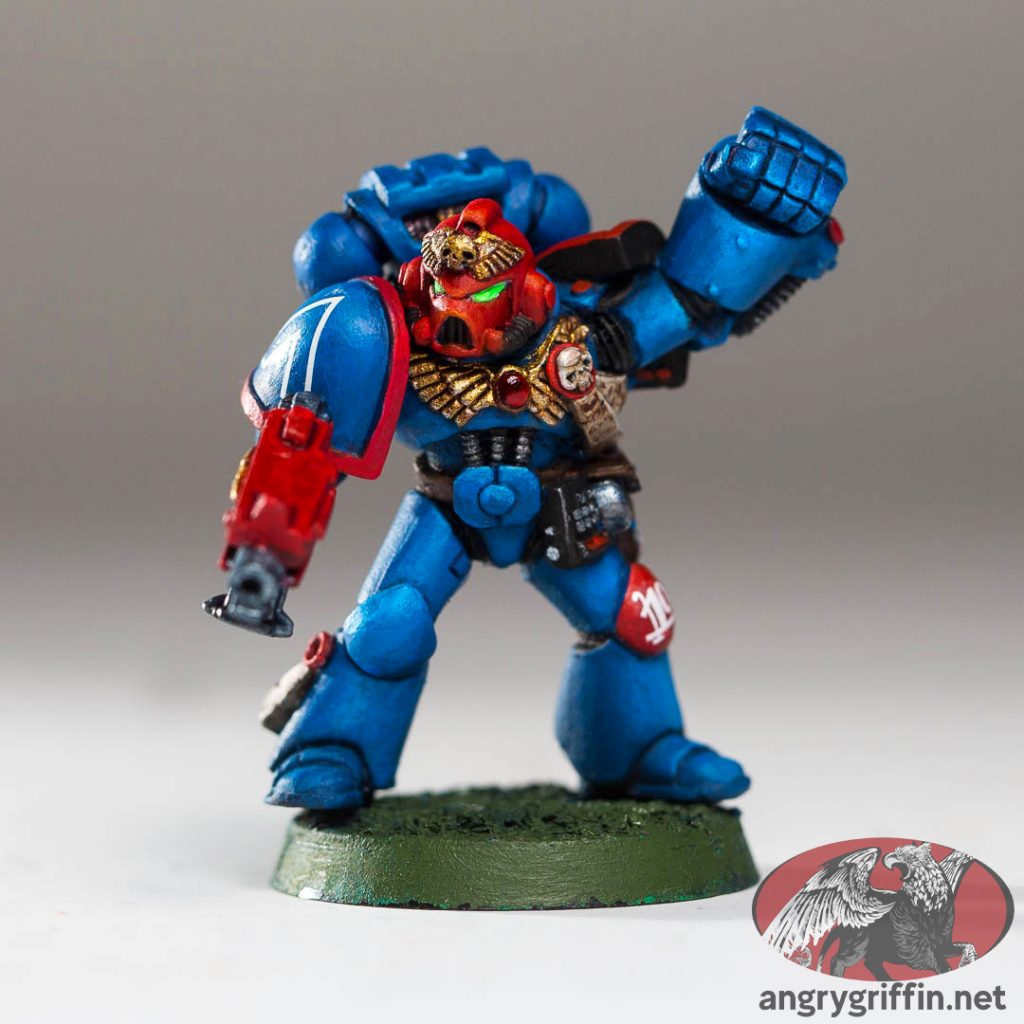
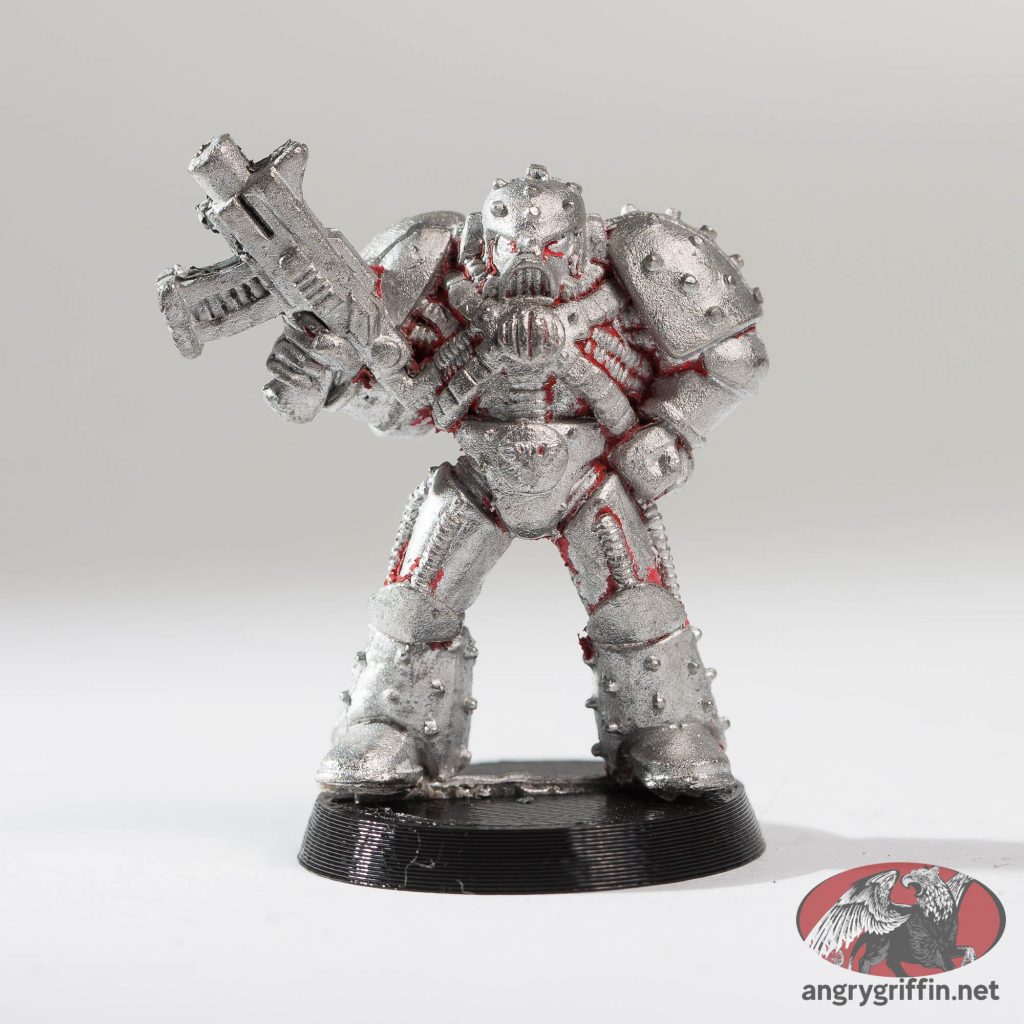
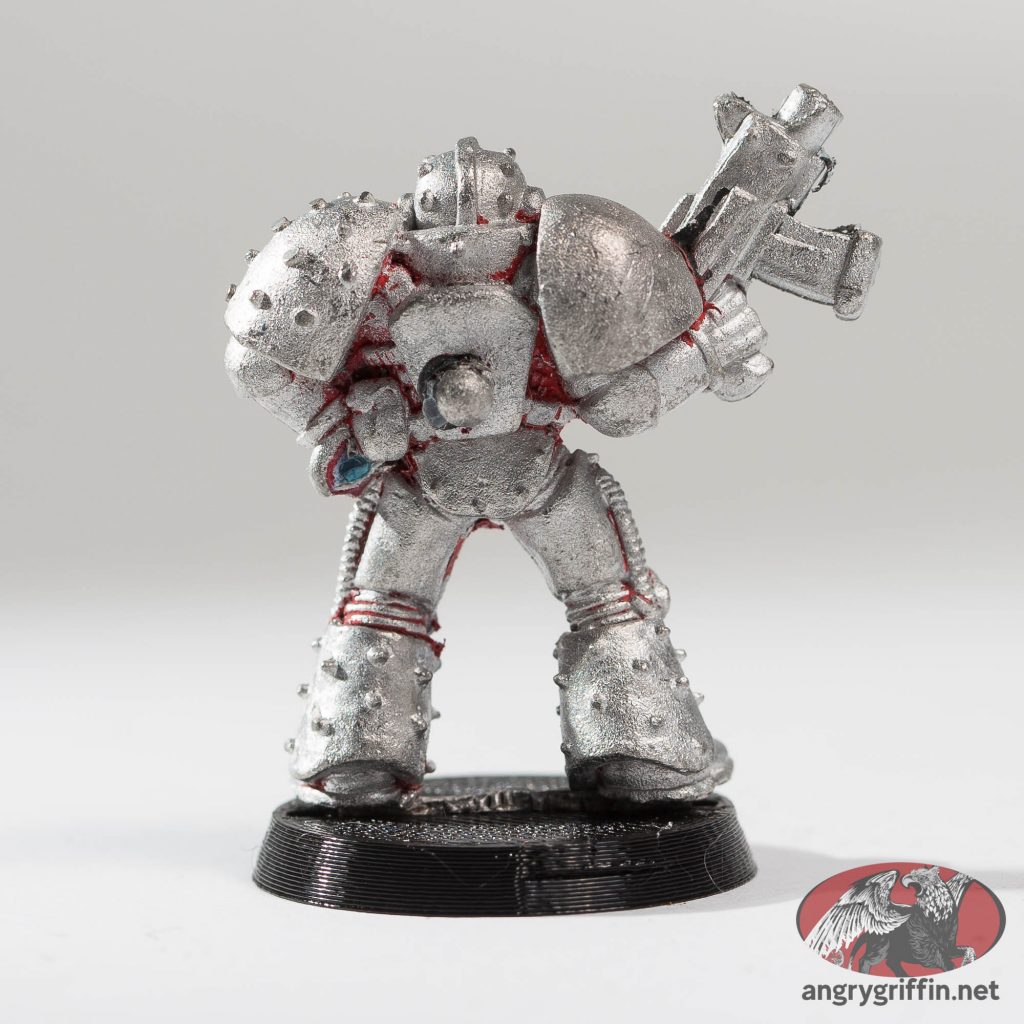
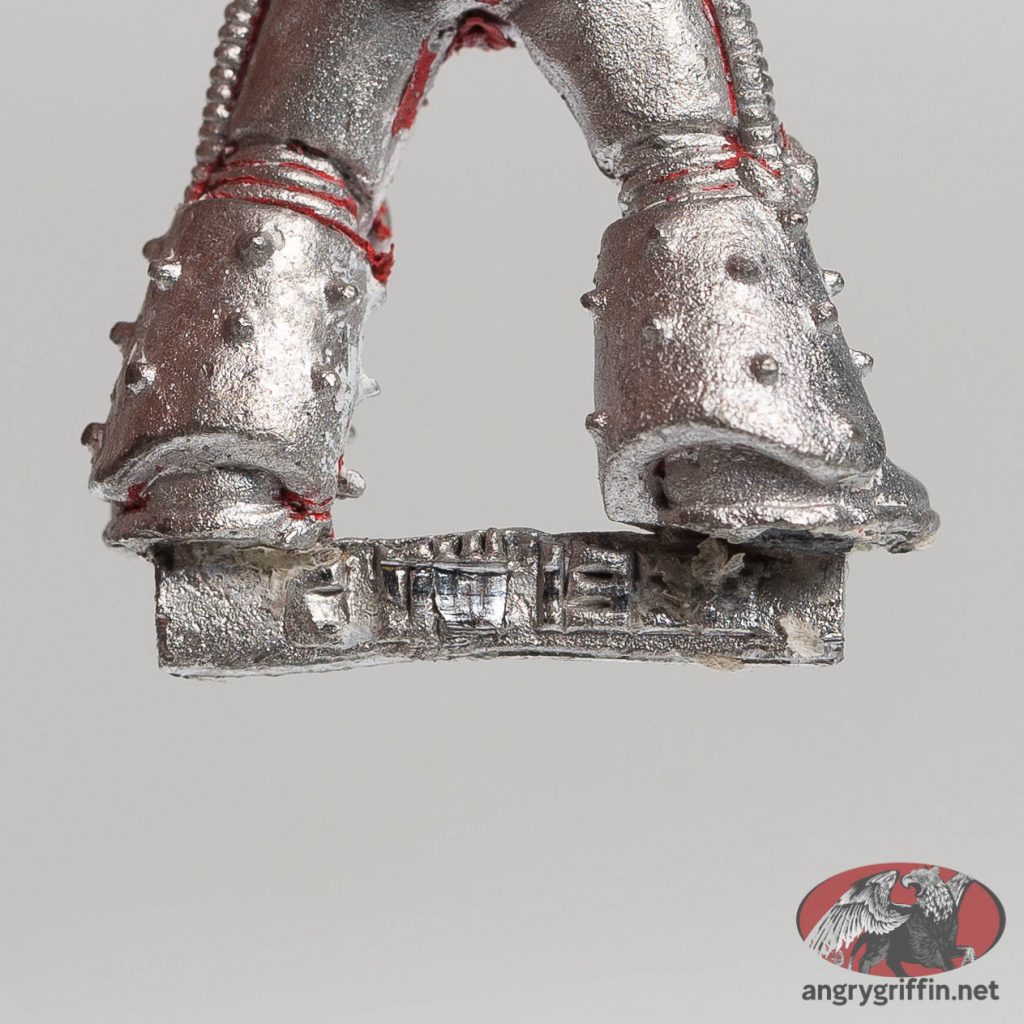
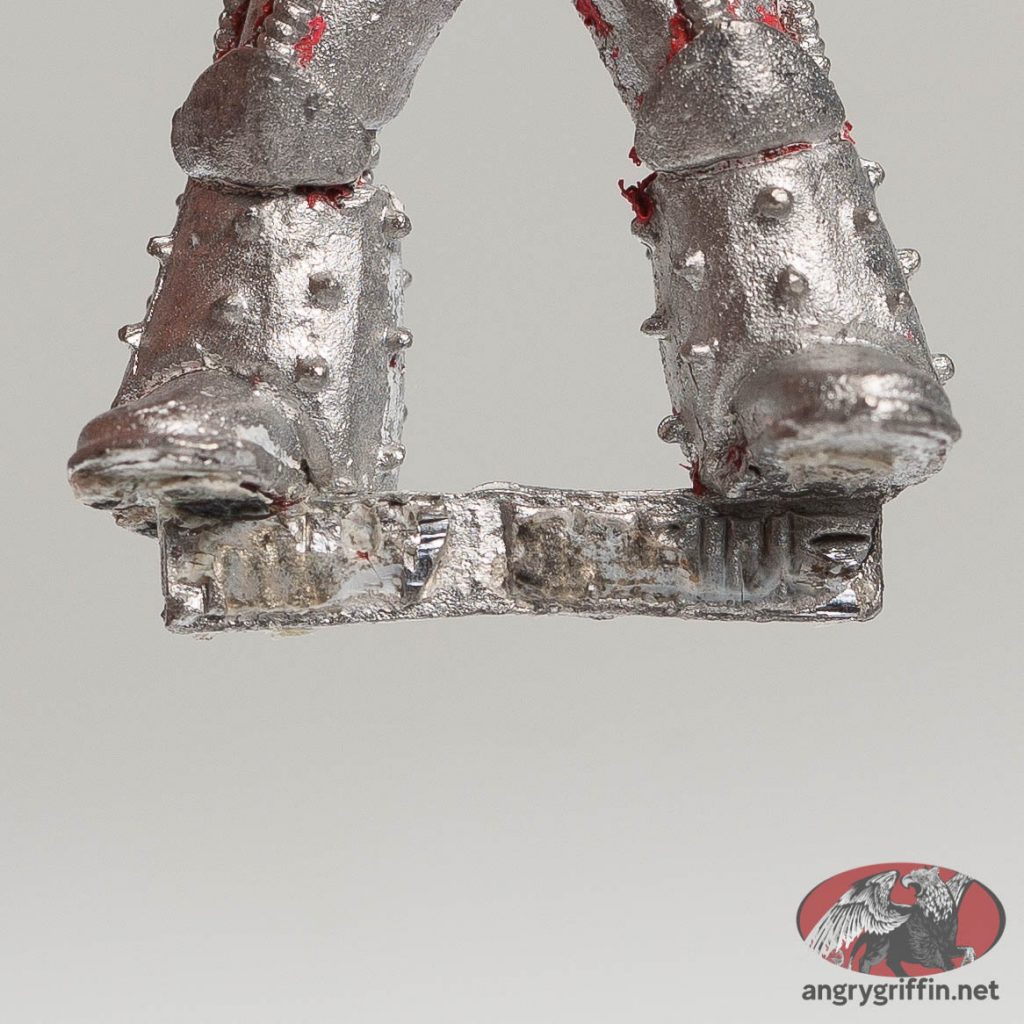
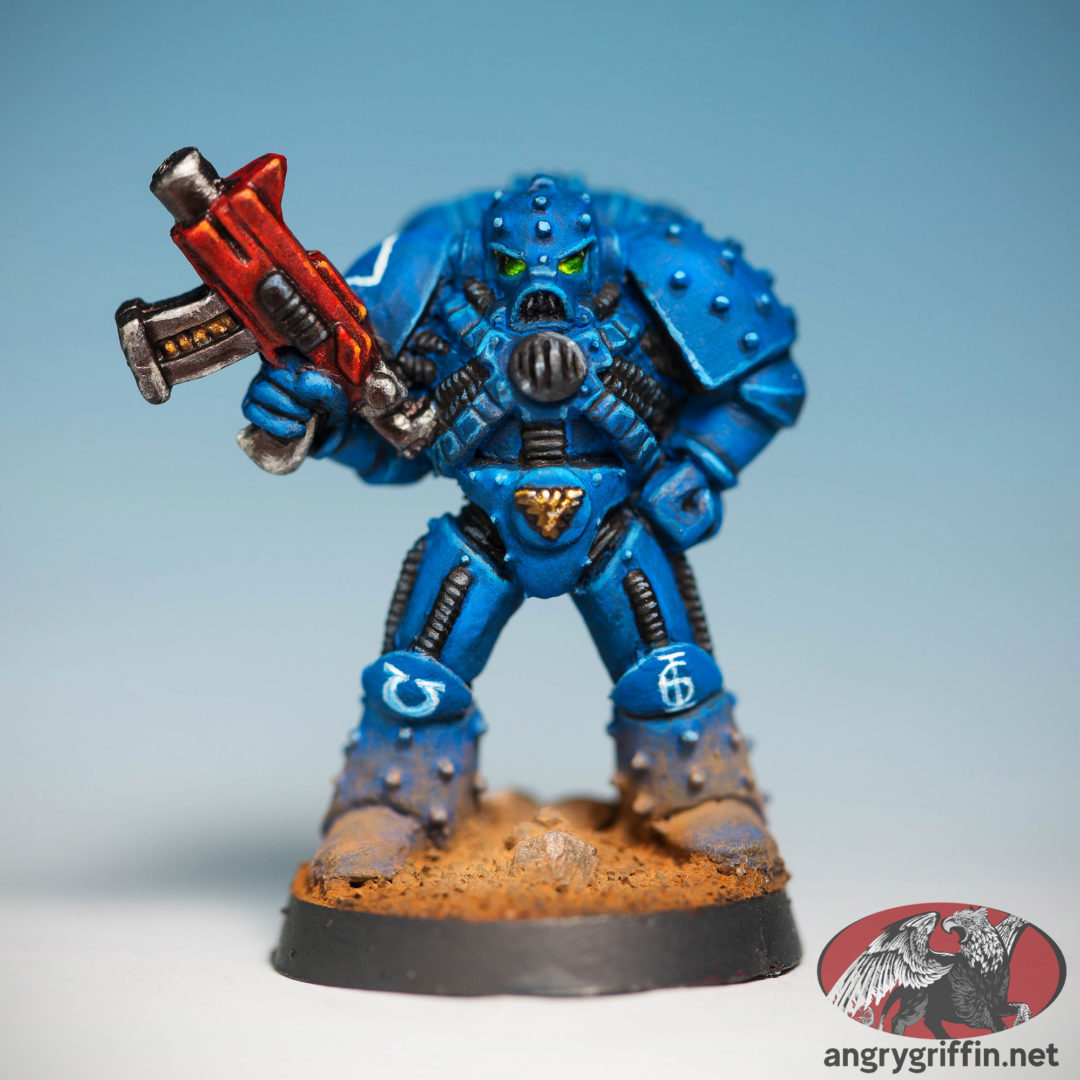
Going back to the glorious days of shoulder-mounted Devastator squad heavy weapons – here I have three Devastator metal bodies to add to the nostalgia metal marine force…
…and a mixture of later Devastator bodies, Tacticals and Assault Marines.
There’s a Sergeant Telion and a Sergeant Chronus in there too!
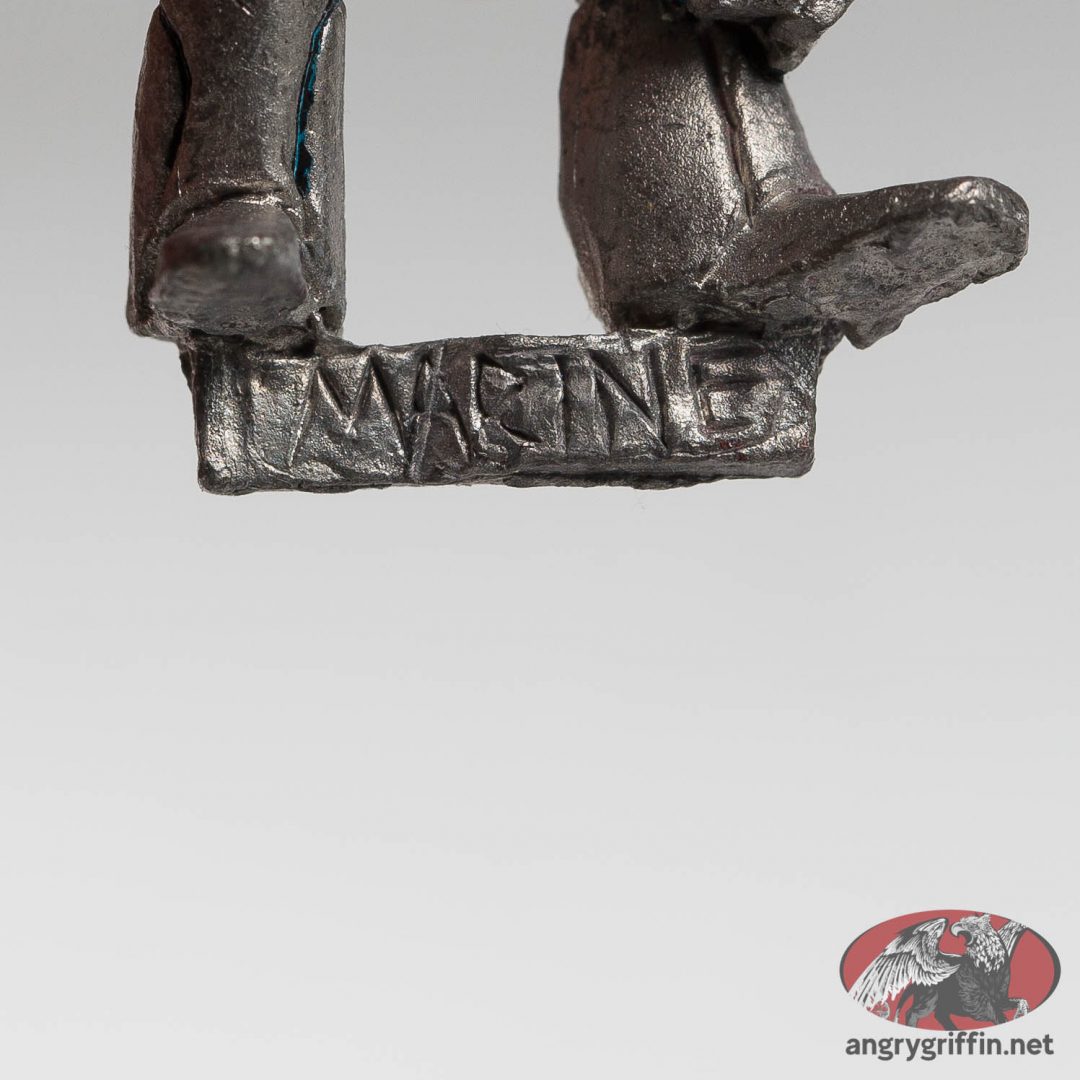
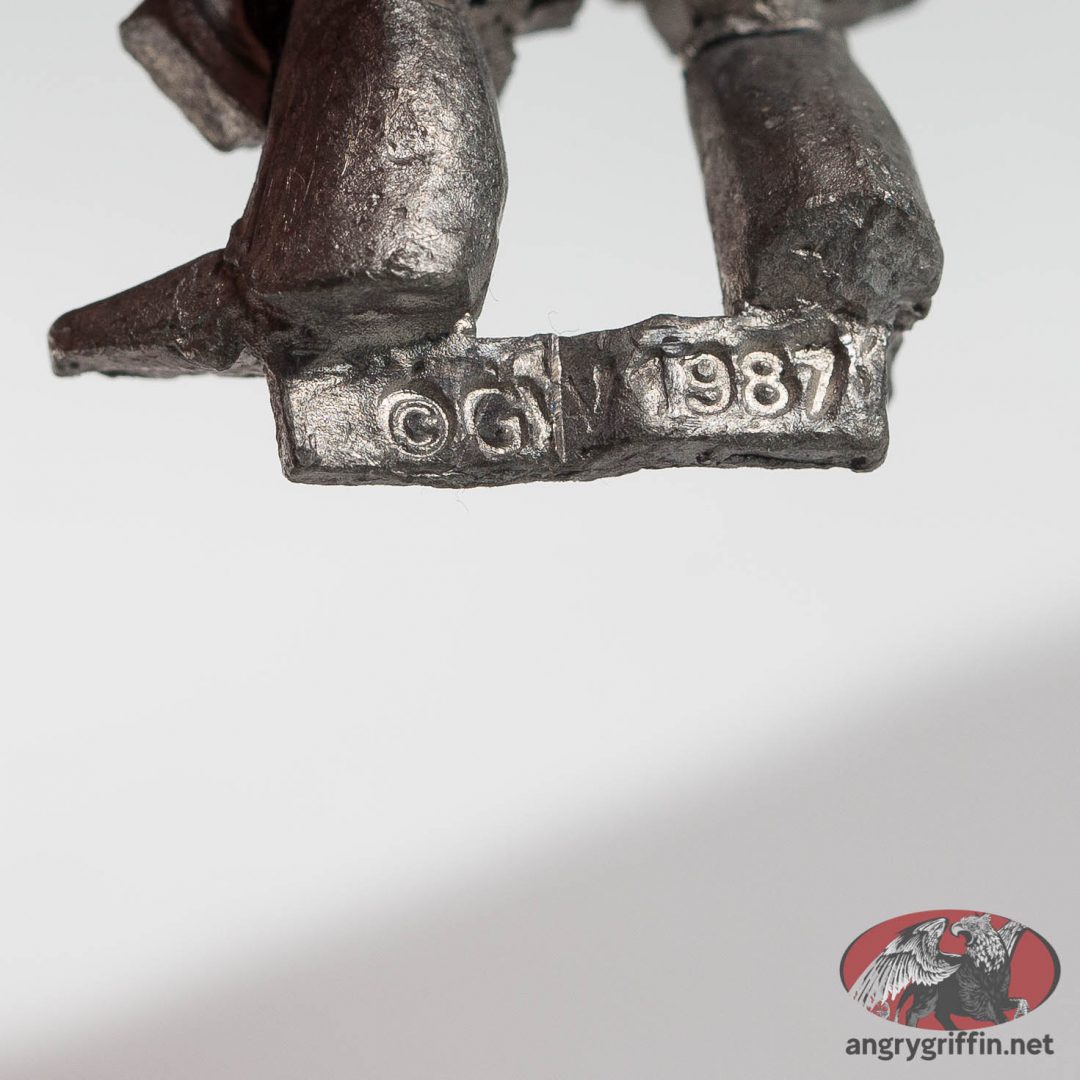
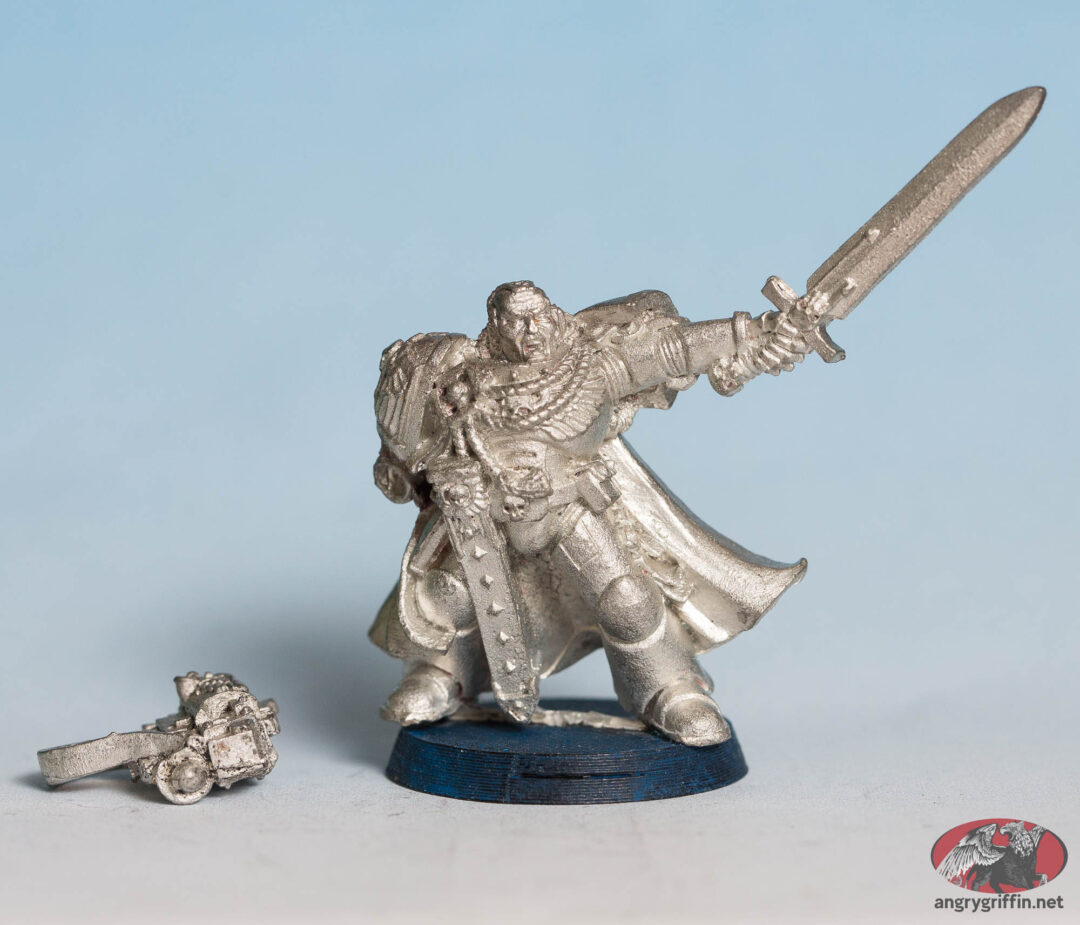
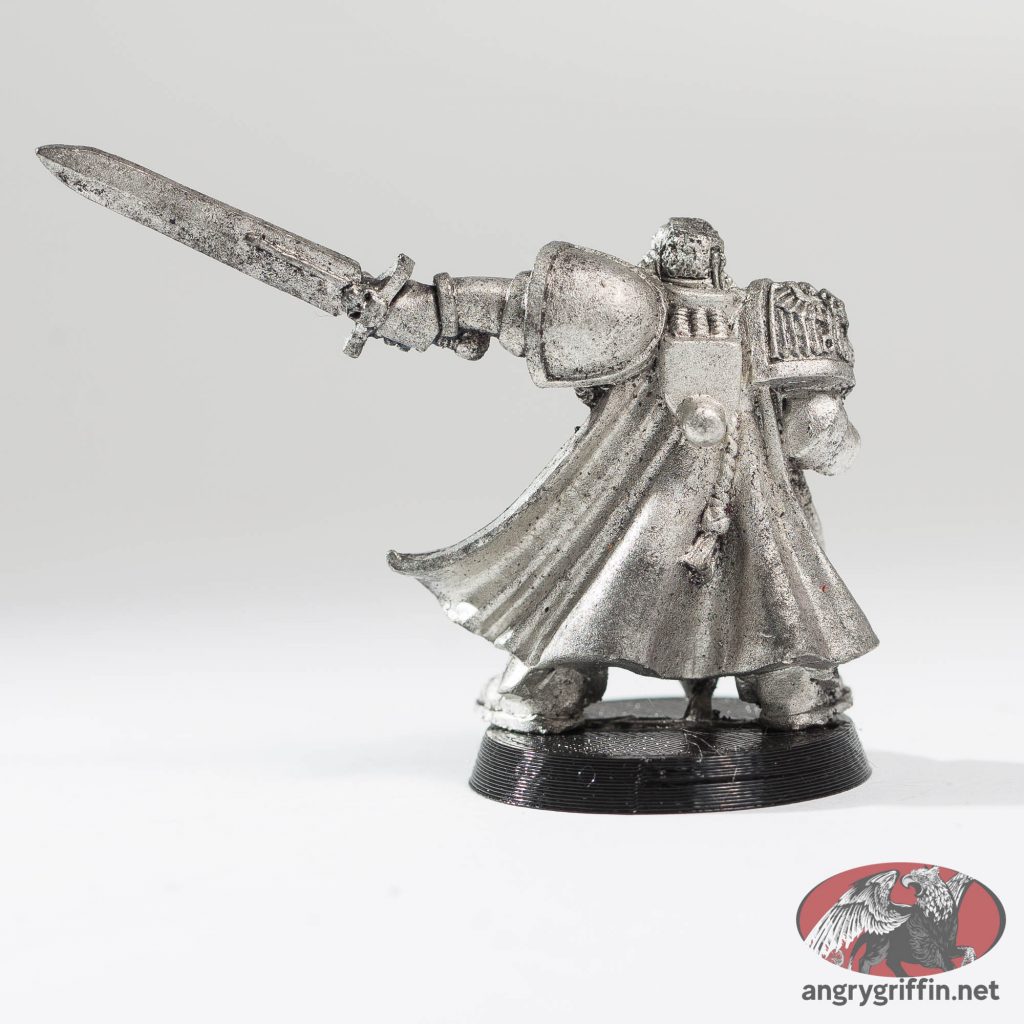
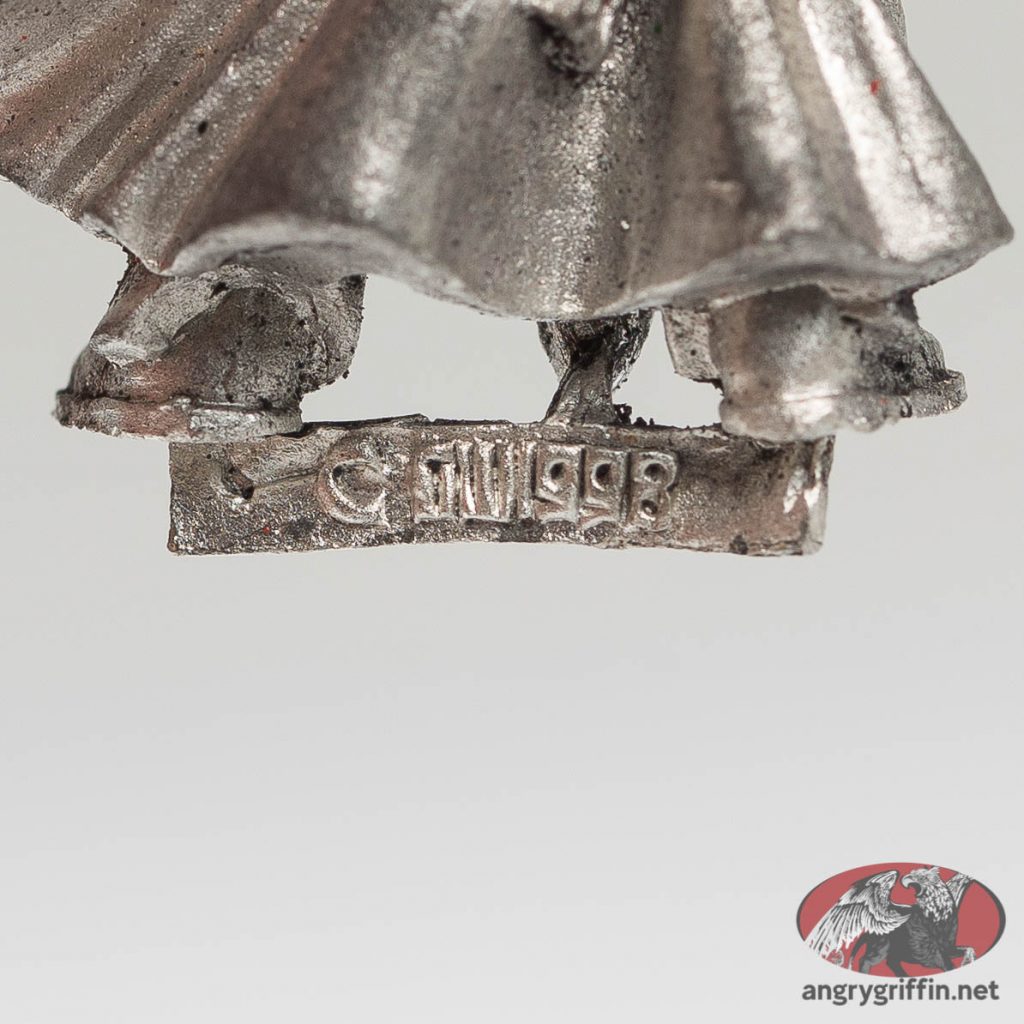
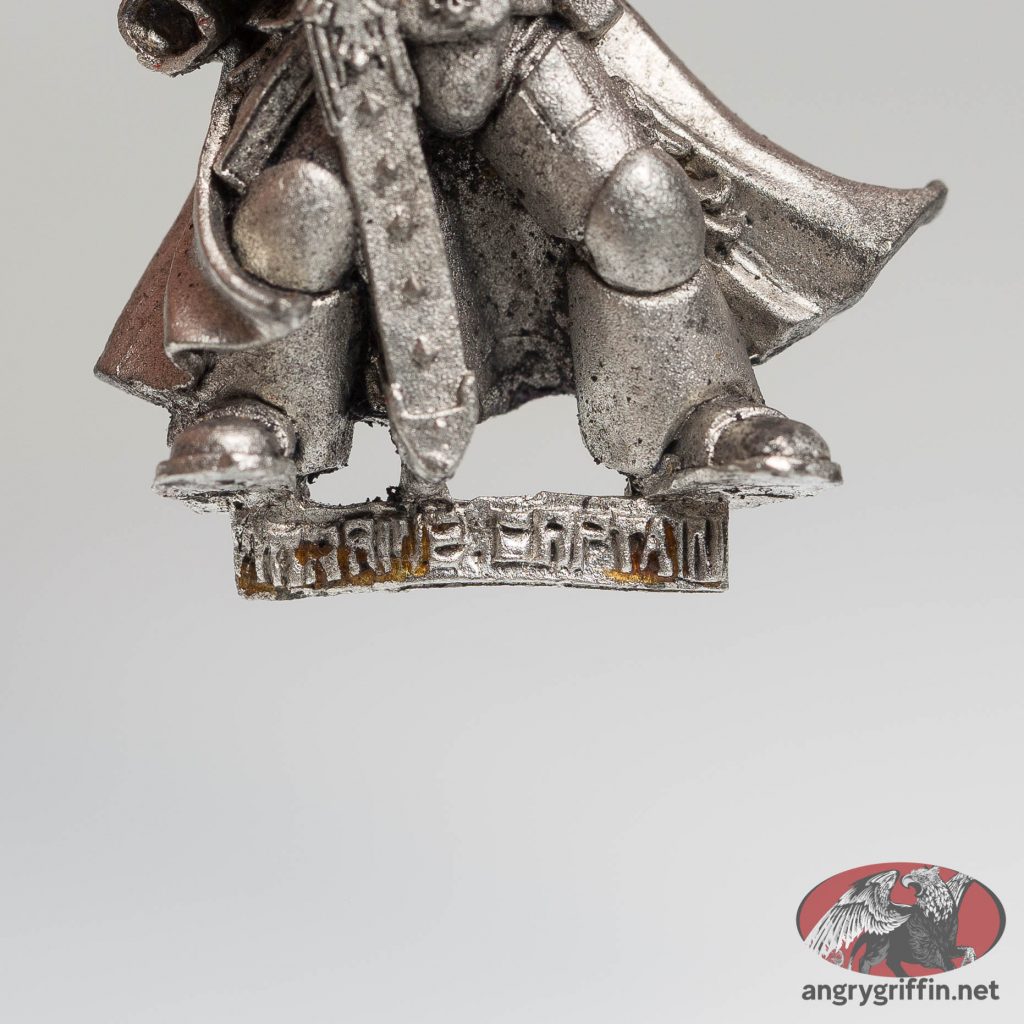
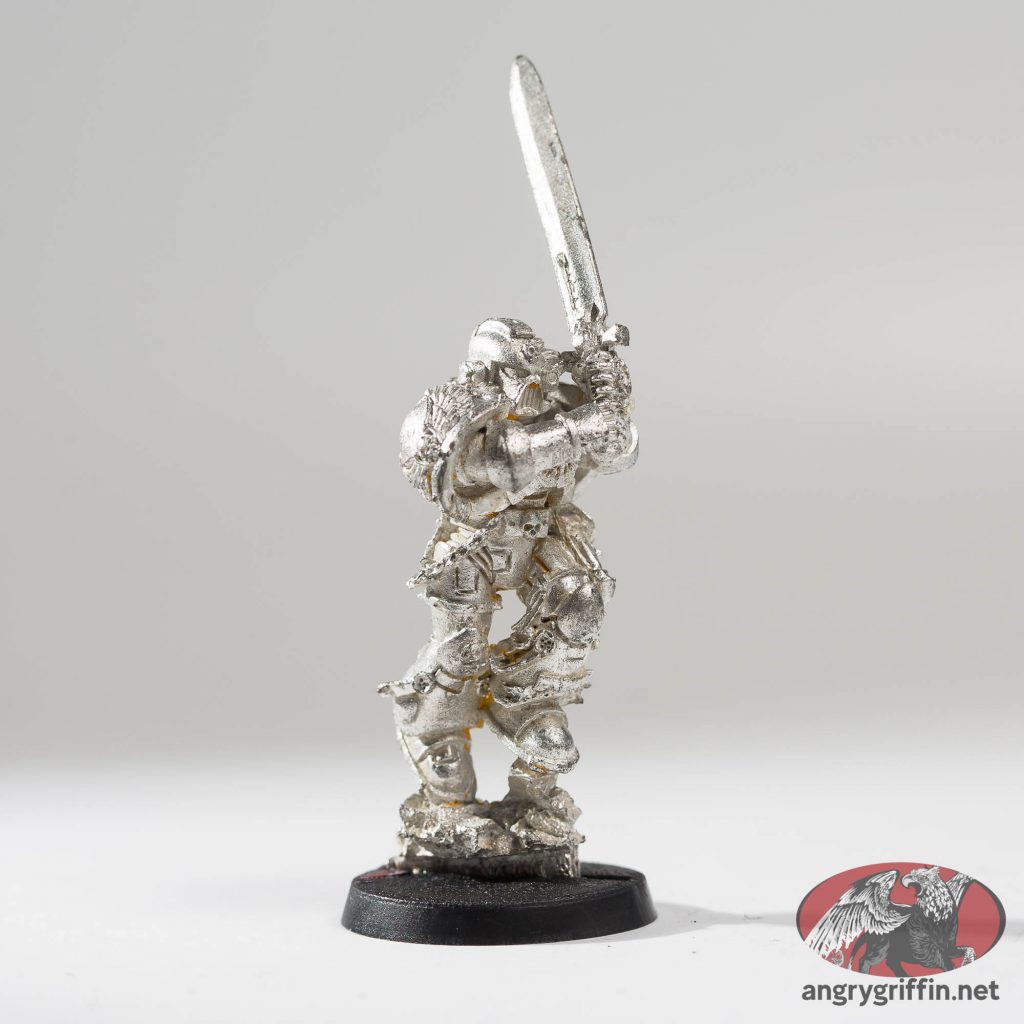
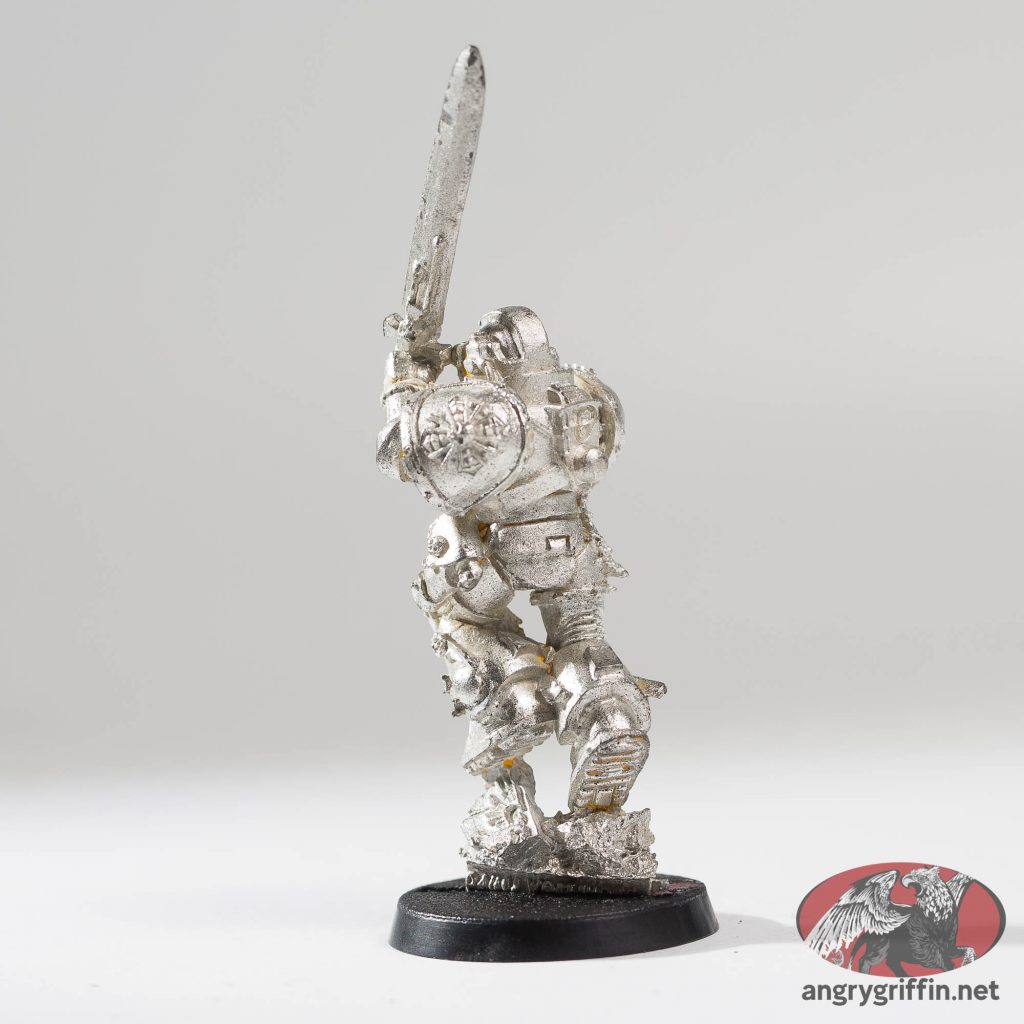
Some oldhammer! Or is this middlehammer? I lose track. This Games Workshop Warhammer 40K Techmarine was released as part of the Company Command box set a month 3rd edition hit, apparently – which would put him at being released in late 1998. Still using the same metal backpack as the older 2nd Ed. Techmarines, his sculpt is a mirror of the Captain with Terminator Honours and various others. It’s a Jes Goodwin sculpt.
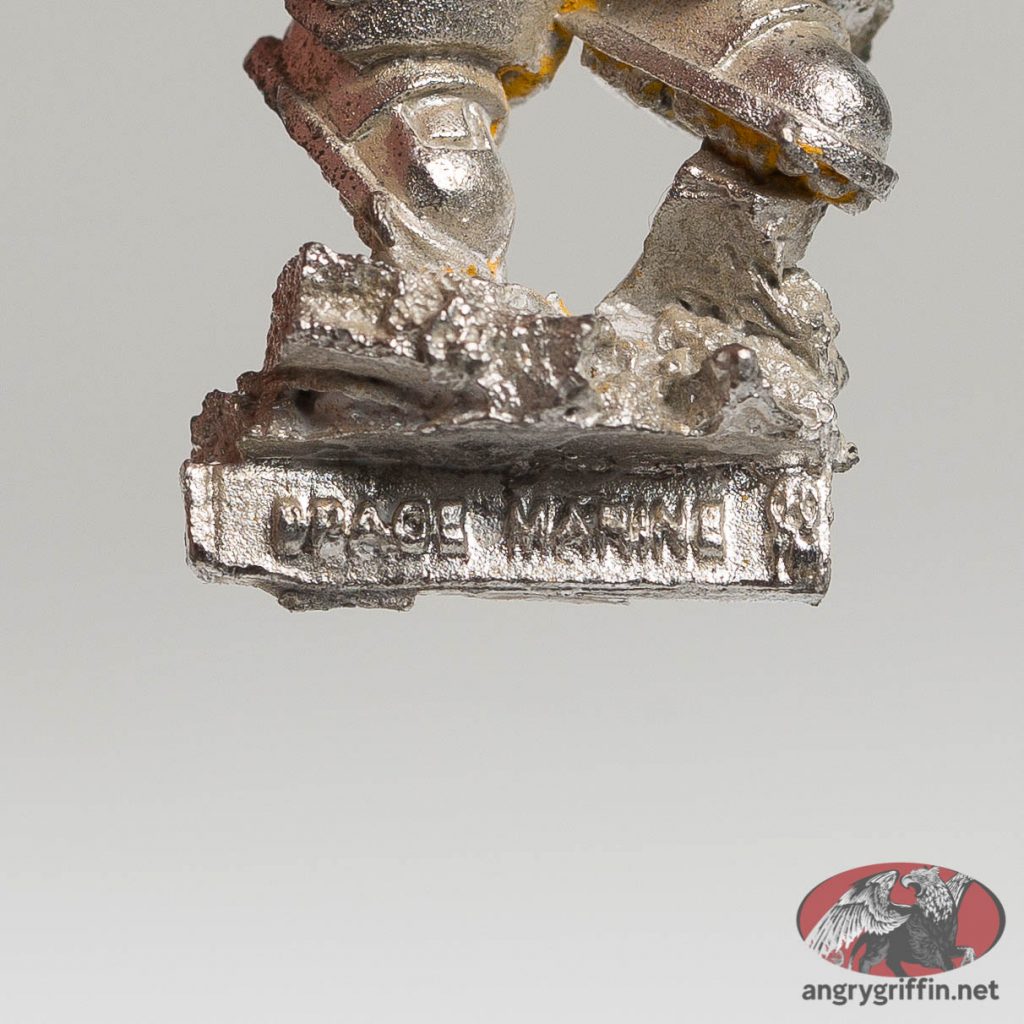
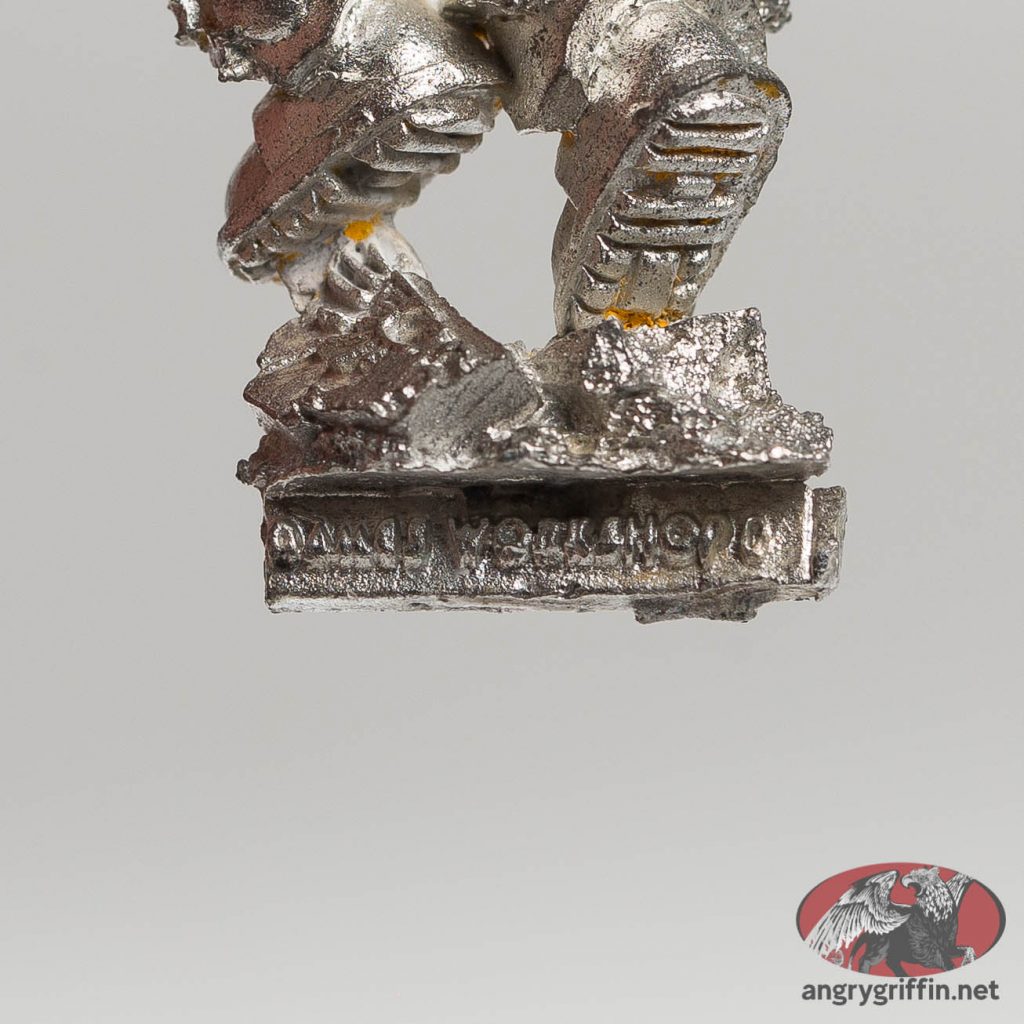
In the 2004 US catalogue this miniature is part number 010110305 with backpack 010107503 and axe/hand 010110306.
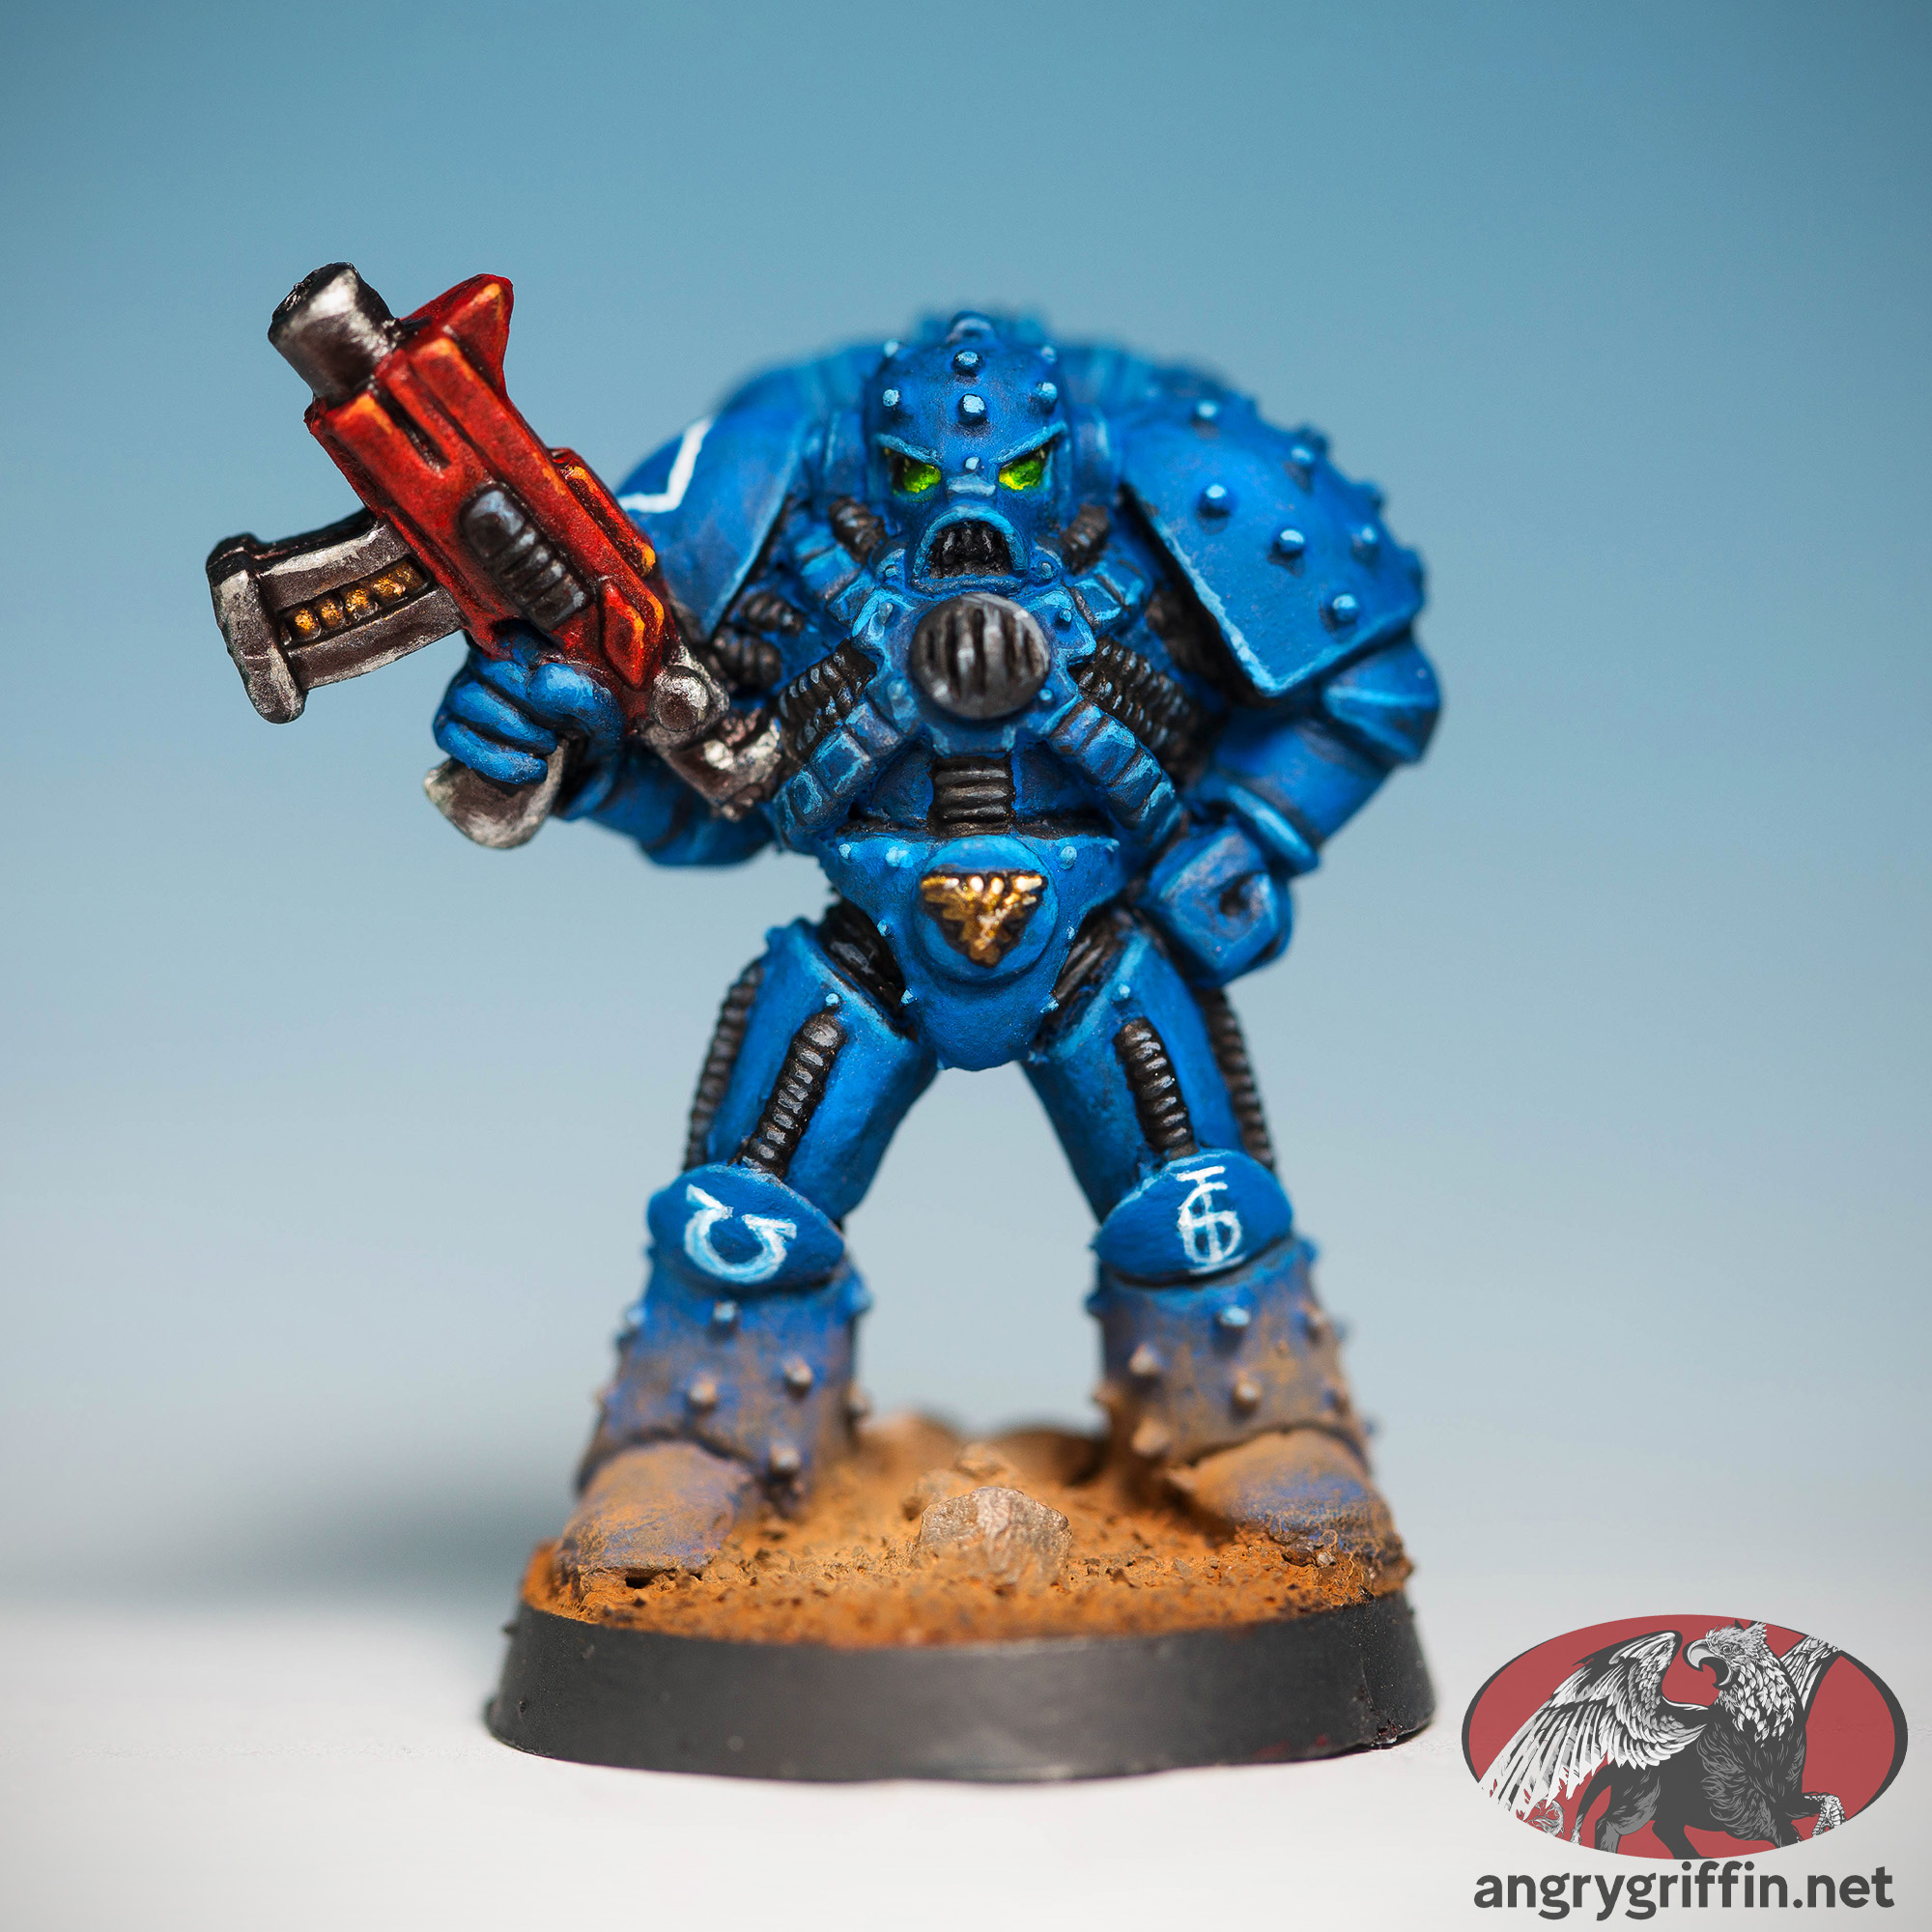
I was painting the metal guys up as a Raven Guard successor when I got him, so he has been stripped for repainting in blue. The RG successor scheme:
All painted using Scale75 with the exception of some washes and a contrast – in the scheme of a Raven Guard sucessor that is as yet unnamed. Back when I was playing 2nd. Ed I called them the Harbingers, but that name is actually a canon chapter now (perhaps it was then too) so I need to find another.
Base armour: Scale75 Artrist Green Grey, attempted to shade with SIN-42 Golem Grey but it wasn’t very dramatic
Base armour highlight: 50/50 Green Grey and Scale75 SART-16 Artist Arctic Blue
Base armour ultimate highlight: Arctic Blue
Red base: Scale75 Crimson
Red highilight: Scale75 Primary Red
Red wash: Carroburg Crimson
Metal base: Scale75 Black Metal
Metal wash: Drakenhof Nightshade
Metal shade: Scale75 Instant Fairy Blood
Metal highlight: Black Metal then Thrash Metal and Speed Metal, White Alchemy as ultimate highlight
Axe glow at the back: Scale75 Art White + Talassar Blue Contrast
Eye lens: Scale75 Sap Green and Spring Green, dot of Art White
Cables: Primary Blue, Crimson, Cobalt Blue, Primary Yellow, Dark Violet, Turquoise Blue
Wash for cog and rack on servo arm: Vallejo Mecha Dark Rust Wash
Wash for tubes on arm/backpack: Scale75 Instant Love Affair
Purity Seal: Scale75 Off White, Seraphim Sepia, writing Scale75 Artist Burnt Sienna Umber
Eye (all black as per RG): Scale75 Artist Art Black
Today it was a Raven Guard Successor chapter vs. the Angels of Annihilation (Imperial Fists successor).
500pt game which was largely decided before the second turn of the first round. A RG smash captain and Bladeguard Veteran squad were Master of Ambushed up the board and successfully charged an Outrider squad, between the two of them taking it out and consolidating into a squad of heavy intercessors, who were forced to fall back rather than shoot in their first turn.
I think we are finding that 500pt games are sometimes easily decided like this – the Outrider squad was 30% of the total army points, and that’s a blow that would be hard to recover from (at least at our skill level…). As fun as it is to MoA a close combat squad up the board it would be a more fun game at a higher points figure, I suspect.
We’ll try 1000 pts for next time and see if we can fit it in a reasonable timeframe. Despite the game being over relatively quickly it still took 2hrs to set up, play and pack away. It would have been quicker had it not been months since we last played…
RG successor won, as you may have gathered. Terrain takeaway: Need more ruins!
I’m painting up some Raven Guard Primaris Intercessors squads where the sergeants have thunder hammers, and here’s the recipe I’m using to get the following look:
The hammer started off being undercoated in Mecha Black and a base coat of Hashut Copper was applied. A wash of Canoptek Armourshade was next and once that dried a heavy drybrush of Ironbreaker followed. The contact face of the hammer then received some White Scar and a drybrush of Praxeti White was applied, brushing from the face back so that it faded the further it went.
Calth Blue Clear was applied to the sides of the hammer. It dries a little more slowly than the Citadel washes so it’s a little easier to move it around to create a light to dark transition without having to get it right first time around.
Talassar Blue was applied closer to the face of the hammer to help with the transition, then Drakenhof Nightshade was carefully painted onto the face in the recesses and further back on the hammer where there were still lighter spots visible in recesses.
A little more drybrushing with Praxeti White and then some careful edge highlighting with White Scar got it to the point you see above.
This is my current favoured formula for very weathered/aged/battle damaged Imperial Knight miniatures. It’ll work on vehicles like tanks or armoured miniatures like Space Marines as well, but it’s probably easiest on the scale of a tank or Knight!
I undercoated with Vallejo Mecha Primer in black, then base coated the silver section with Citadel Iron Hands Steel. The blue was Citadel Thousand Sons Blue. I used thinned paints to build up a smooth and solid colour.
Next comes Citadel Rhinox Hide on a sponge (actually a torn out piece of a pick ‘n pluck-style miniature storage case) applied along any raised edges and across the center of any broad surfaces.
After that, I heavily stippled Citadel Mournfang Brown in smaller areas than the Rhinox hide, generally staying within the Rhinox Hide-covered areas. After that, a lighter stippling of Citadel Evil Sunz Scarlet and Citadel Zandri Dust added in a couple more variations on the rusted look. I’m on the fence as to whether Evil Sunz is too bright or not – the next time I’m going to try something a touch darker to try and make the red pop less.
A heavy wash of Citadel Agrax Earthshade really took the brightness out of the colours and made the Knight look like he’d been fighting for some time on an acid-rain world.
For the chassis beneath, I used the same technique but did a heavy drybrush of Citadel Ironbreaker after the Agrax Earthshade wash to differentiate the frame from the carapace.
After the drybrush I did a light drybrush of Citadel Ryza Rust on select areas such as below the eye lenses.