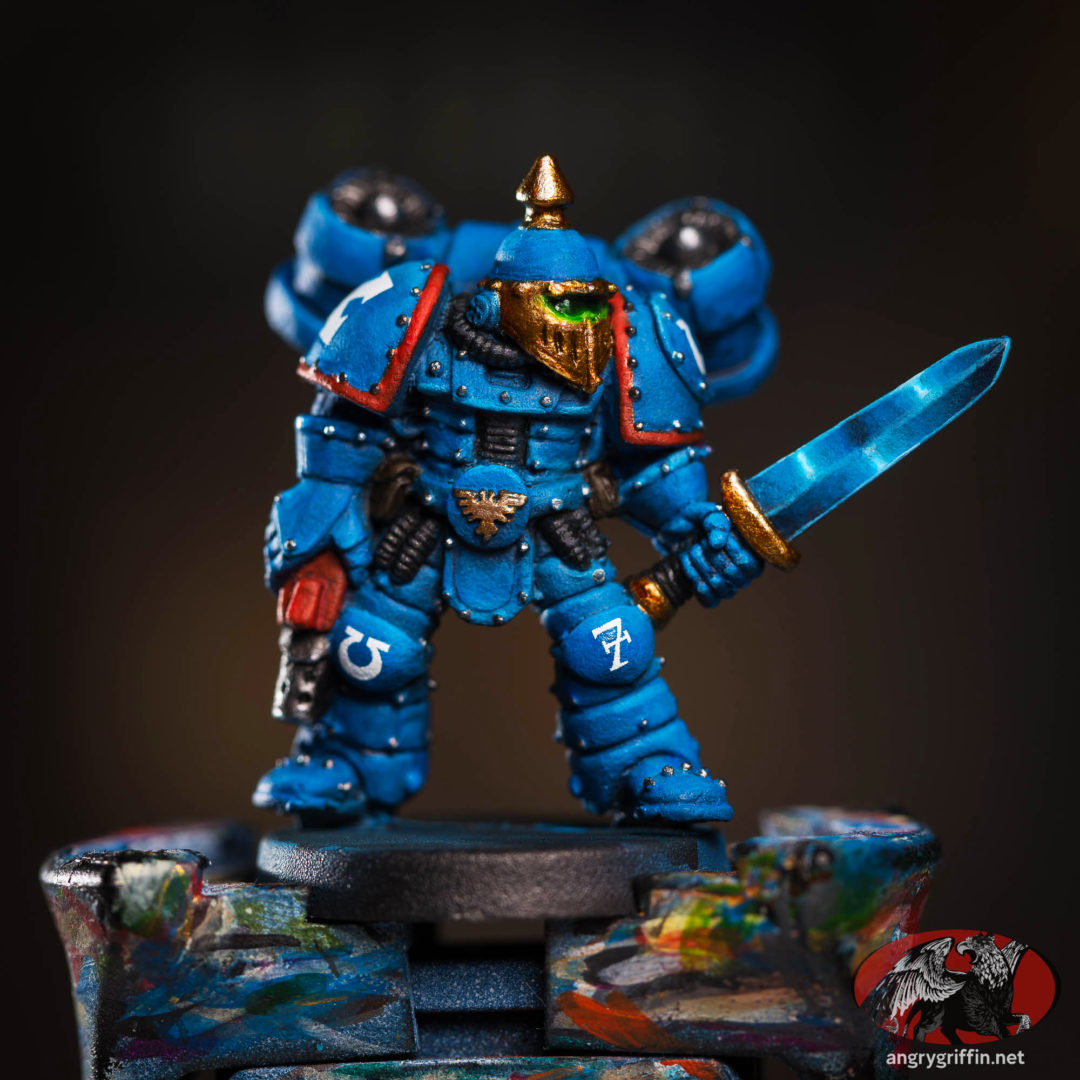
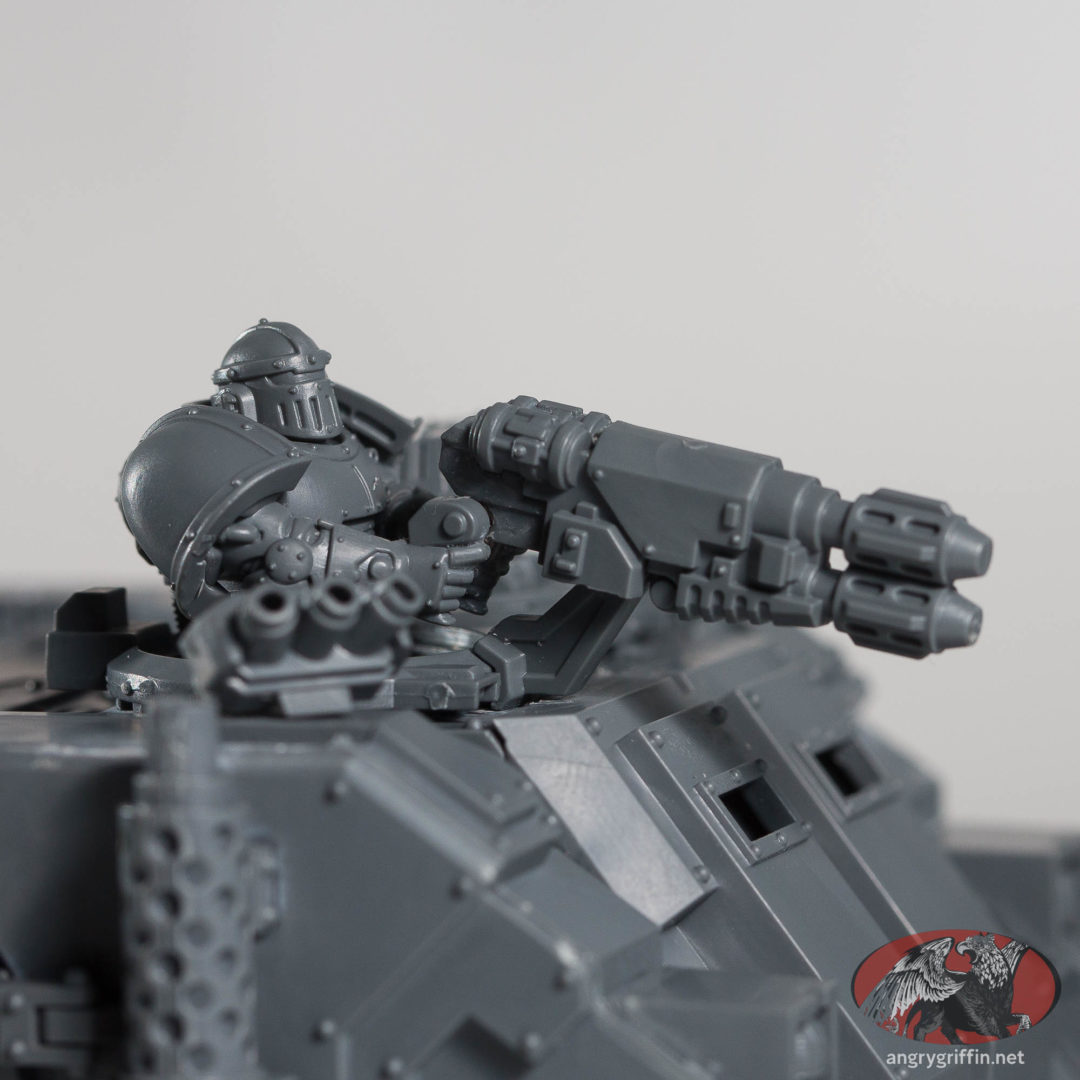
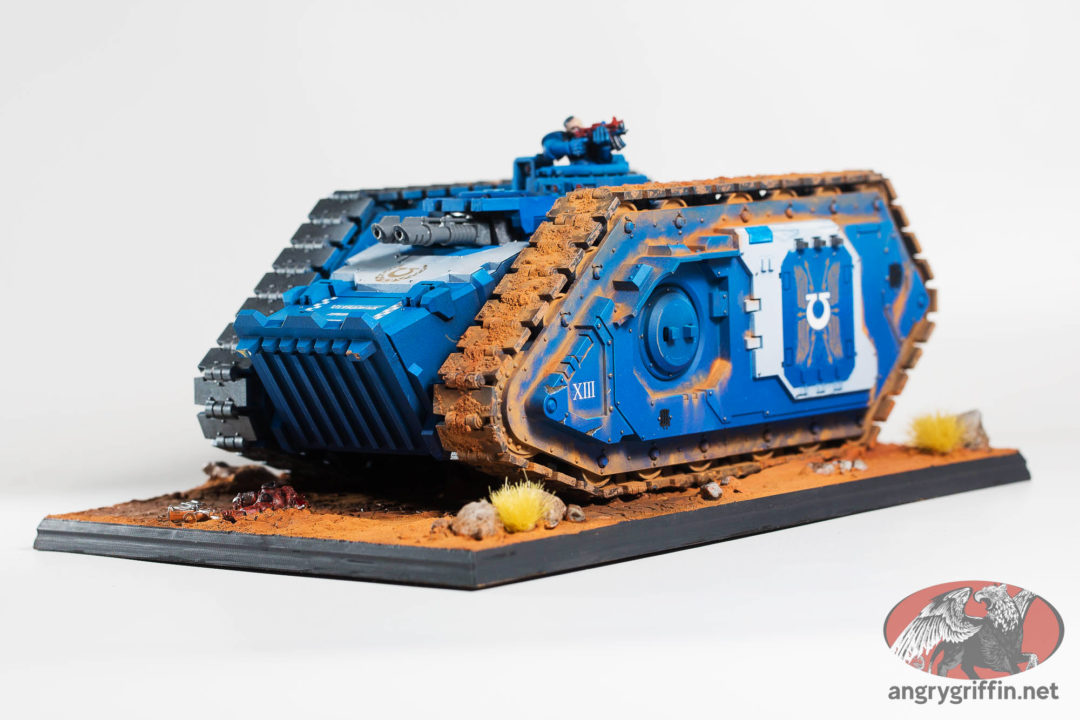
Here are my experiments with magnetising one of the new Kratos tanks from Games Workshop for Warhammer 30K or 40K.
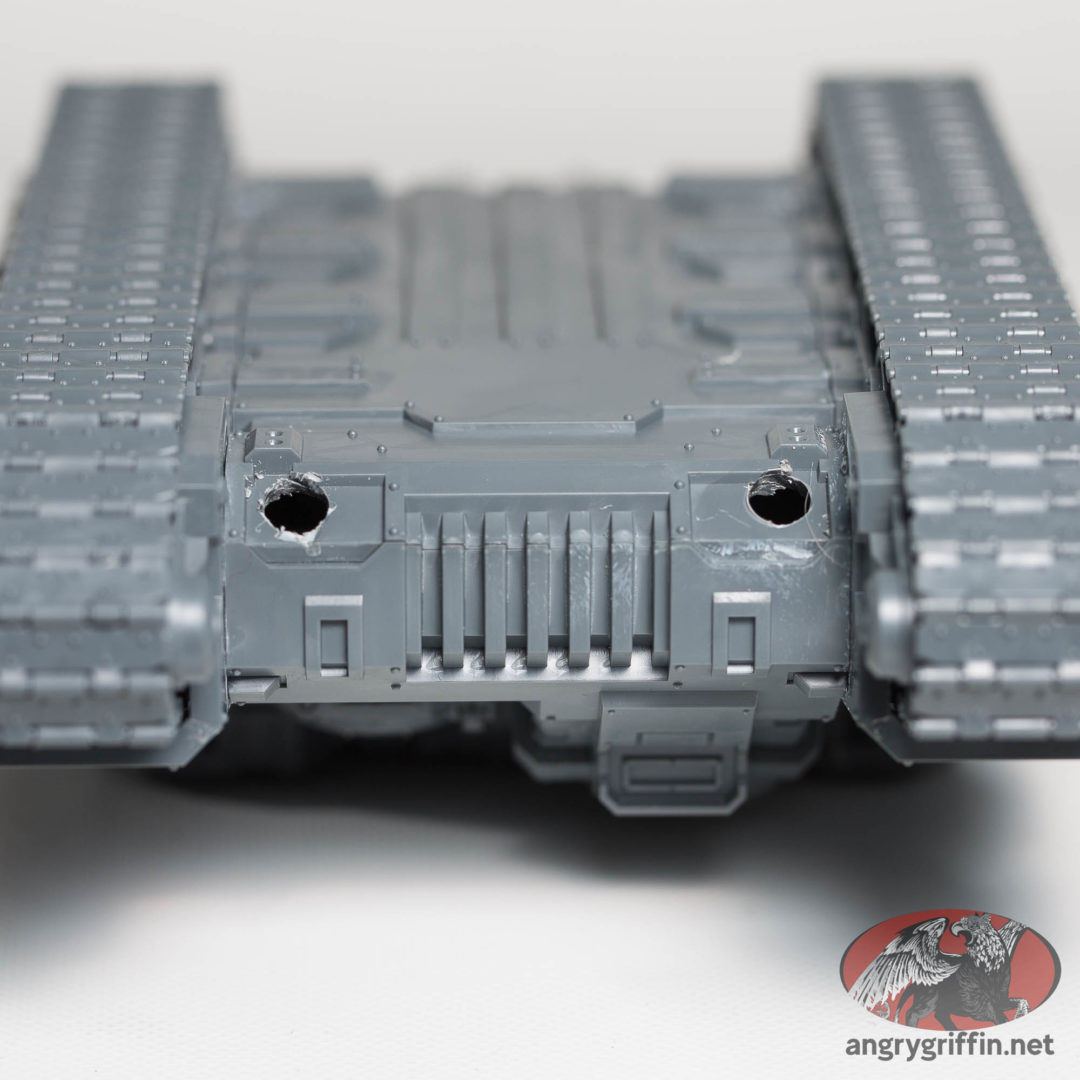
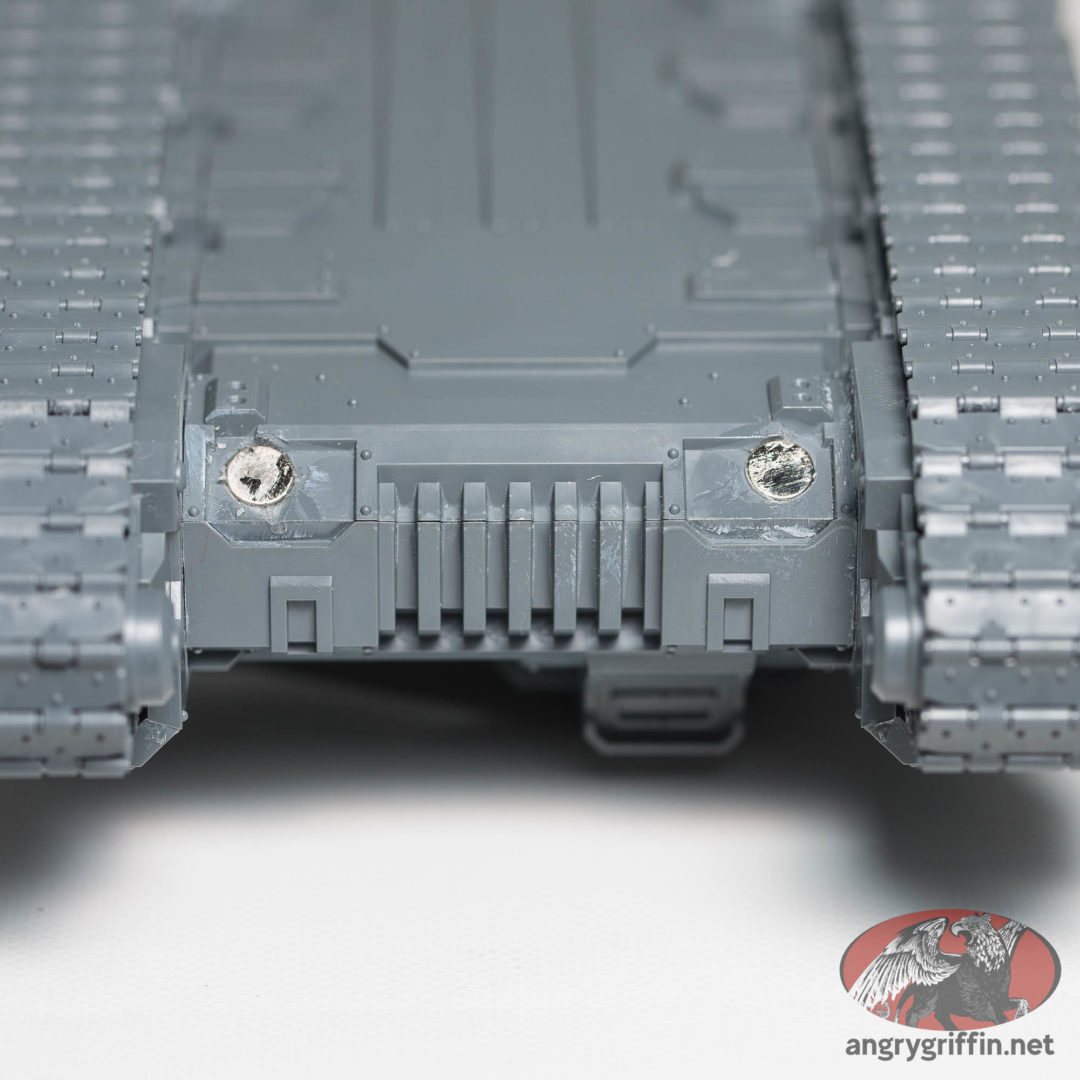
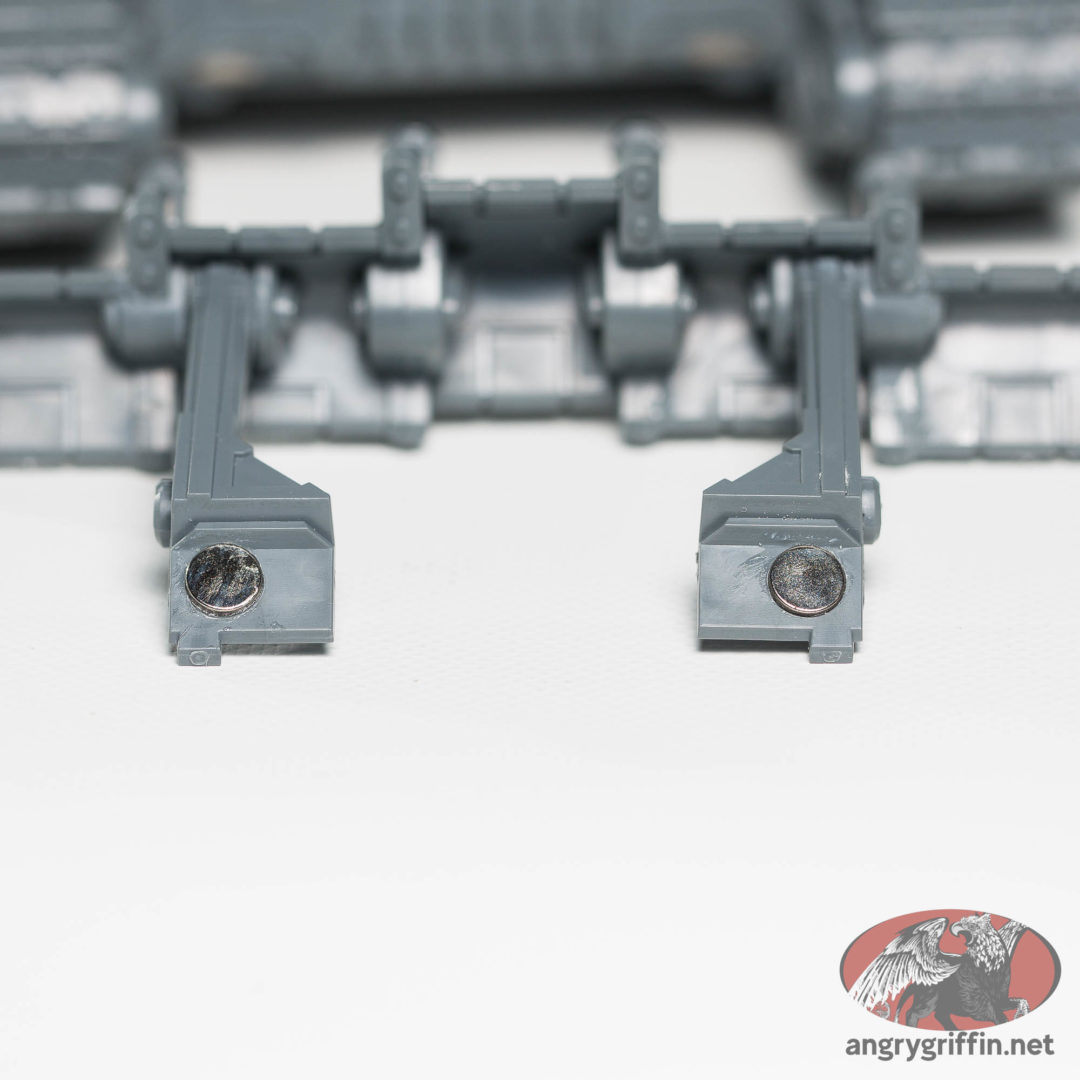
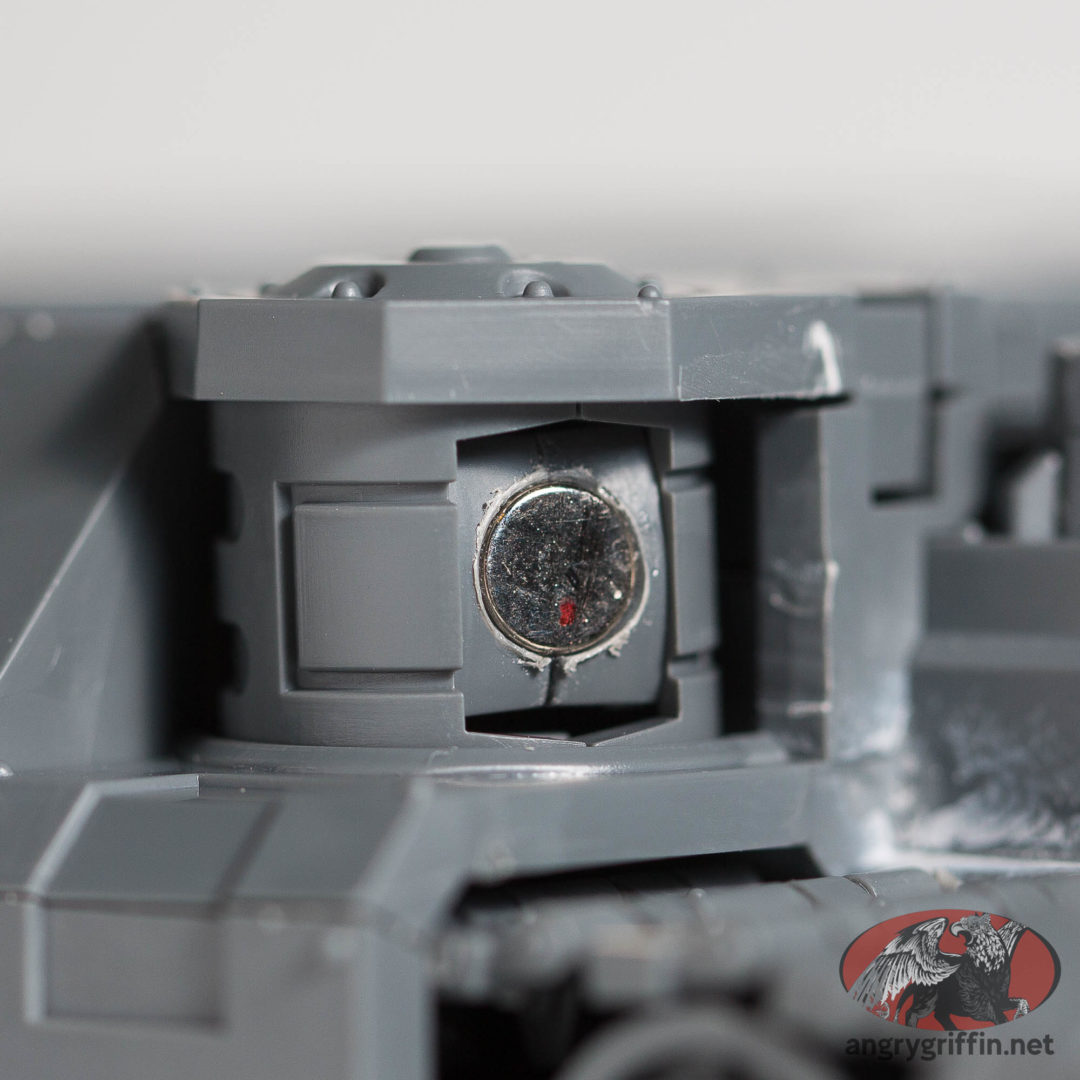
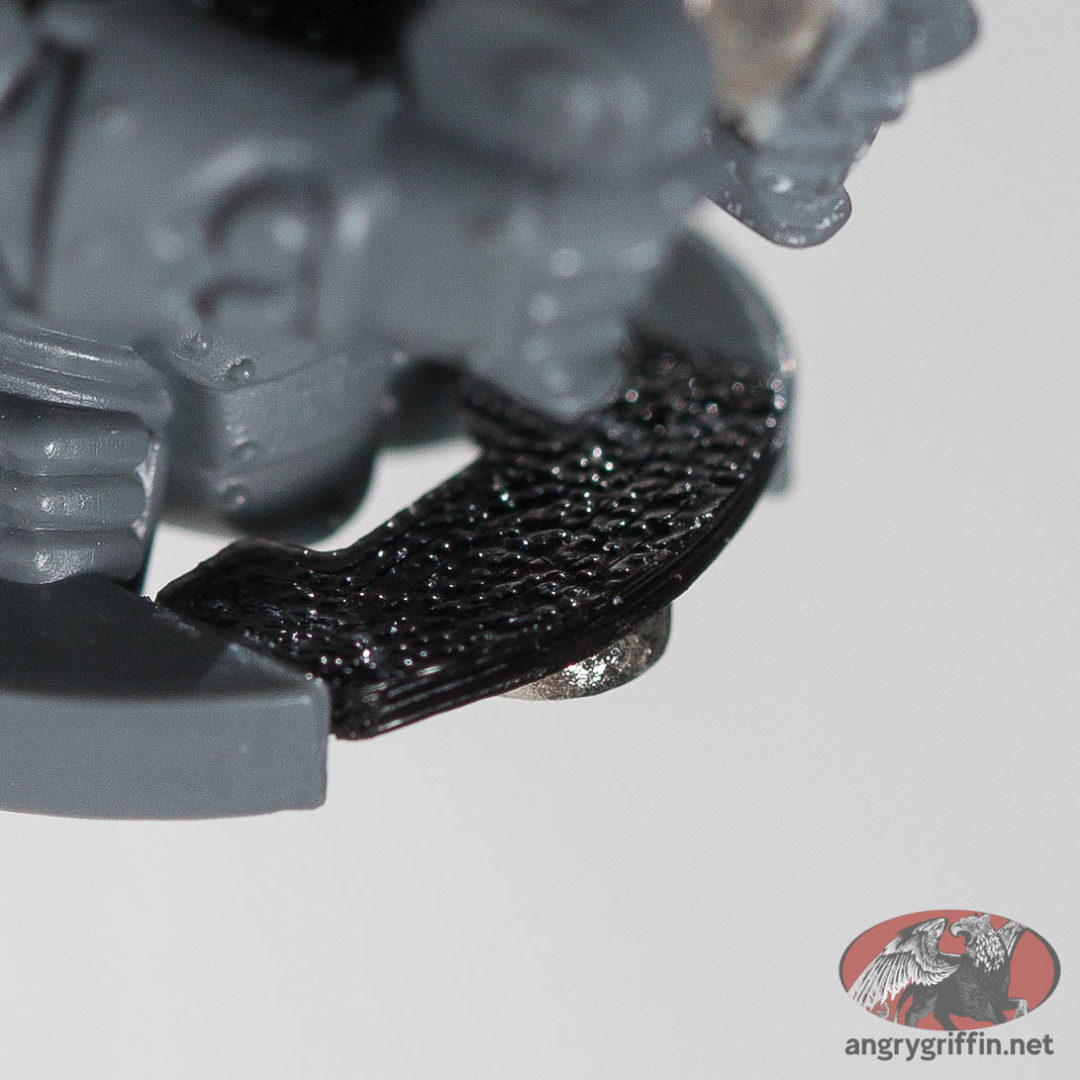
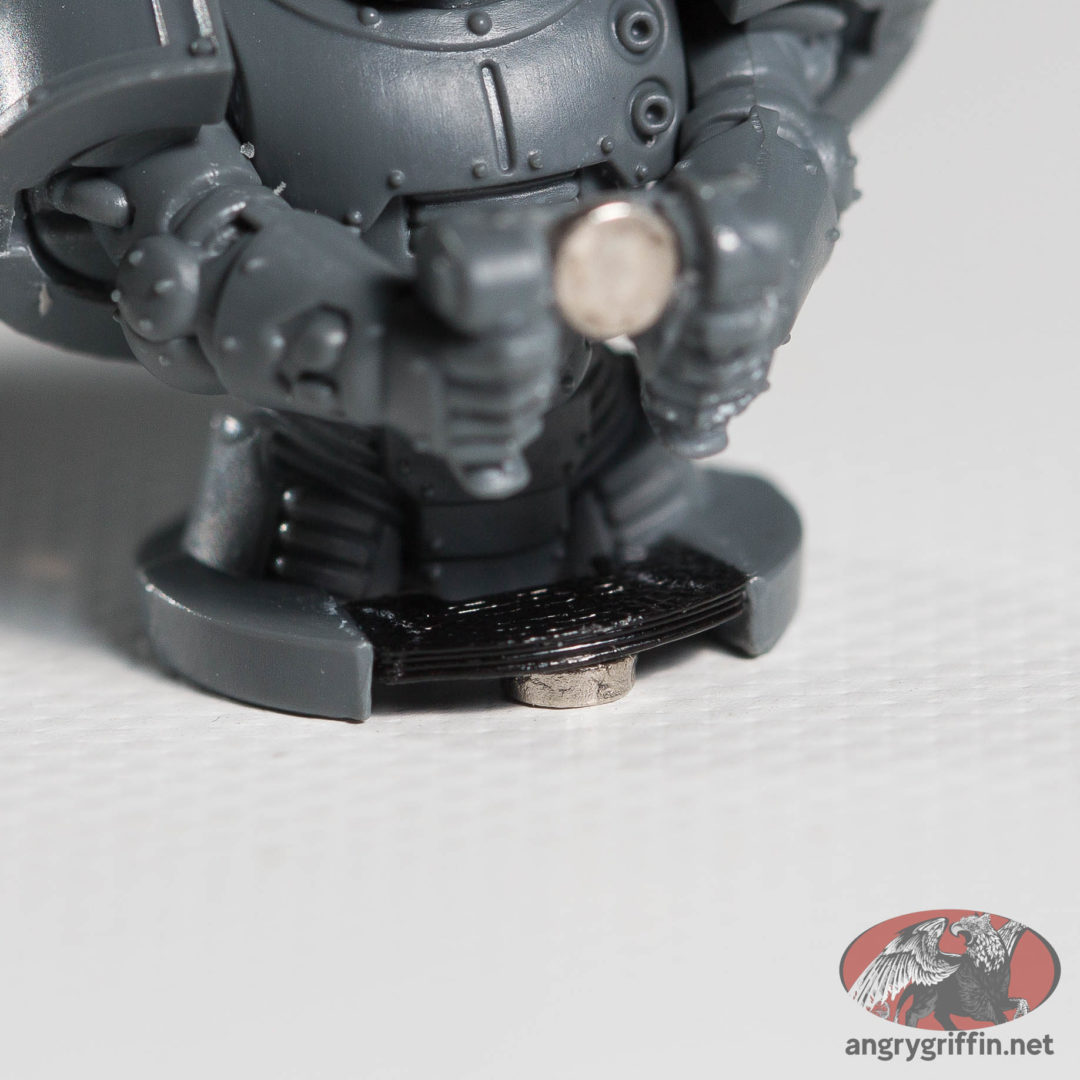
Magnetising the dozer blade came first – I did this after assembly, though it’d be easier to do it beforehand. Taking a power drill to the built tank was somewhat hair raising – if you do this be careful that the drill doesn’t bite the plastic and pull sharply into the hole. I went with 6x1mm magnets as a decent fit, and they are enough to hold the blade up:
I picked the outer aspect of each mount point on the chassis, as there was more plastic at that point on the blade mounts to drill into.
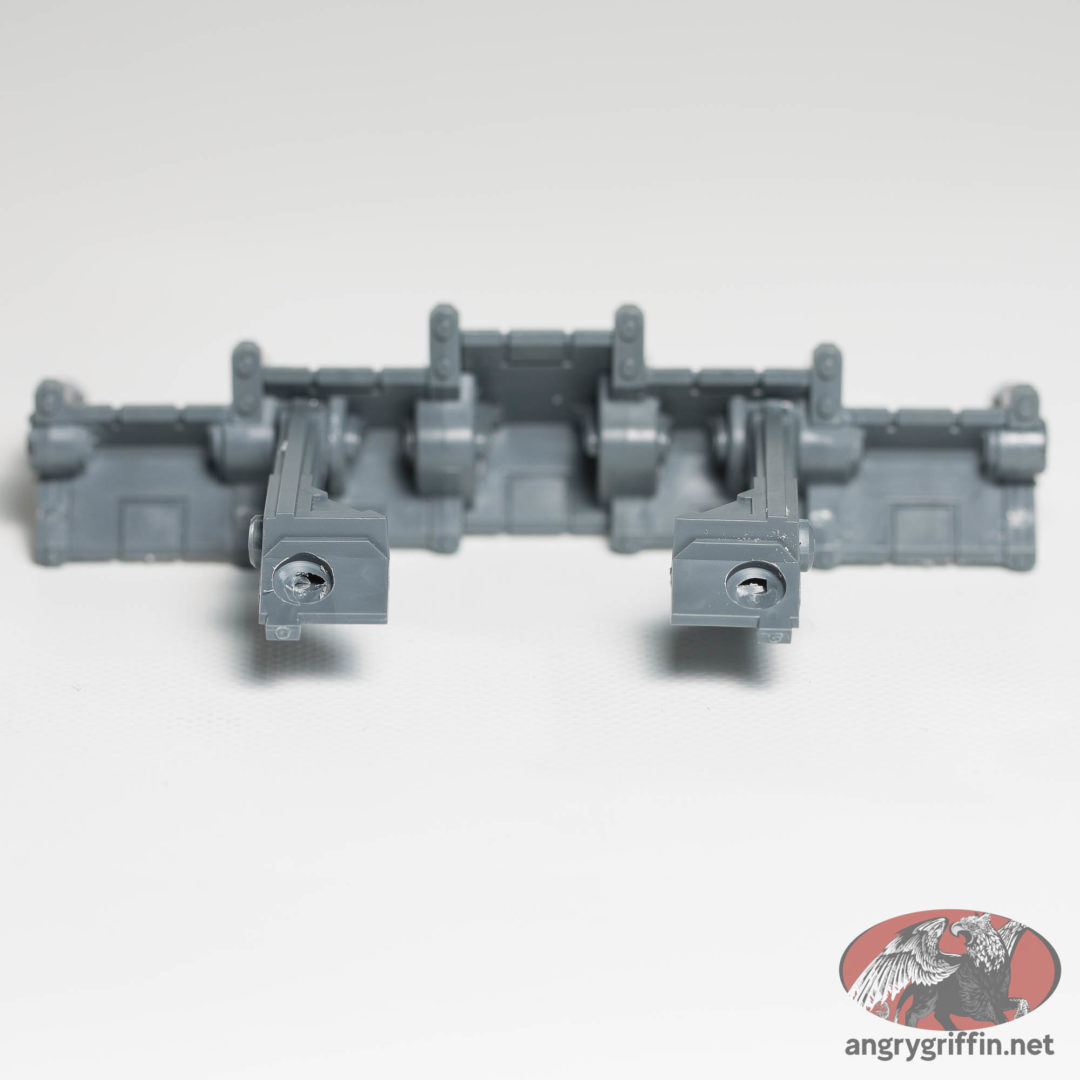
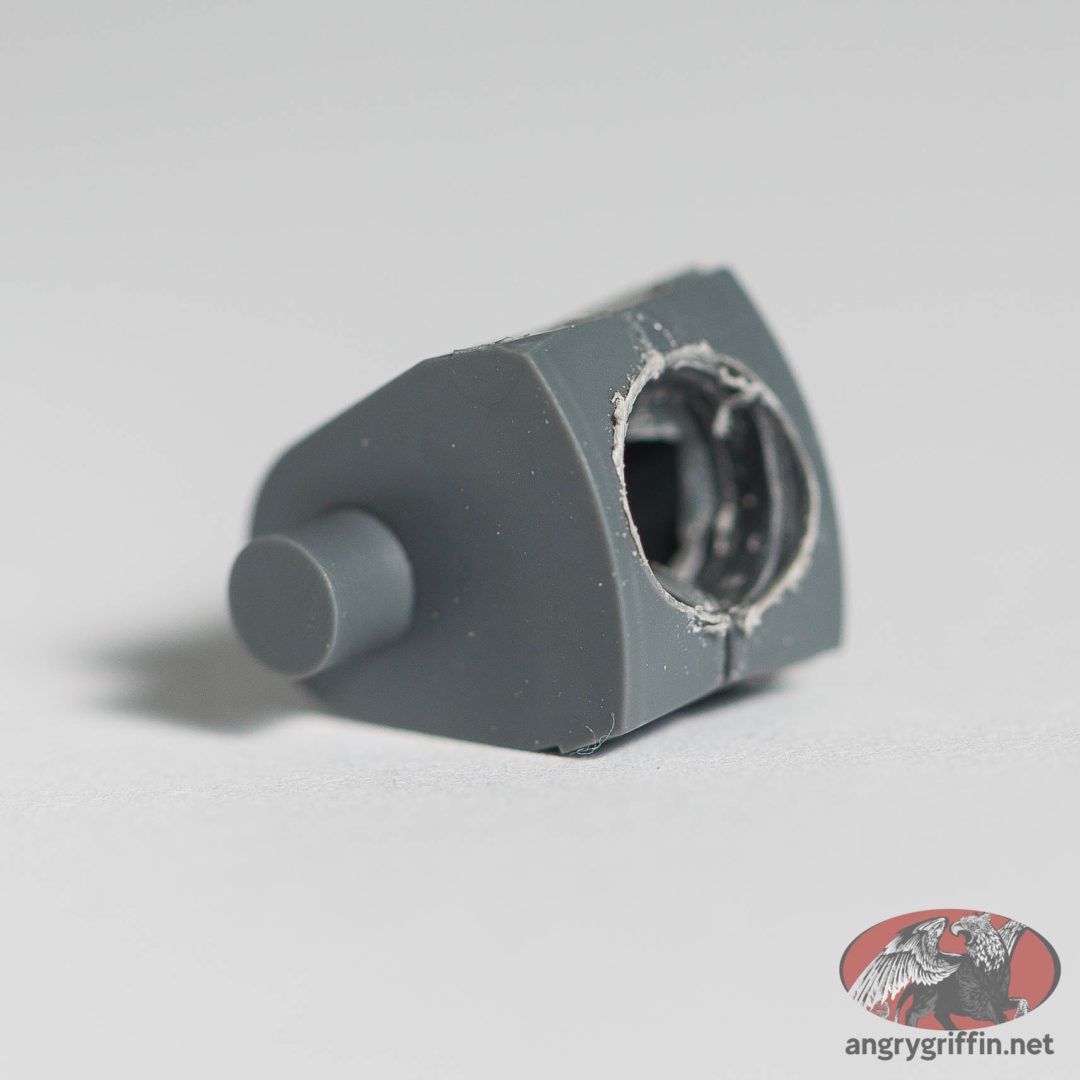
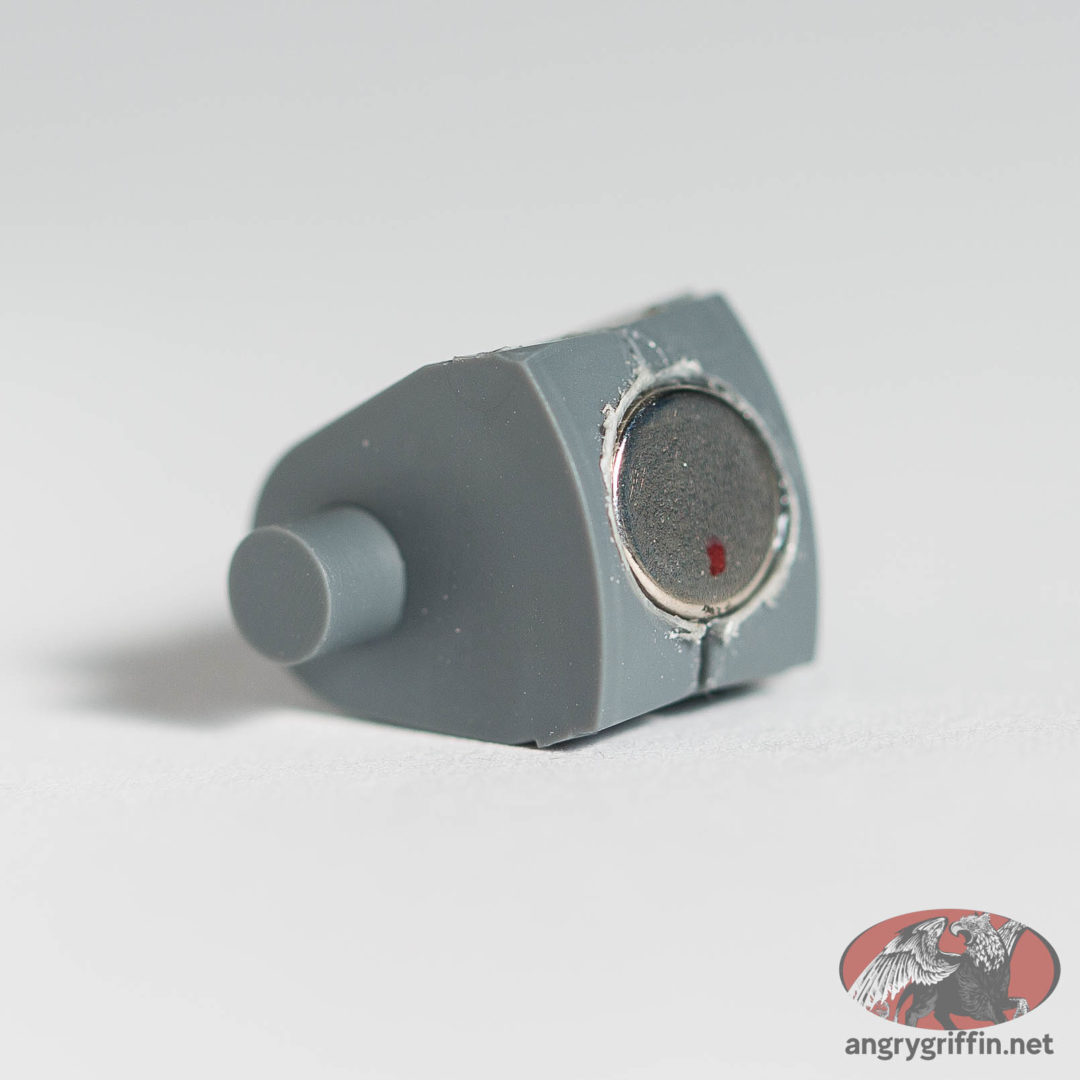
On the blade:
It doesn’t look it from the angle of the photo but the magnets are only just sitting higher than flush to ensure good contact with the other side.
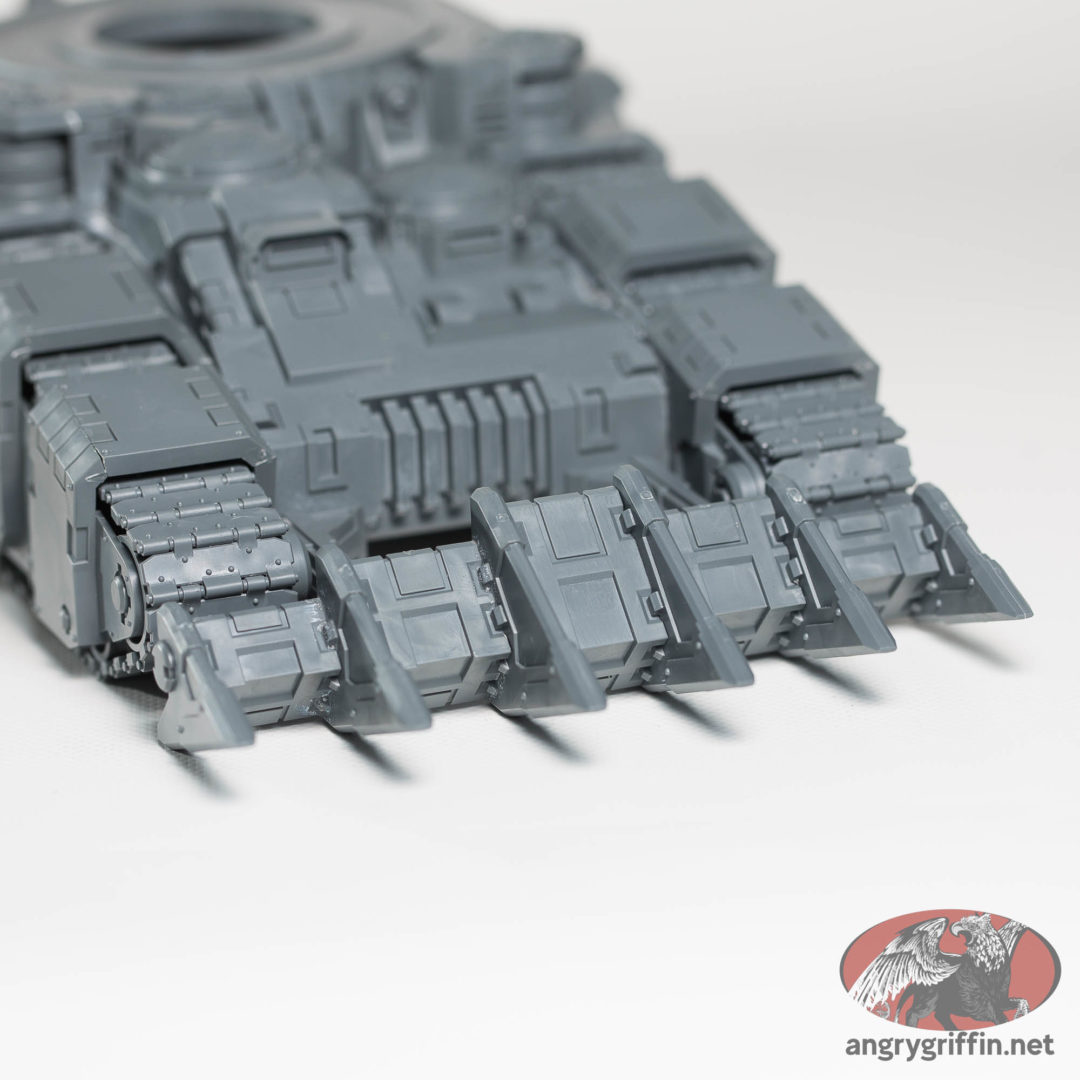
Magnetised and in place:
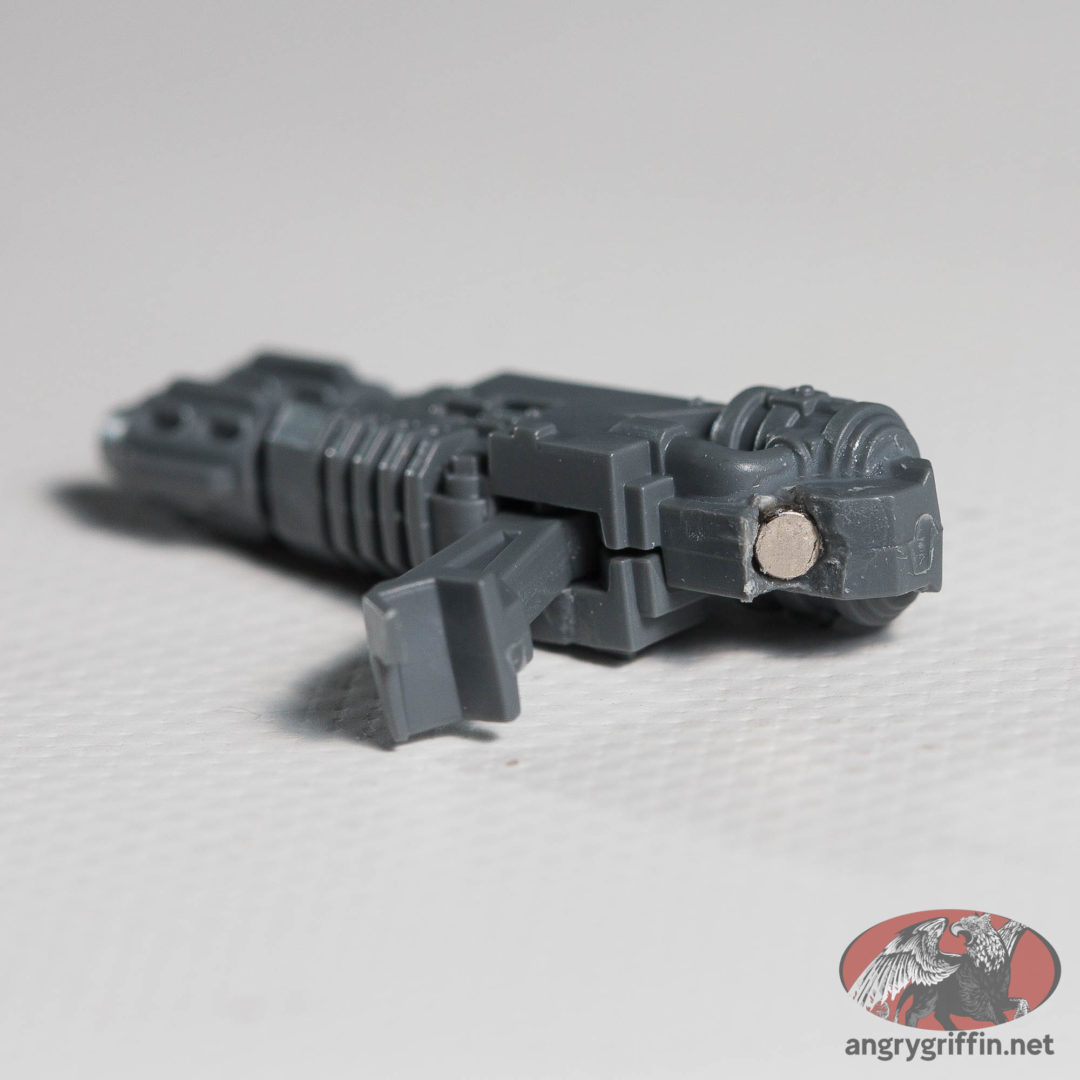
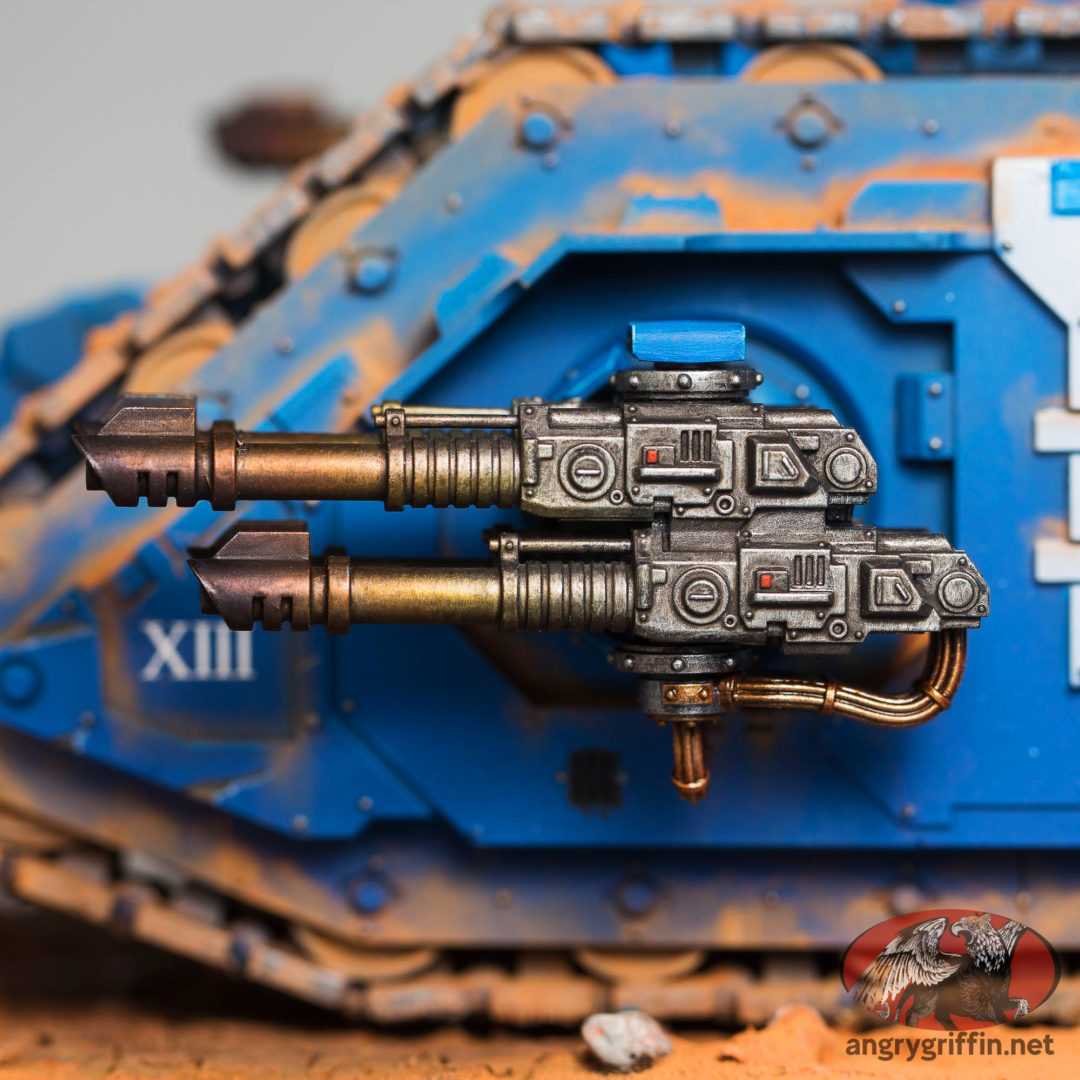
The body guns don’t strictly need it as the guns push fit into the socket, but… well, I got a bit carried away. 5x1mm magnets – done before assembly:
Here is how I magnetised the new Games Workshop plastic Deimos Rhino kit so that the hatches could be interchangeable.
You just need the sprues that came with it and some magnets. I used 5x1mm magnets but 4x1mm, 3x1mm or even 2x1mm would work as well – they don’t need to be strong magnets as they’re not really fighting gravity here.
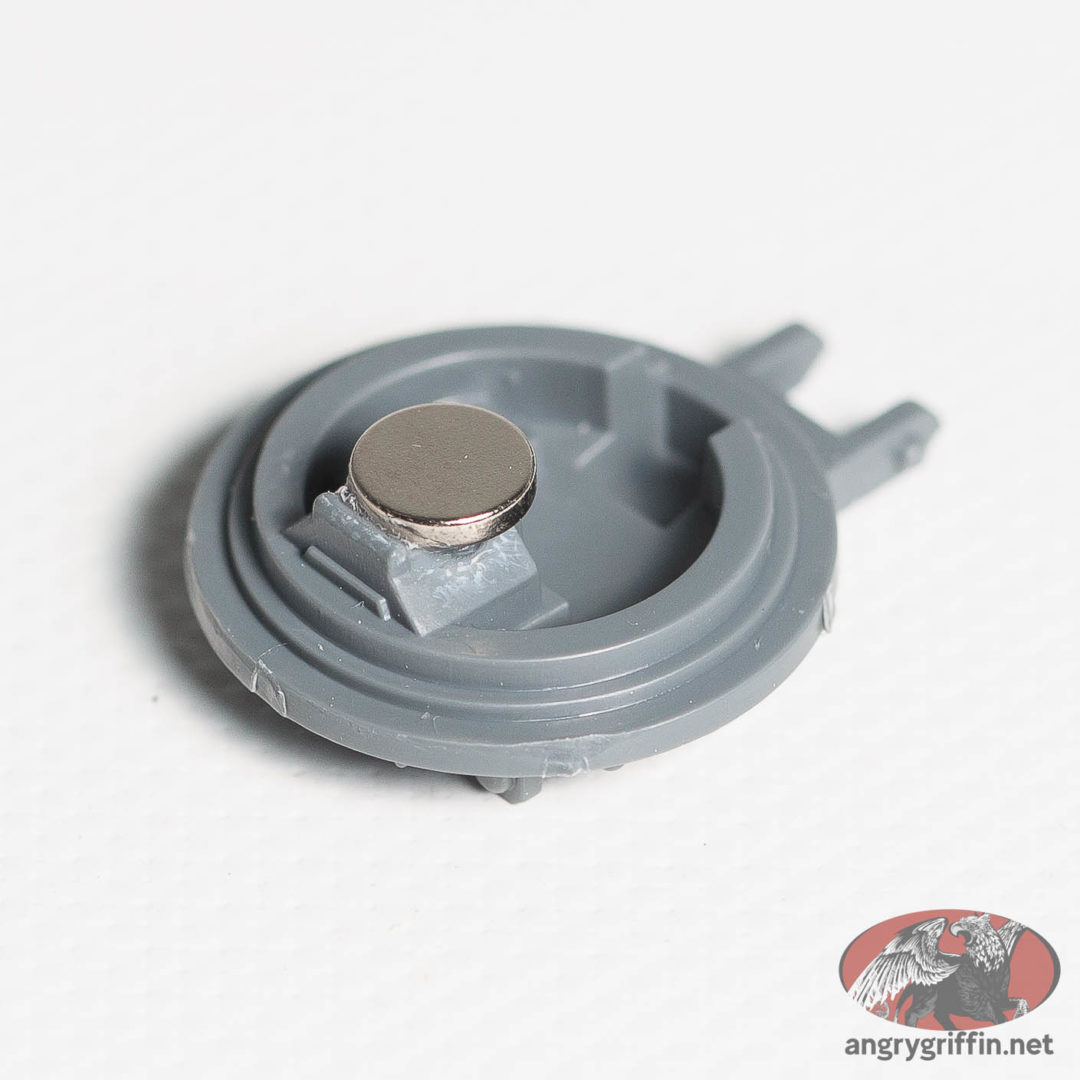
On the underside of the top section, cut a section of sprue and glue it in place. You can do this after it’s been assembled if you are careful and use tweezers/small pliers to guide the sprue in and pull it against the underside. Then just turn the tank upside down to let gravity keep it against the underside.
Alternately, do it before you assemble…
I used four pieces of sprue – you really only need one, but since the sprue was being chucked anyway I figured why not.
From the top:
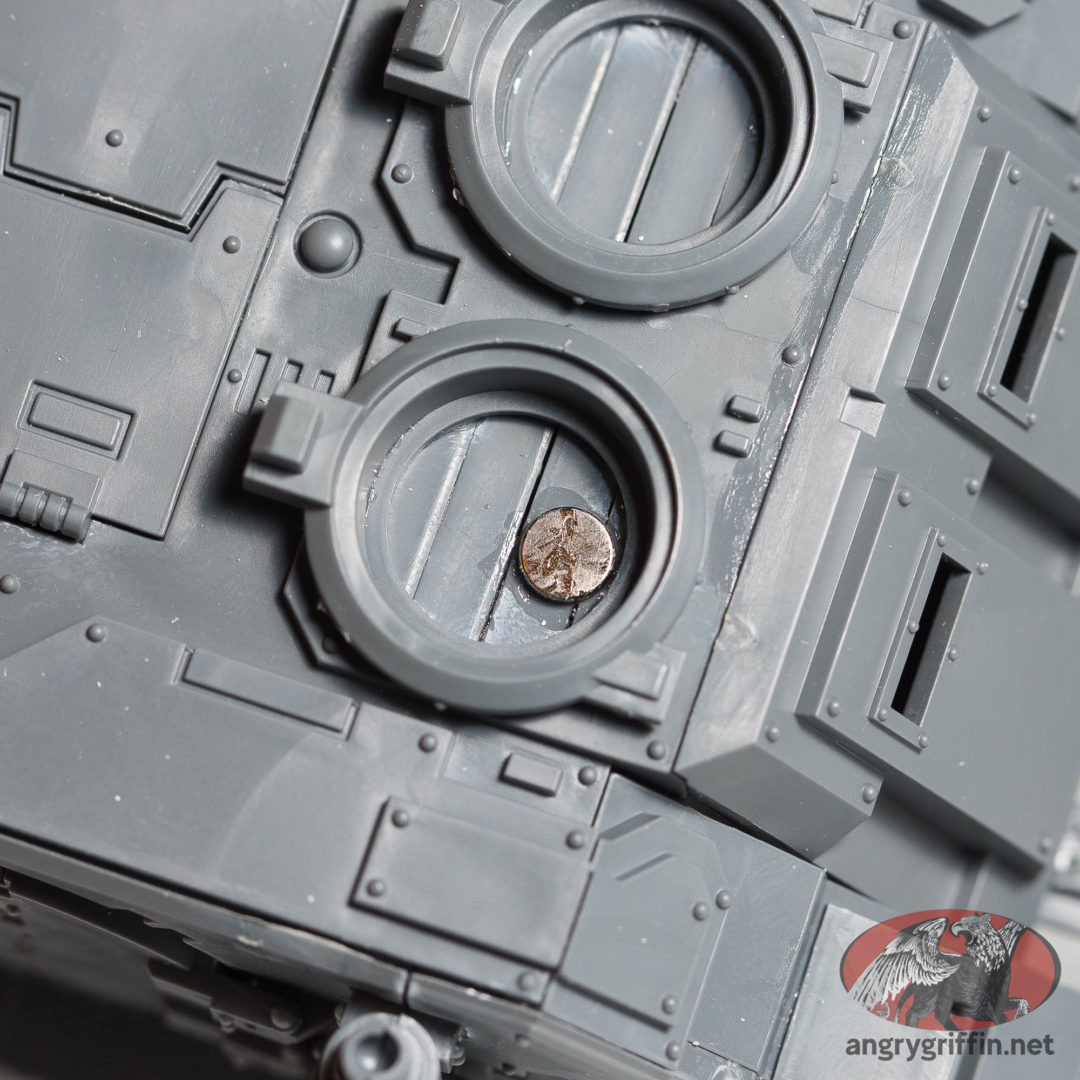
Add a magnet at the front:
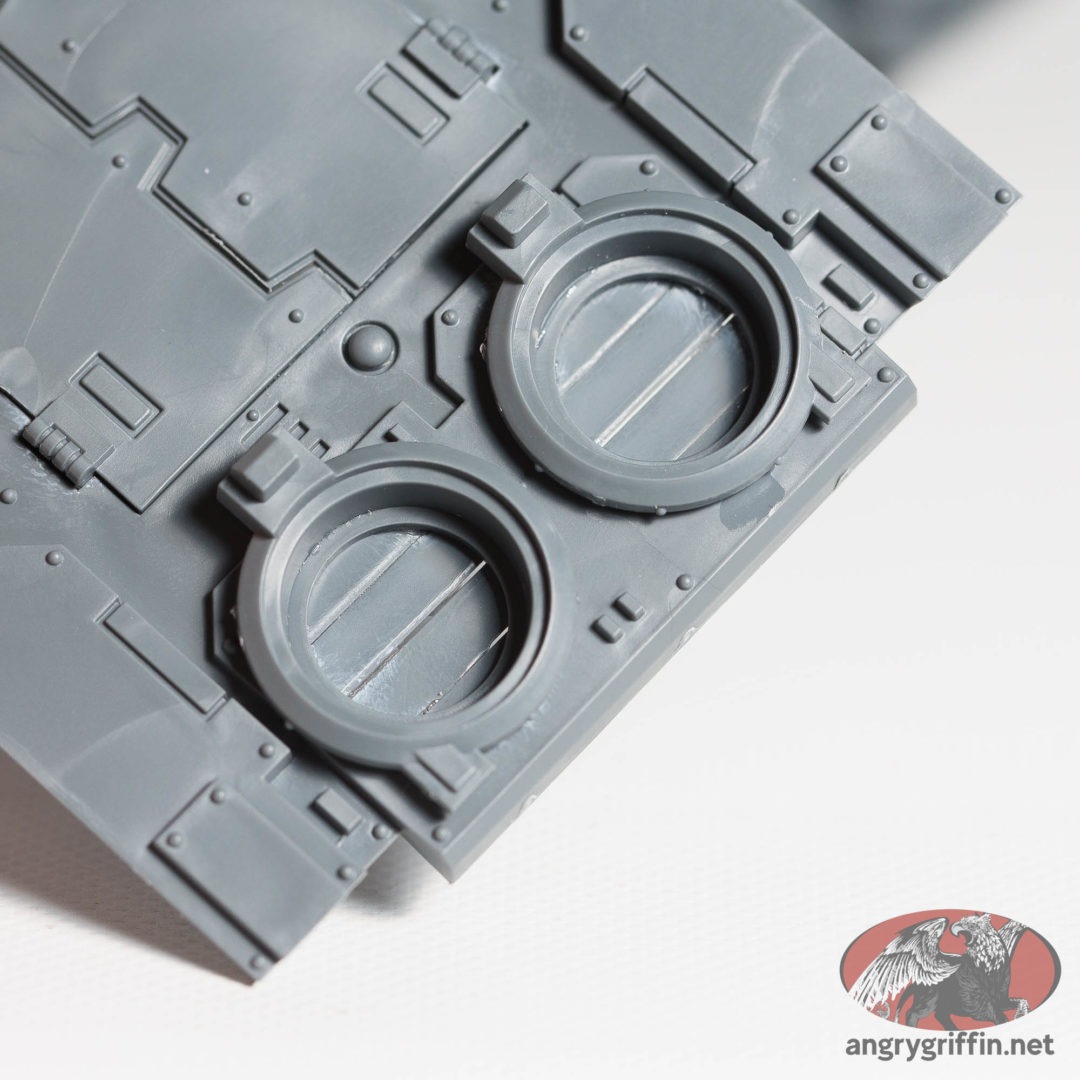
The front is easiest for the hatches since the lowest point of the hatches is located there. On the underside of the hatches:
You can see that the 5mm magnet overhangs the area it’s glued to – that’s not strictly an issue, but if I had smaller diameter magnets it would have been a good opportunity to use them. The 1mm depth is important here – two 1mm deep magnets align perfectly with the gap available.
The missile launcher hatch requires a single piece of sprue to be glued under it to achieve the same gap – photos to come.
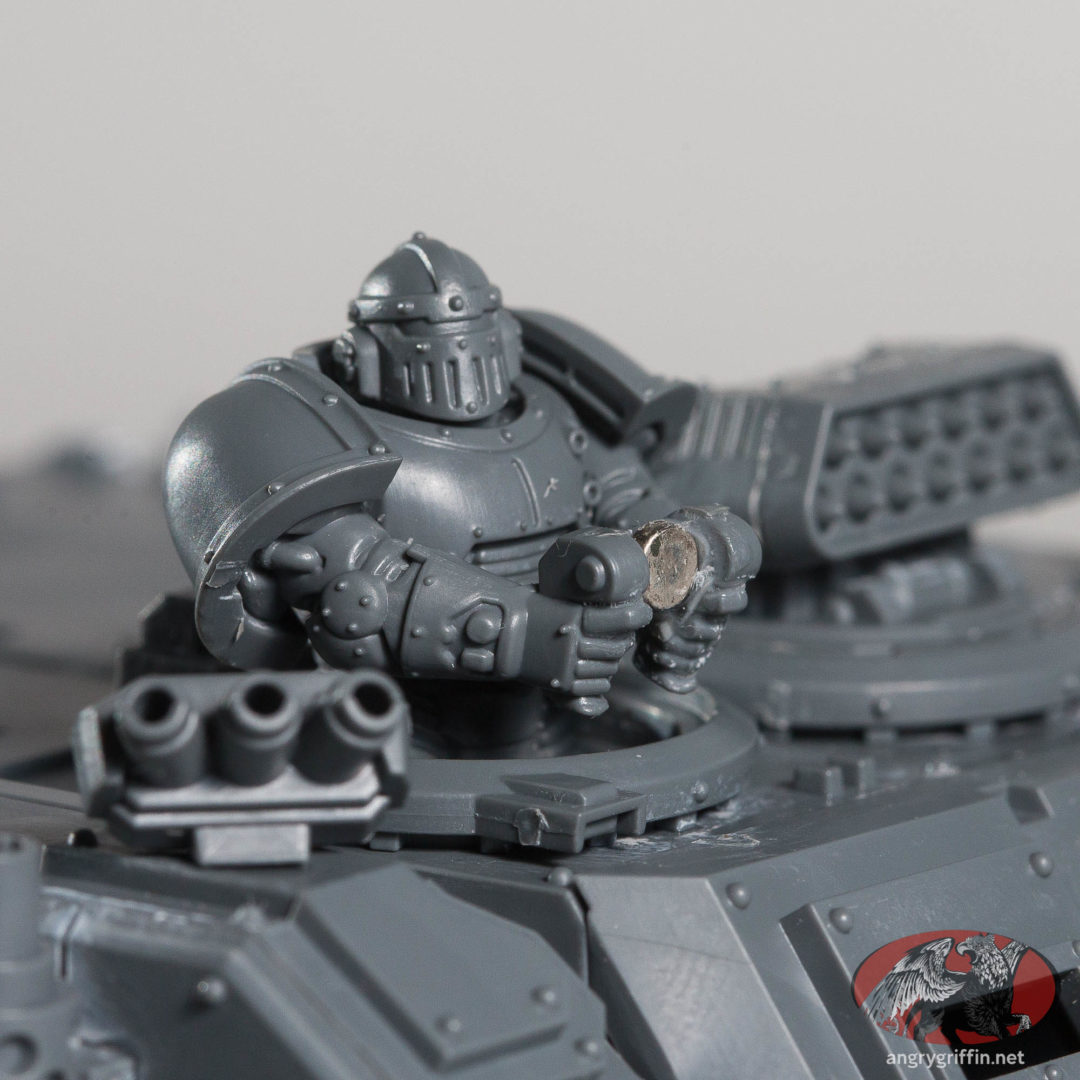
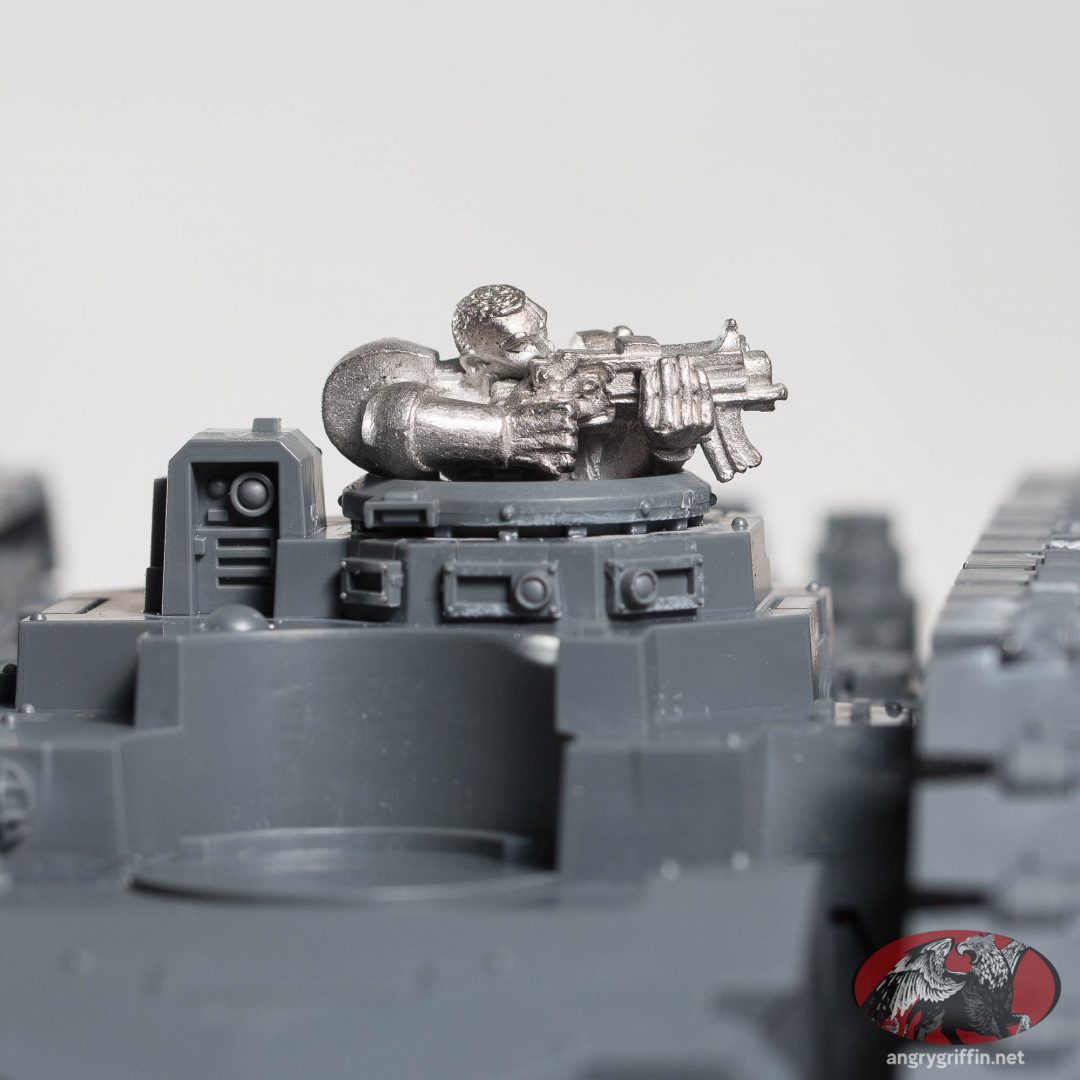
The gunner/commander will require something across the gap at the front – I used this with a 3x1mm magnet underneath:
For his gun mount I used a 2x1mm magnet on the gun end and a 3x1mm on the handle end – it would be easier to use 2×1 on both ends.
Will need more of part #15 – the arm that the gun mounts to – but something compatible shouldn’t be hard to come up with. More on that to come…
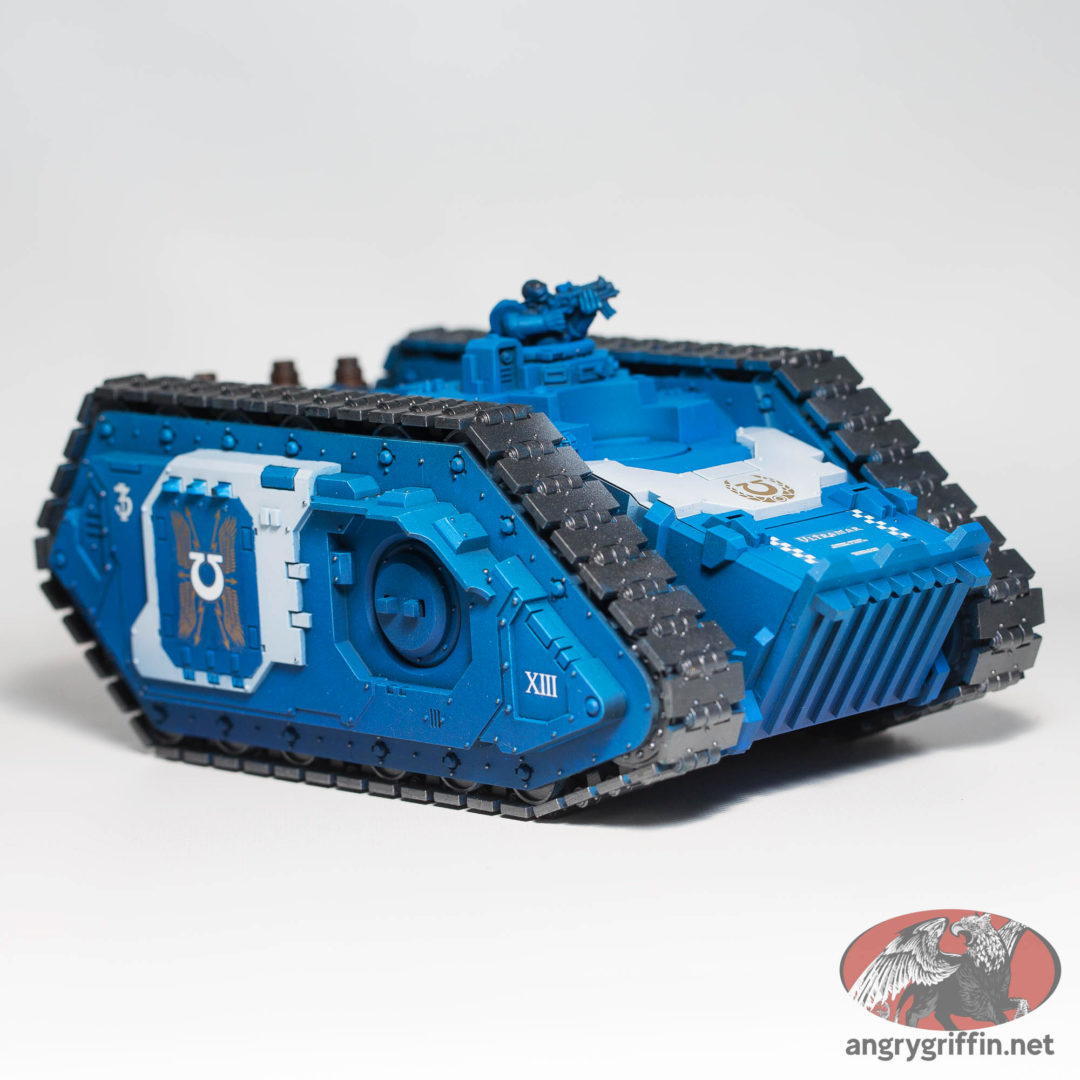
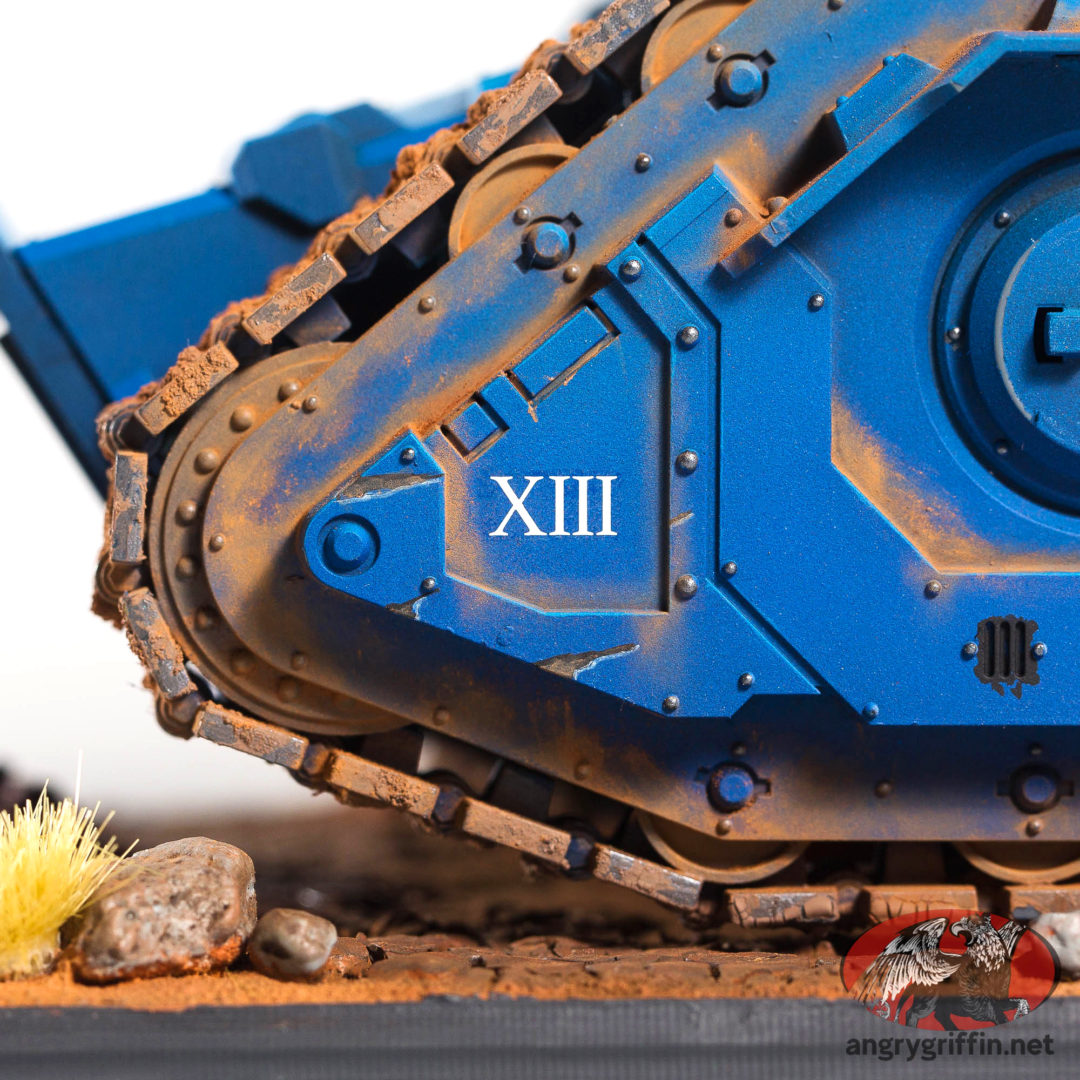
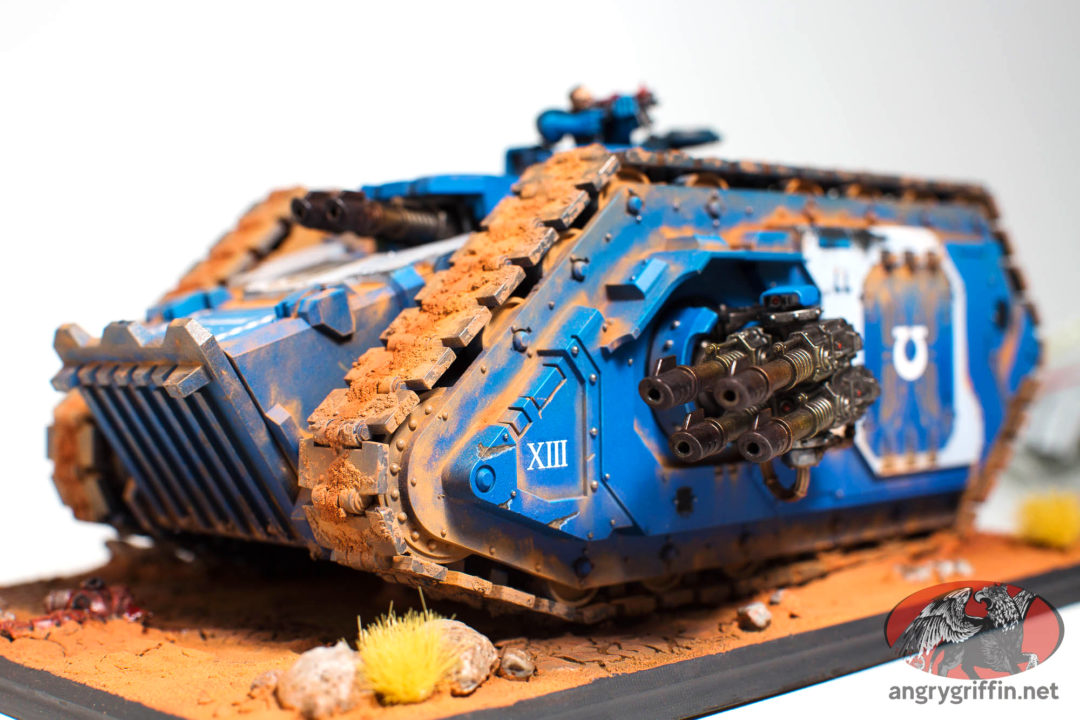
Blue: Scale75 Cobalt, blended up to Primary Blue, shaded with Inktense Blue. Edge highlight of Primary Blue mixed with Art White. Recess shade of Prussian Blue.
Silver: Black Metal, shaded with Nuln oil. Highlight of Heavy Metal, followed by Speed Metal.
Lenses: Primary Red
Lamp: Golden Flesh followed by Primary Yellow
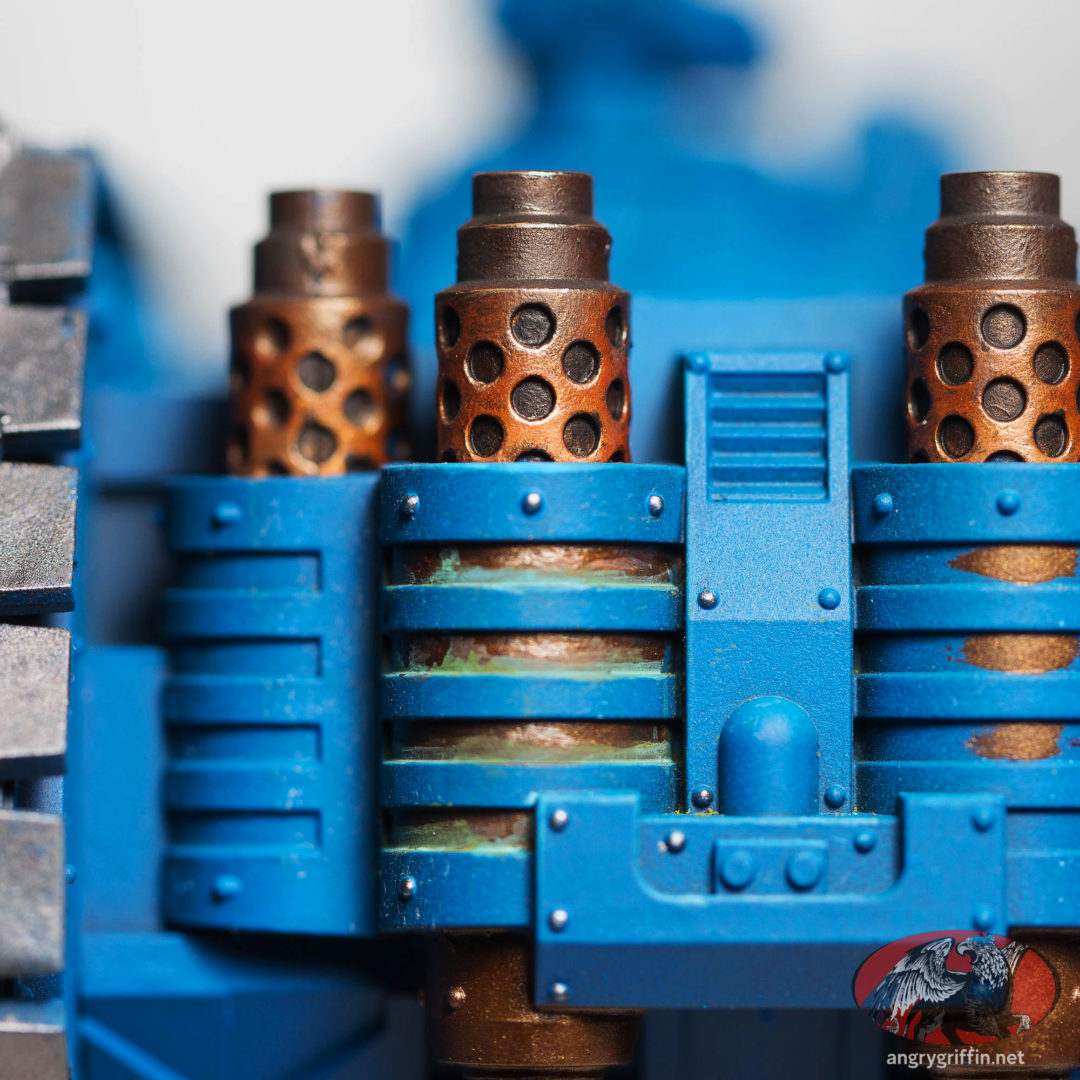
Copper: Scale75 Decayed Metal, followed by Old Copper, followed by Victorian Brass, highlighted with Amber Alchemy, then Moonstone Alchemy, then Speed Metal. Corrosion via Moss Green Soilworks pigment and Nihilakh Oxide. Recess shading with Art Black. Burnt tops via Soilworks Ash.
Crew: Gun is Pink Flesh, followed by Primary Red. Flesh is Pink Flesh, followed by Golden Flesh, with some Light Skin and Burnt Skin blended in. Hair is Raw Umber highlighted with Buff.
Guns: Metal Color Burnt Iron brushed on, drybrush of Thrash Metal, drybrush of White Alchemy, wash of 1:2 Agrax/Nuln.
Sponsons: Cabling Decayed Metal, drybrush of Old Copper, drybrush of Moonstone Alchemy, wash of Agrax Gloss. Lenses Red Ecstasy SFX-07.
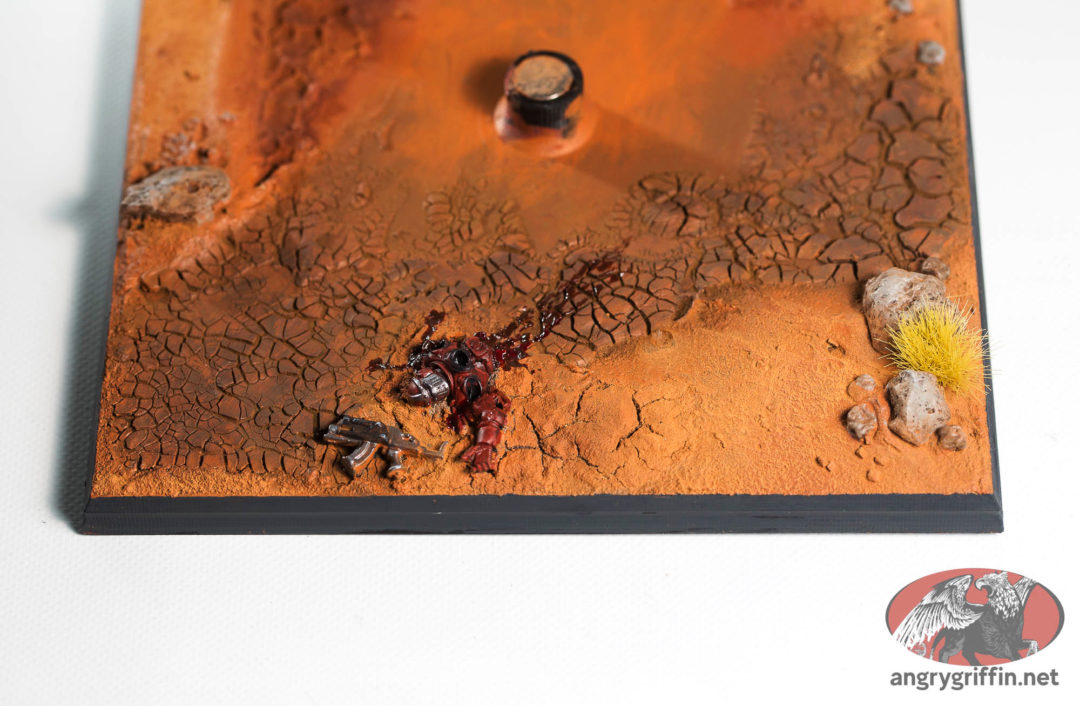
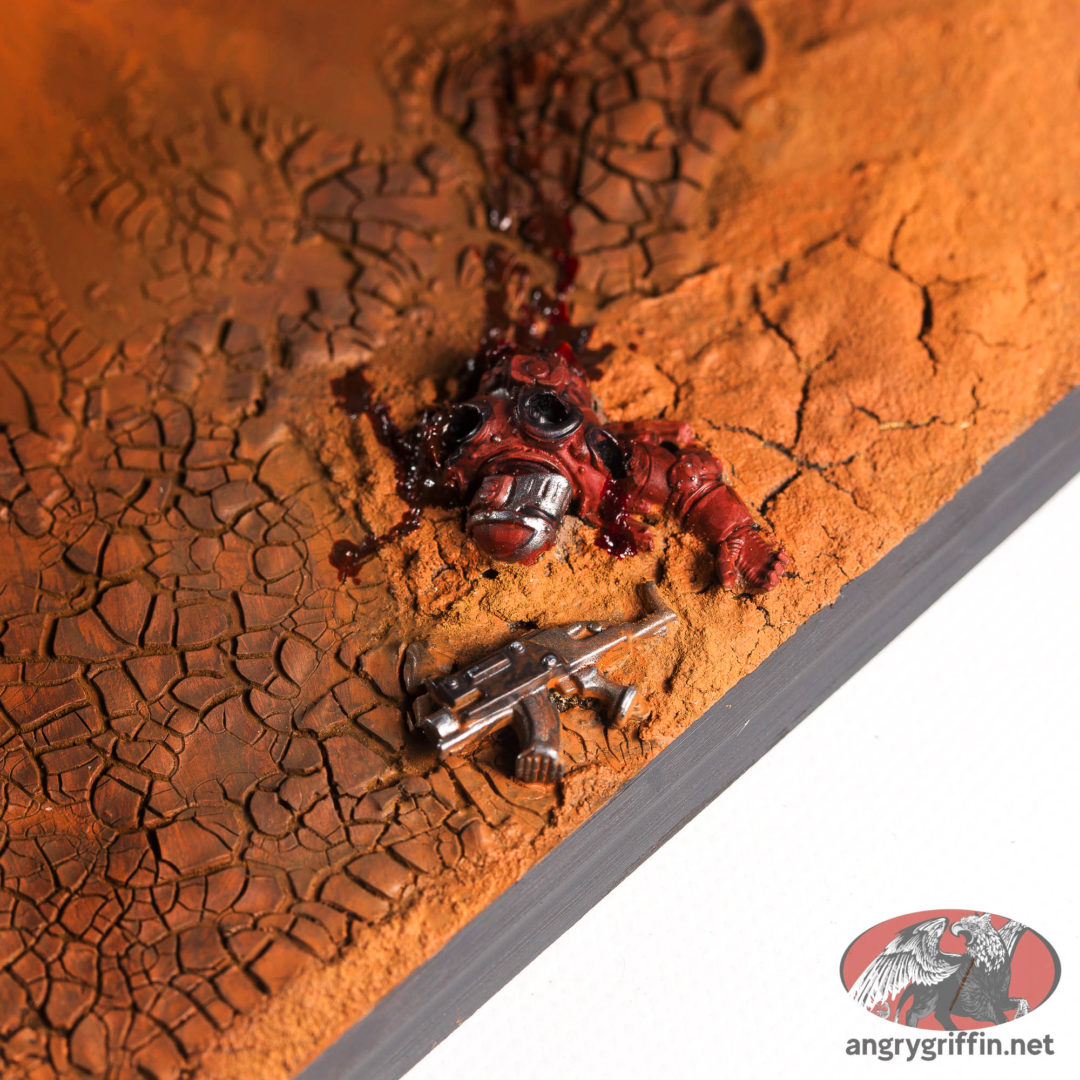
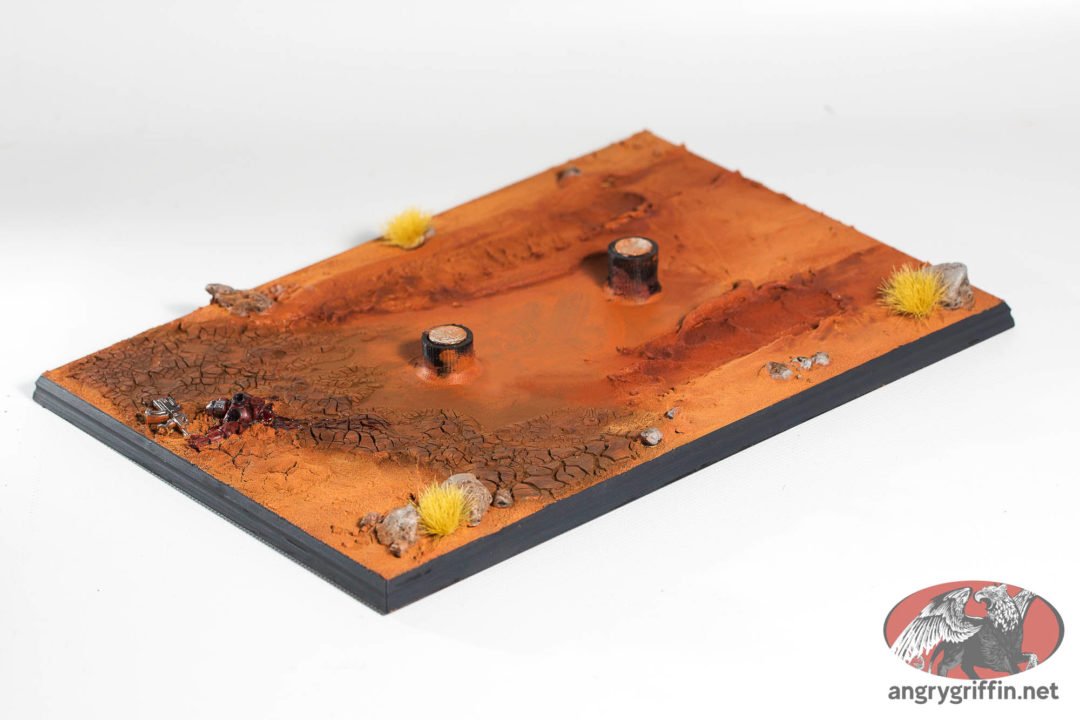
Base:
Rocks: Noch Profi Rocks rubble coarse 6-16mm N09232
Rocks: Noch Boulders, N09214
Rocks: Woodland Scenics Coarse Ballast
Vallejo Earth Texture: Desert Sand
Citadel Technical: Agrellan Earth and Agrellan Badland for the riverbed section
Undercoated Vallejo Mecha Black
All-over coat of Tuskgor Fur
Pigment: Reddish Brown for the center, Natural Soil over most of the rest. Dark Earth for riverbed.
Rim: Vallejo Black Grey
Word Bearer: Word Bearers Red and Leadbelcher. Highlight of Heavy Metal and Speed Metal, red highlighted with a mixture of Red Ochre and Pink Flesh.
Rocks: Celestra Grey, washed with Agrax, drybrushed with Celestra Grey, then a little bit of Natural Soil
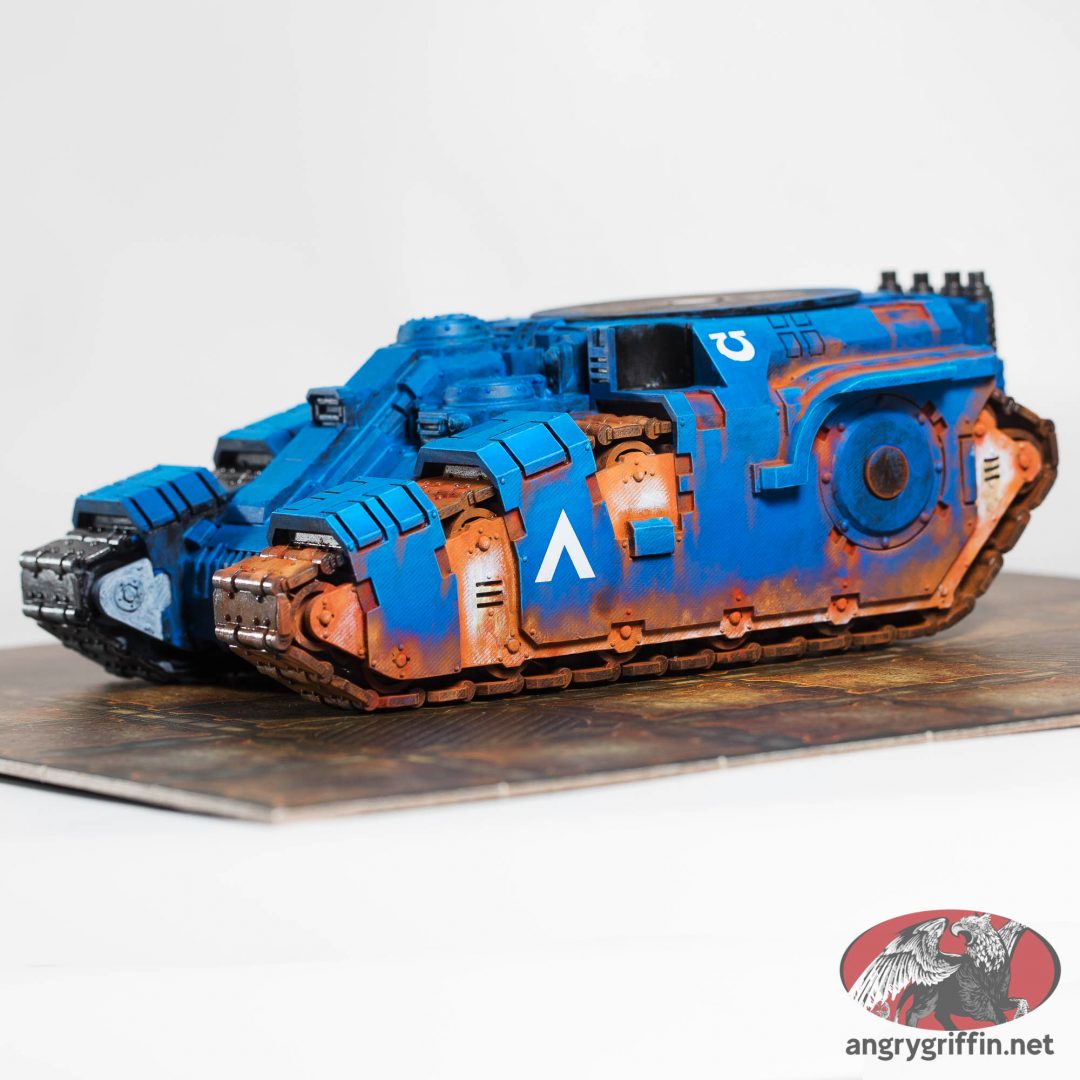
The blue was airbrushed onto the tank and the area around the white was masked off and the white sections airbrushed in after.
That title was a mouthful. I magnetised this one as seen here.
Test scheme WIP:
Undercoat: Vallejo Mecha Black
Blue: Cobalt Blue blended up to Primary Blue by hand, highlights Primary Blue then a mix of Primary Blue and Art White
Pigments: Dark Mud mixed with Rough, then Dark Mud, with Mars in the recesses, then Natural Soil on top
White: Artic Blue then Art White
I think the pigments ended up reading more red than I expected; going to back that off a bit to try and make it look more like dust accumulation than rust.