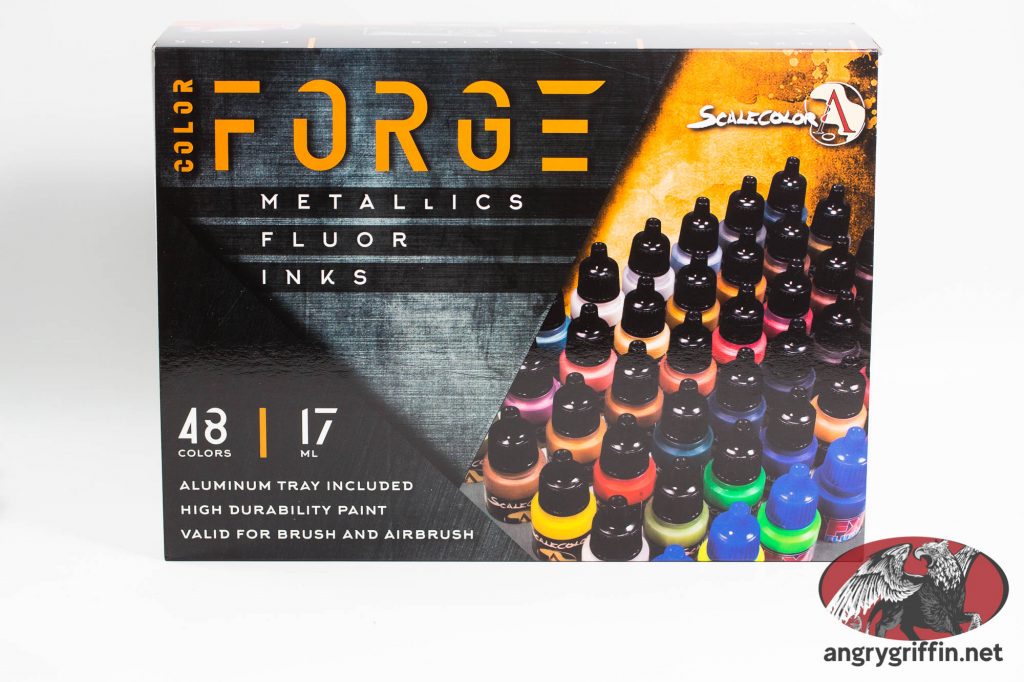
Spanish company Scale75 have a box set called the Color Forge, which combines a number of their other paint sets into one product. Is it worth it? Let’s take a look at what’s inside.
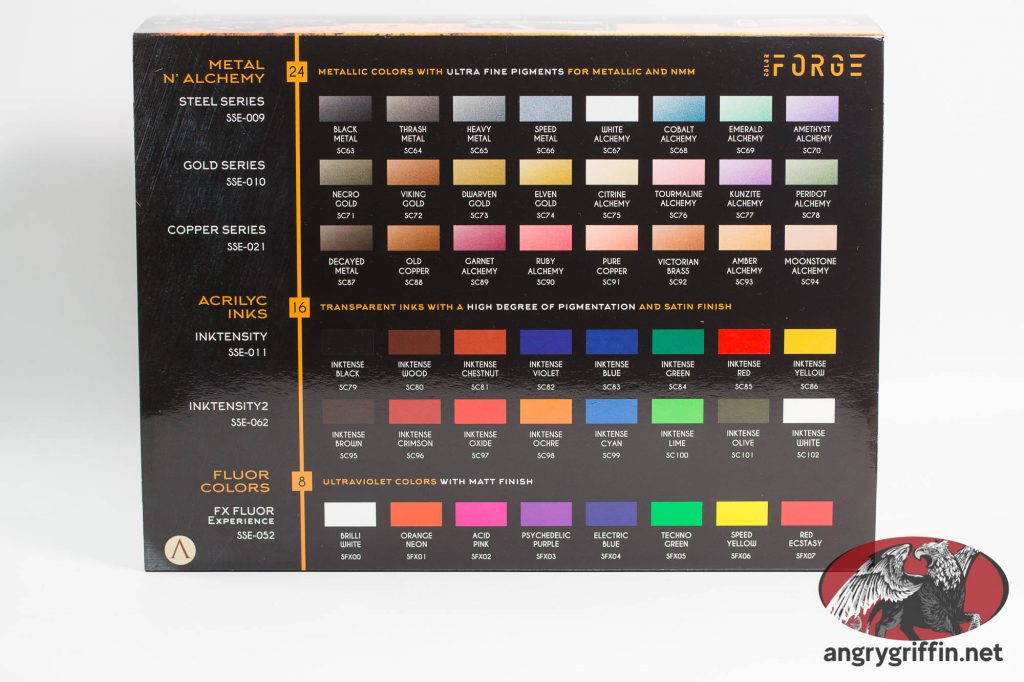
The box is a lot smaller than you would expect for the cost! The contents are listed on the back:
As you can see, the following sets are included along with an aluminium holder:
SSE-009 Steel Series Metal ‘n Alchemy
SSE-010 Gold Series Metal ‘n Alchemy
SSE-021 Copper Series Metal ‘n Alchemy
SSE-011 Inktensity Acrylic Ink Set
SSE-062 Inktensity2 Acrylic Ink Set
SSE-052 FX Fluor Experience
Forty-eight paints all up.
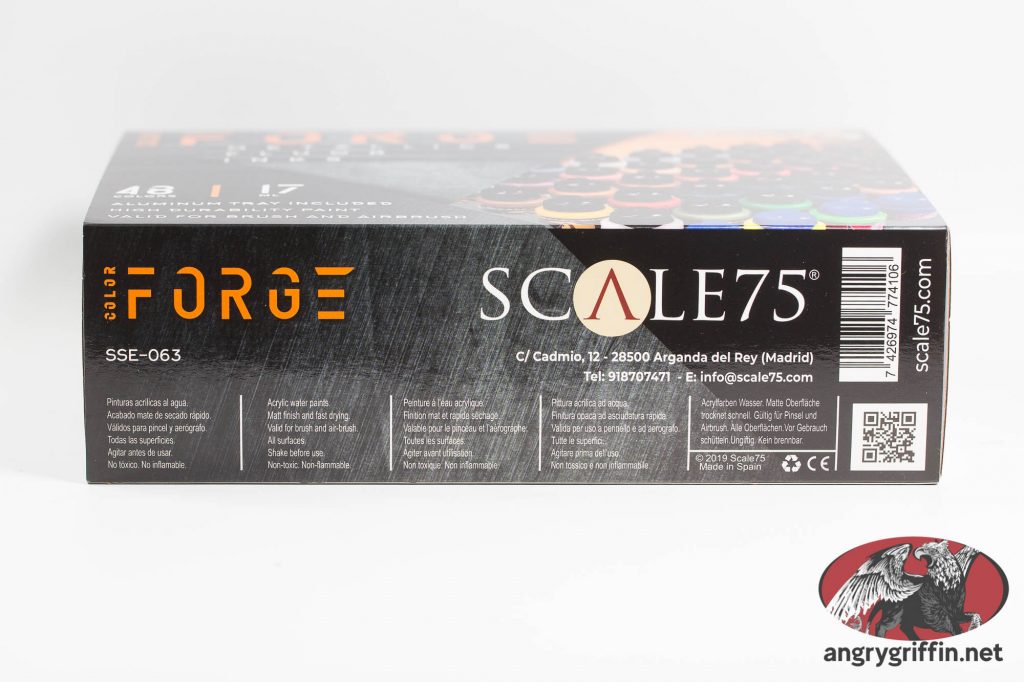
The side:
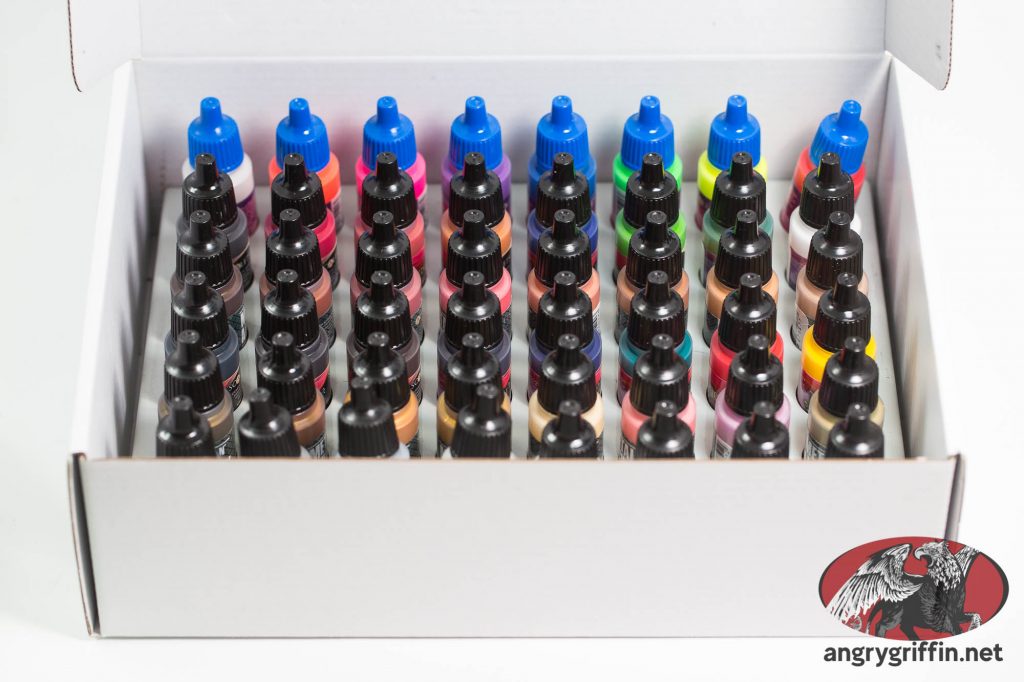
The Color Forge set itself is part number SSE-063. Once you take the glossy cover off there’s a plain white cardboard box on the inside:
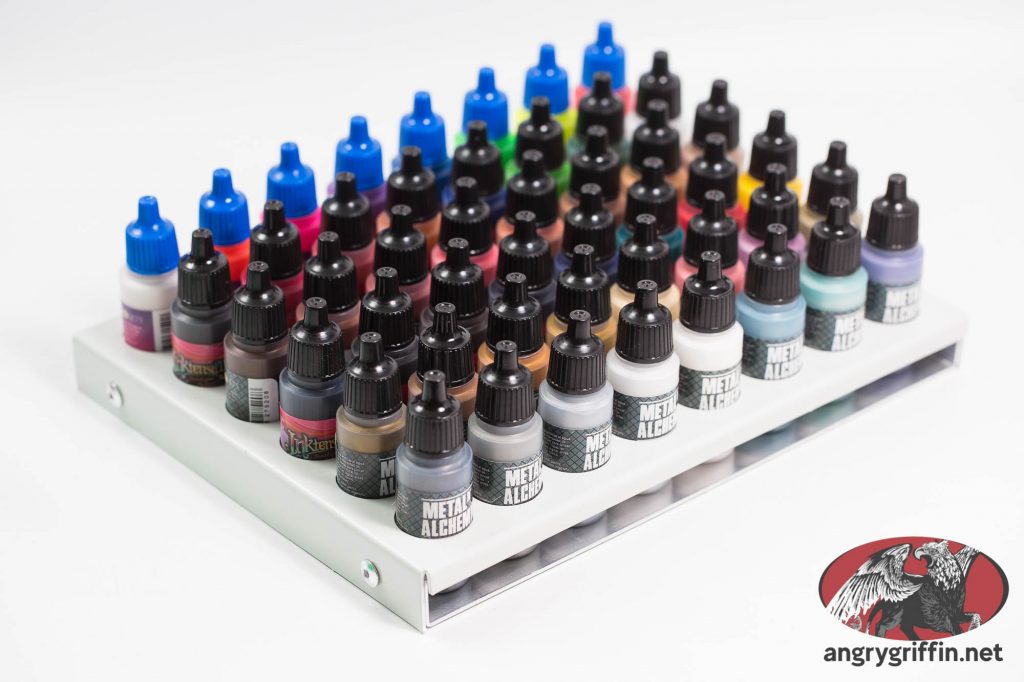
Pull out a paint on either side and lift the tray out and you can see the paint set and stand:
The tray is very functional – watch out, though, as the folded down sides (where the rivets go through) have a sharp edge at the bottom on mine – it may scratch a table if put down and slid. The holder works well in a drawer – and doesn’t add much to the height of the paint bottles. I find it helps to put a drop of the paint on the top of each cap so locating individual colours from above is easier.
I’ll discuss the qualities of the Scale75 paints as compared to other ranges separately – for now, how does this set focus to buying the individual components one at a time? The price of this one at the local hobby shop is $439AUD, and the individual sets are $70AUD – so buying them separately would put you at $420, which means you’re paying $19 for the aluminium stand and the convenience of getting the paints all in the one box.
Domestic online prices are a bit different – $319-334 on eBay AU (ebay links are affiliate links) at the time of writing, where the individual sets are closer to $60 per unit – putting the Color Forge set as being a cheaper option by about $30-40.
If the holder is something you can use with your setup I think $19 is not a bad price for it, as you probably won’t find a half decent MDF or 3D printed equivalent holder for much less.
The spread of colour options is not enough to paint most forces in their entirety – you don’t get a lot of run of the mill colours outside of the inks, but you do get some gorgeous metallics and vibrant fluorescents to go along with the broader range of ink colours. If you haven’t used inks before, don’t expect them to behave like your regular acrylic GW/Army Painter/etc. paints, so this set is more complimentary to an existing paint set (if you want to stay within Scale 75 for that, the Artist set compliments it nicely).
Overall I think that you have to weigh up how much the individual items are going to cost you either locally or online to see whether this set is good value for you. For me it worked out cheaper than buying the sets individually as I had intended on buying the lot of them. If you don’t ever have any intention of using a sub-portion of the set – e.g. fluorescents or inks – then it makes much more sense to buy the individual sets.
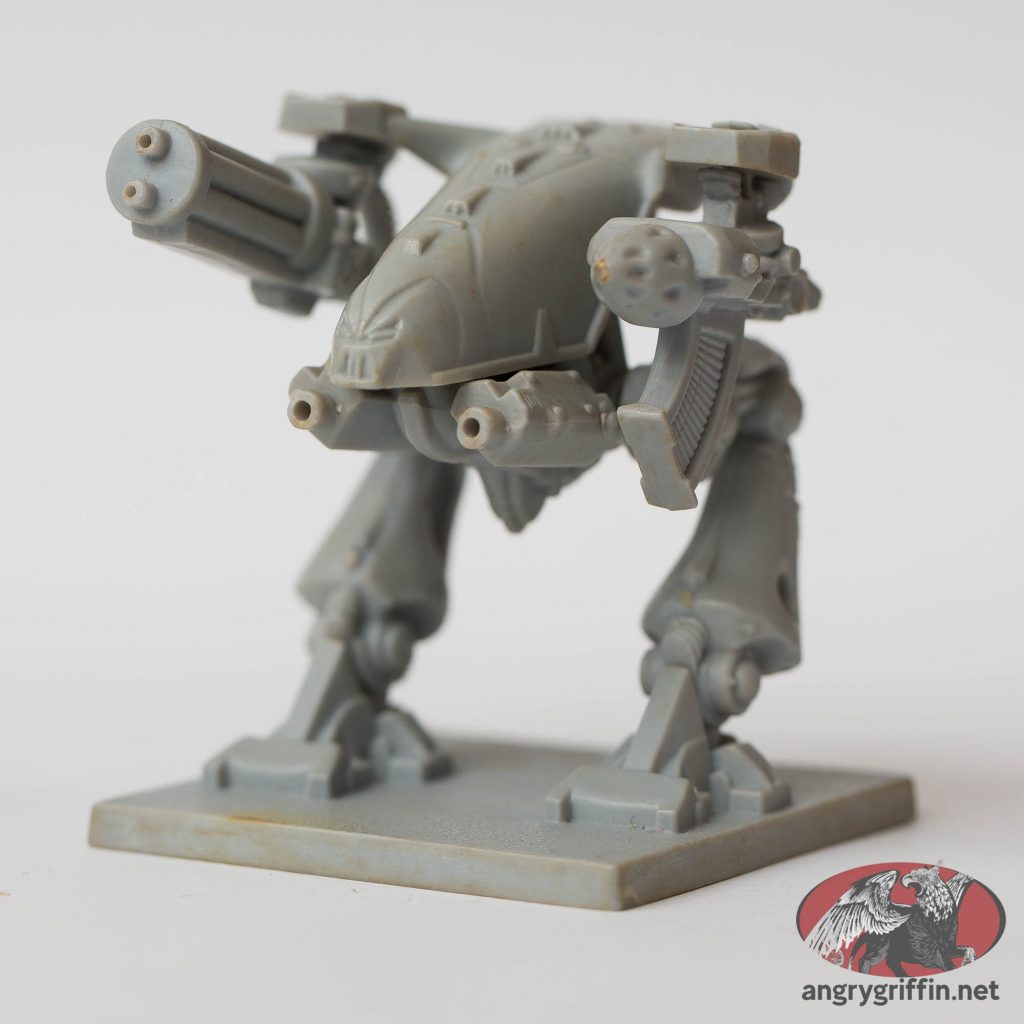
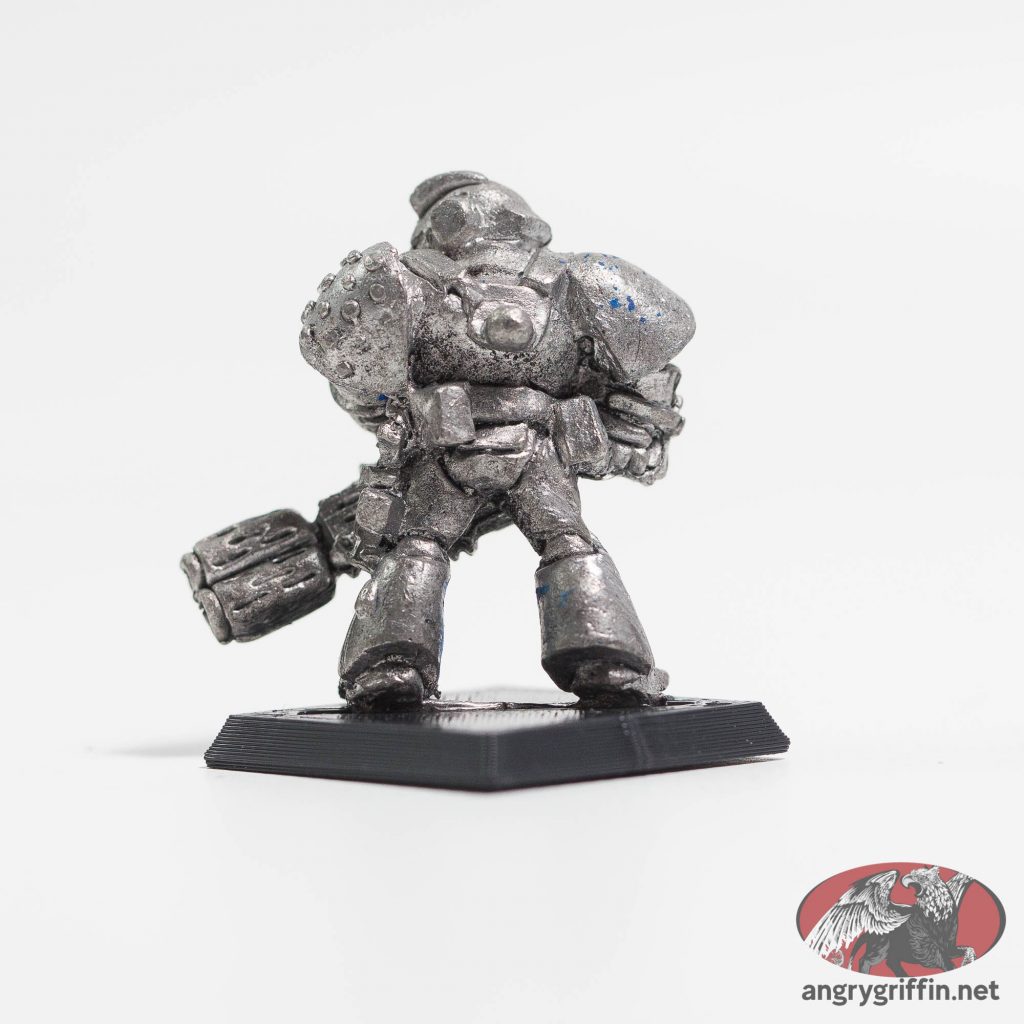
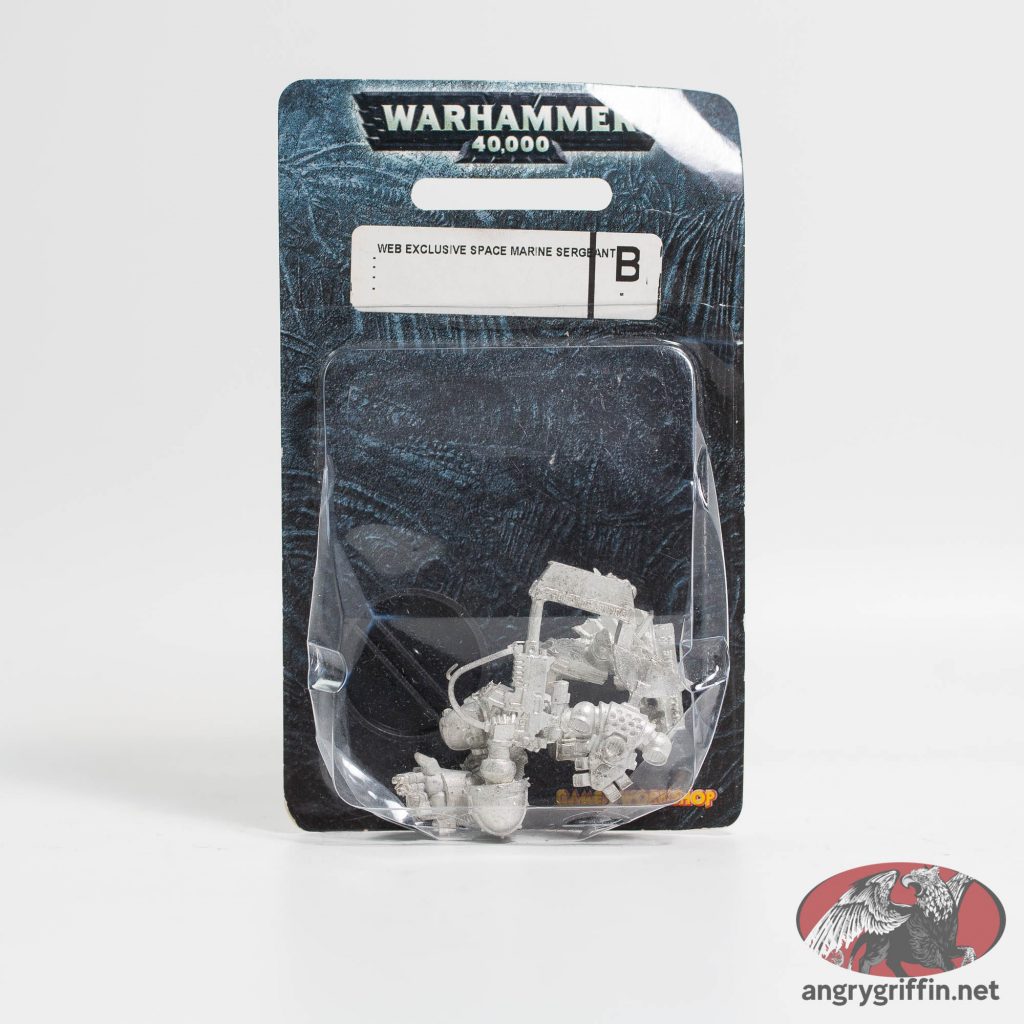
Found this guy for my nostalgia force – he’s a bit more ornate than the Captain with Terminator Honours, though, which may necessitate a re-think as to who’s who. We’ll see. Painting to come…
This guy was released alongside Games Workshop’s new website back in 2008, as far as I’m aware.
Always feels weird opening a box from years ago – like you’re doing something you shouldn’t be.
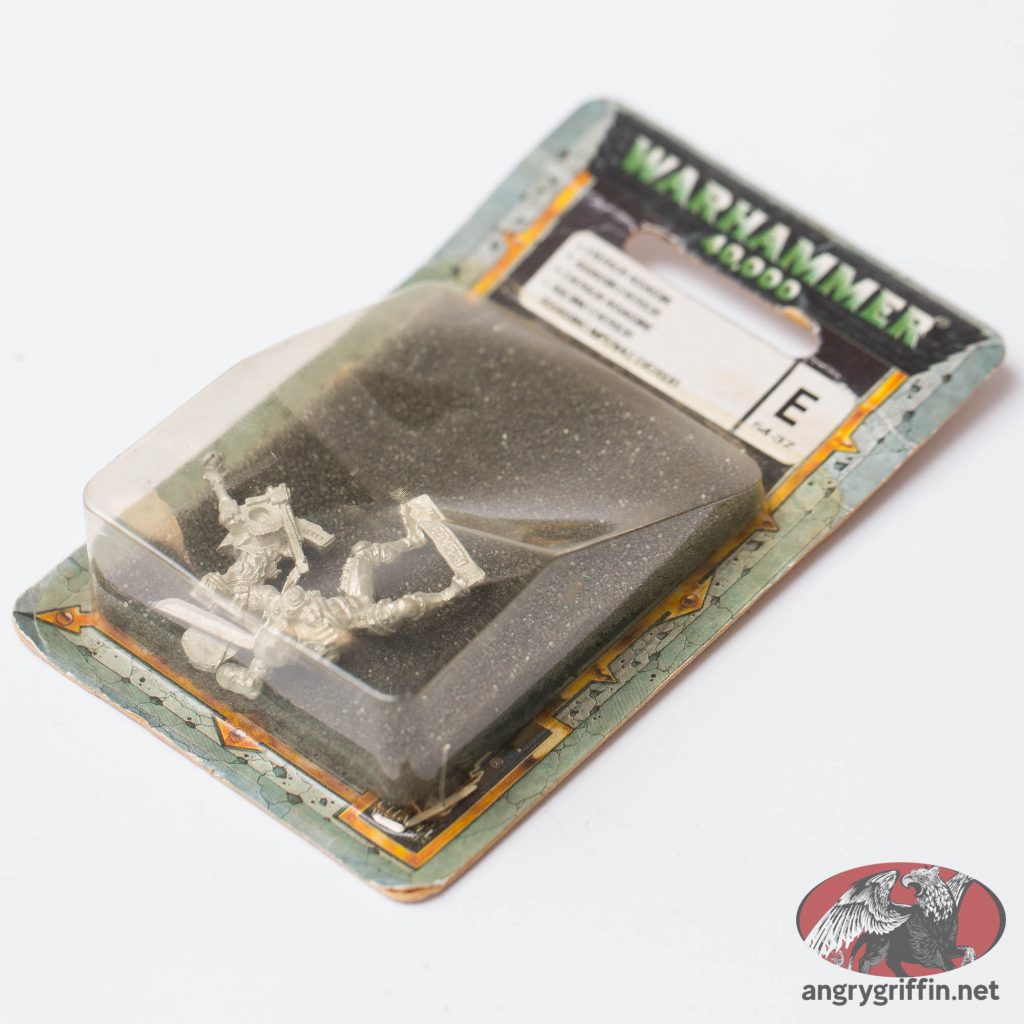
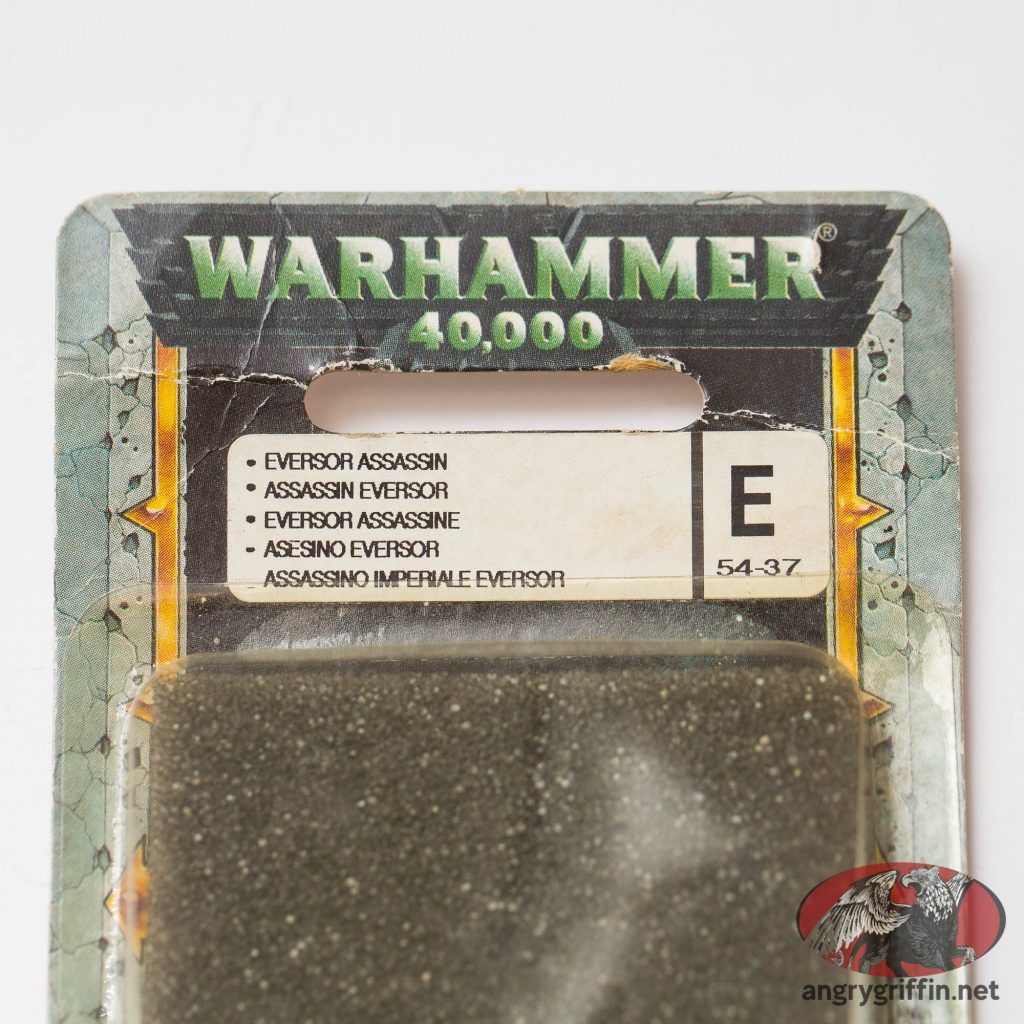
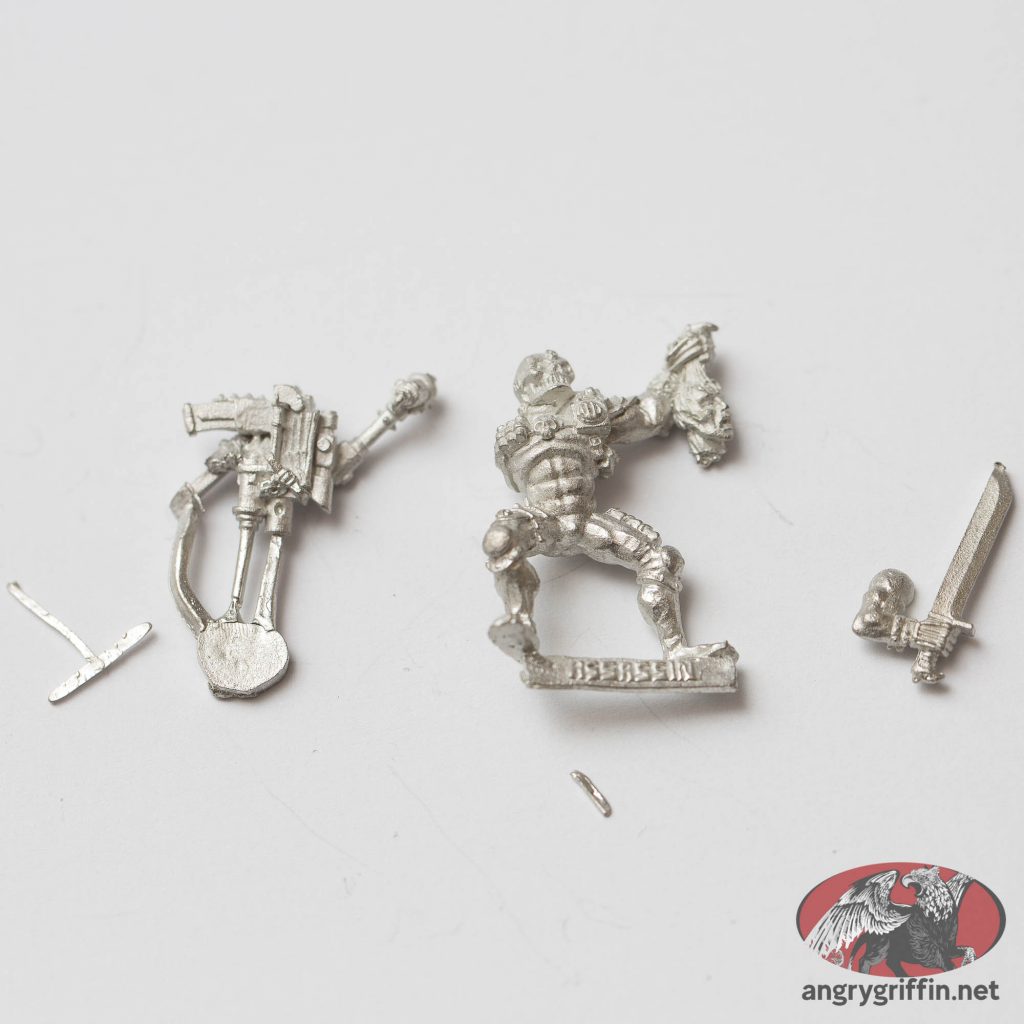
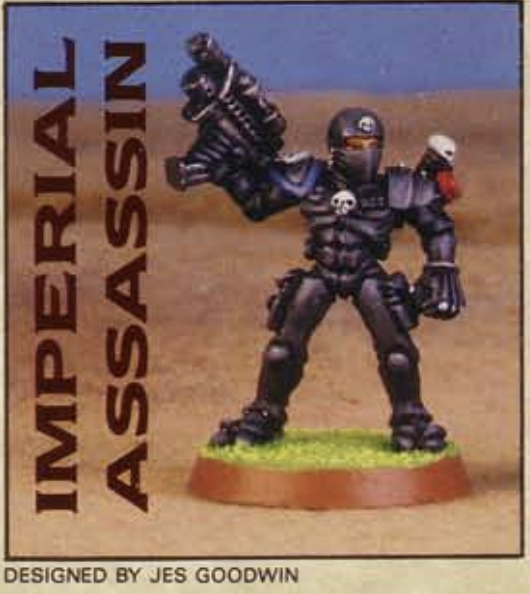
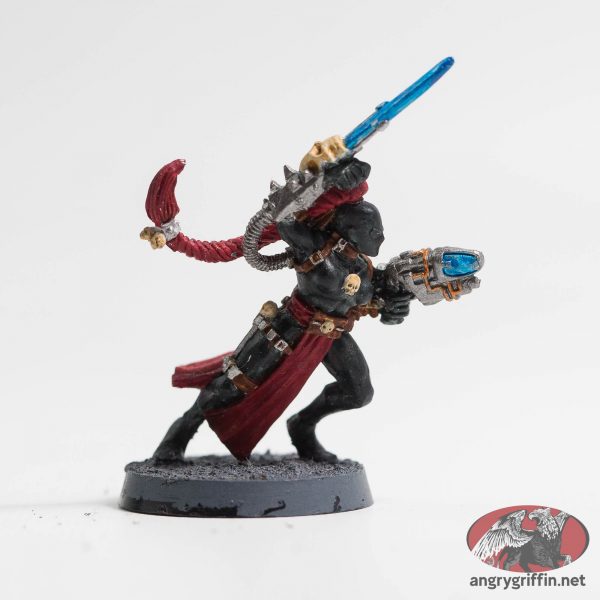
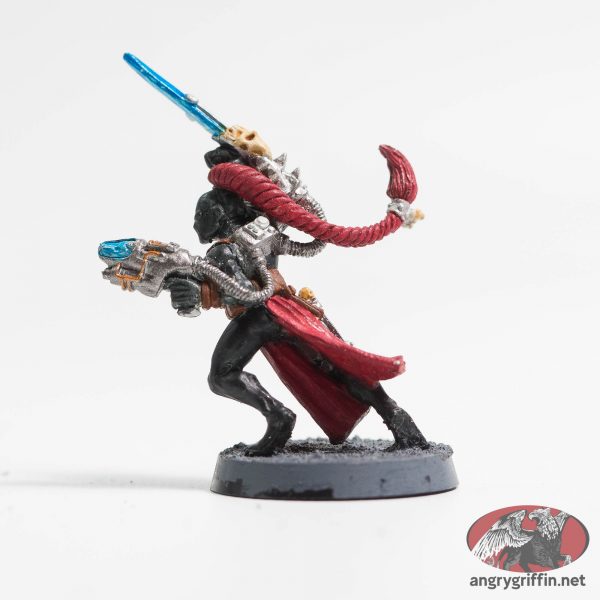
I found this Imperial Agent Calidus Assassin still new in blister – I honestly don’t recall whether they were called Callidus or Calidus back in the day, but it seems to have two Ls in it now. The model was starting to go a bit green in the blister but nothing too dramatic. Part number 010800203.
The foam was largely a powder. 5 quid – not half bad!
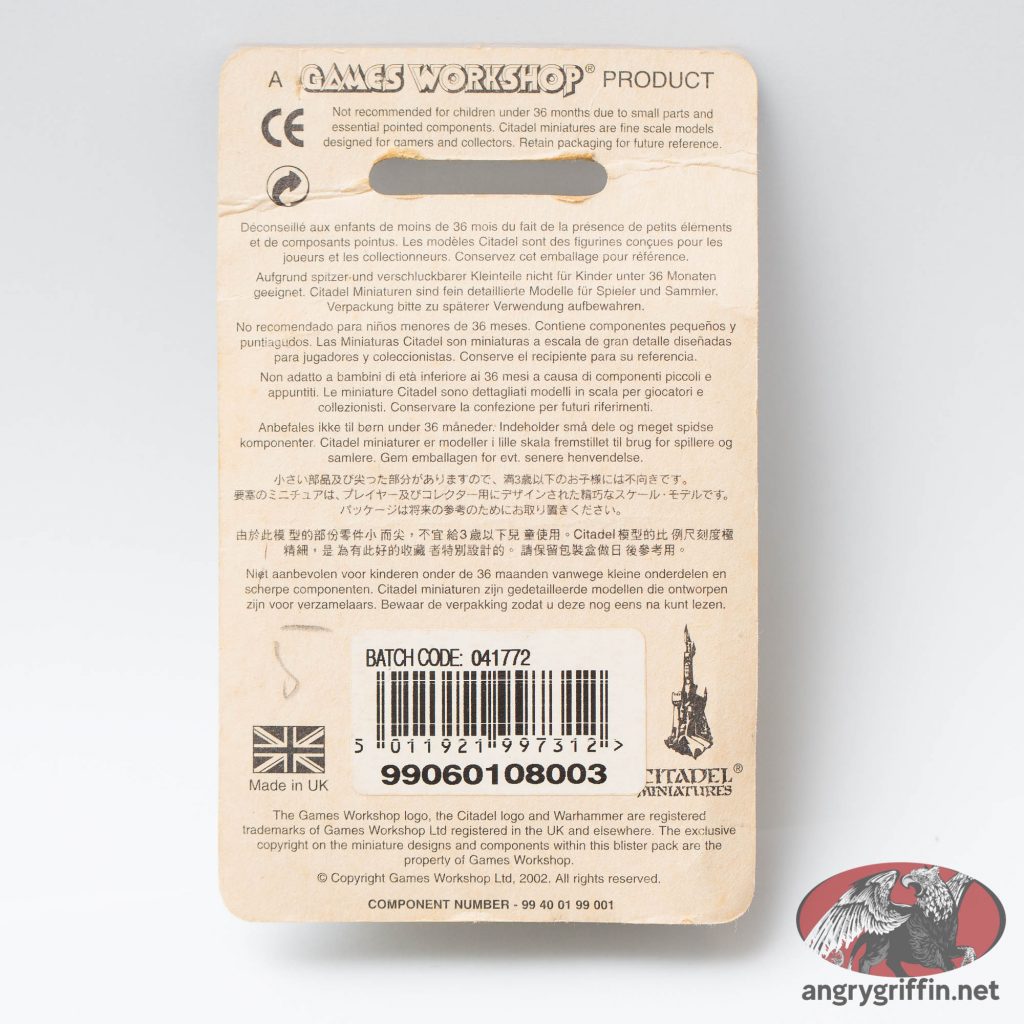
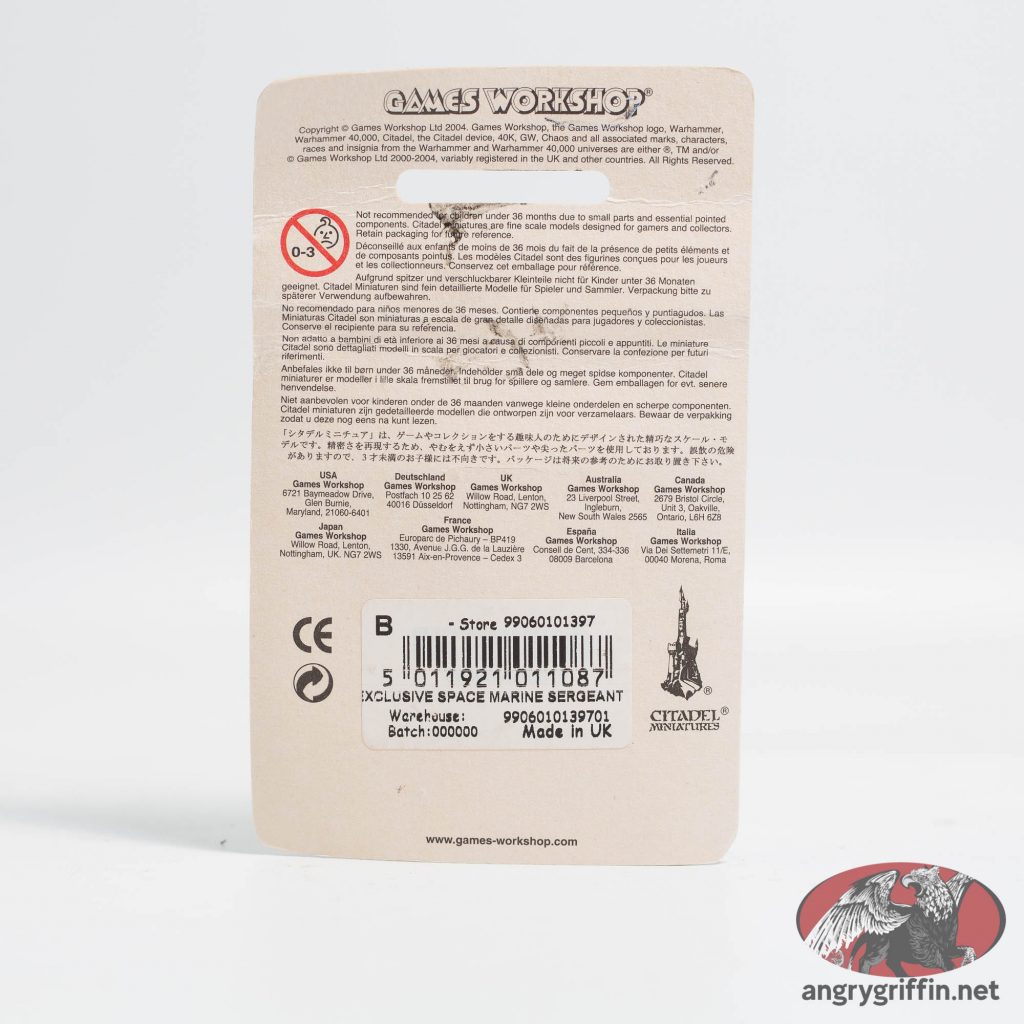
The back, for anyone curious:
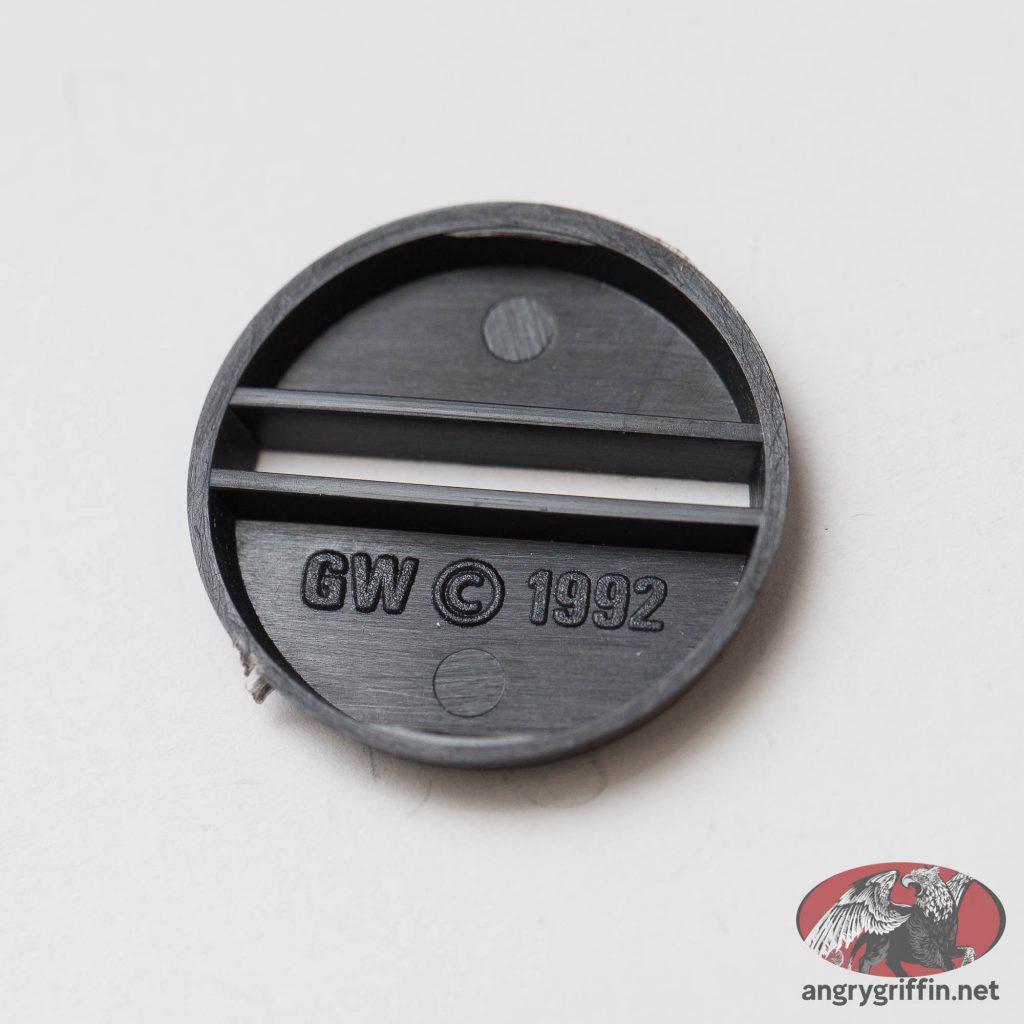
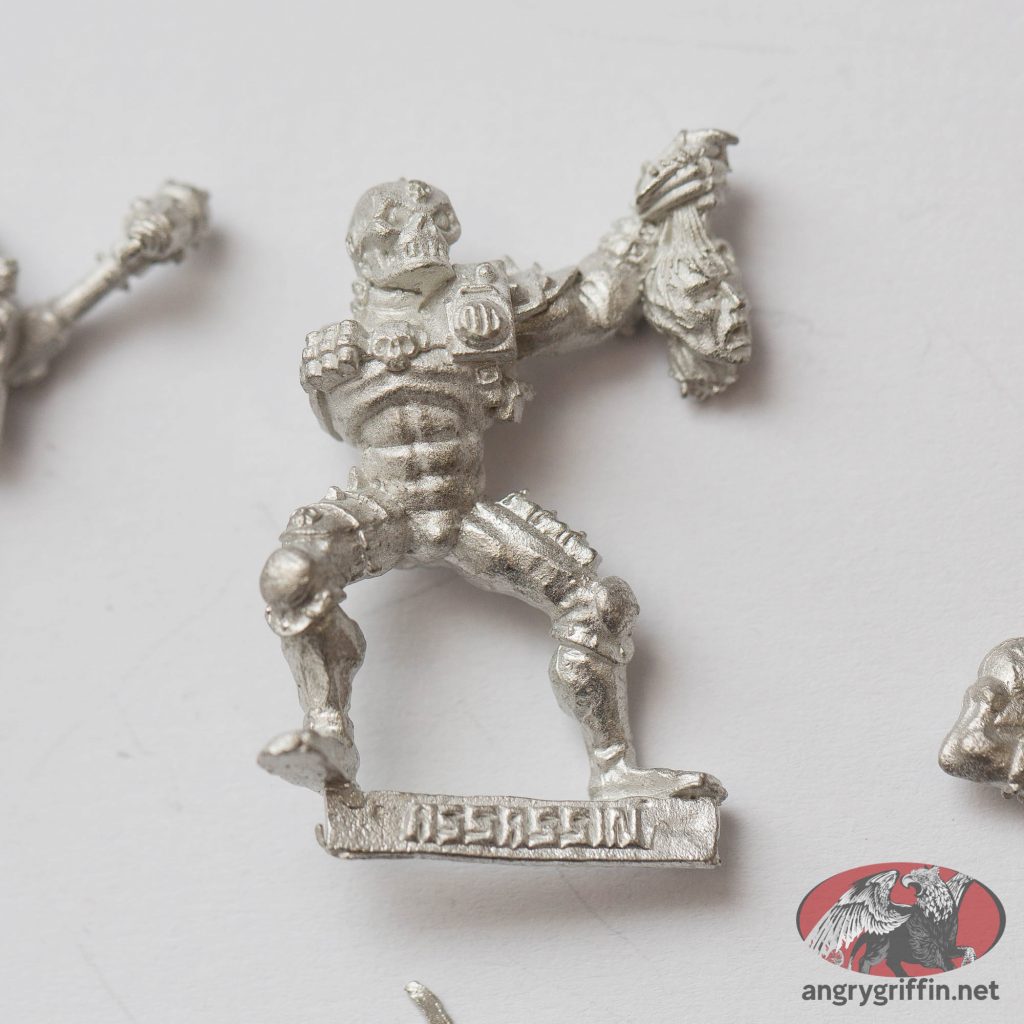
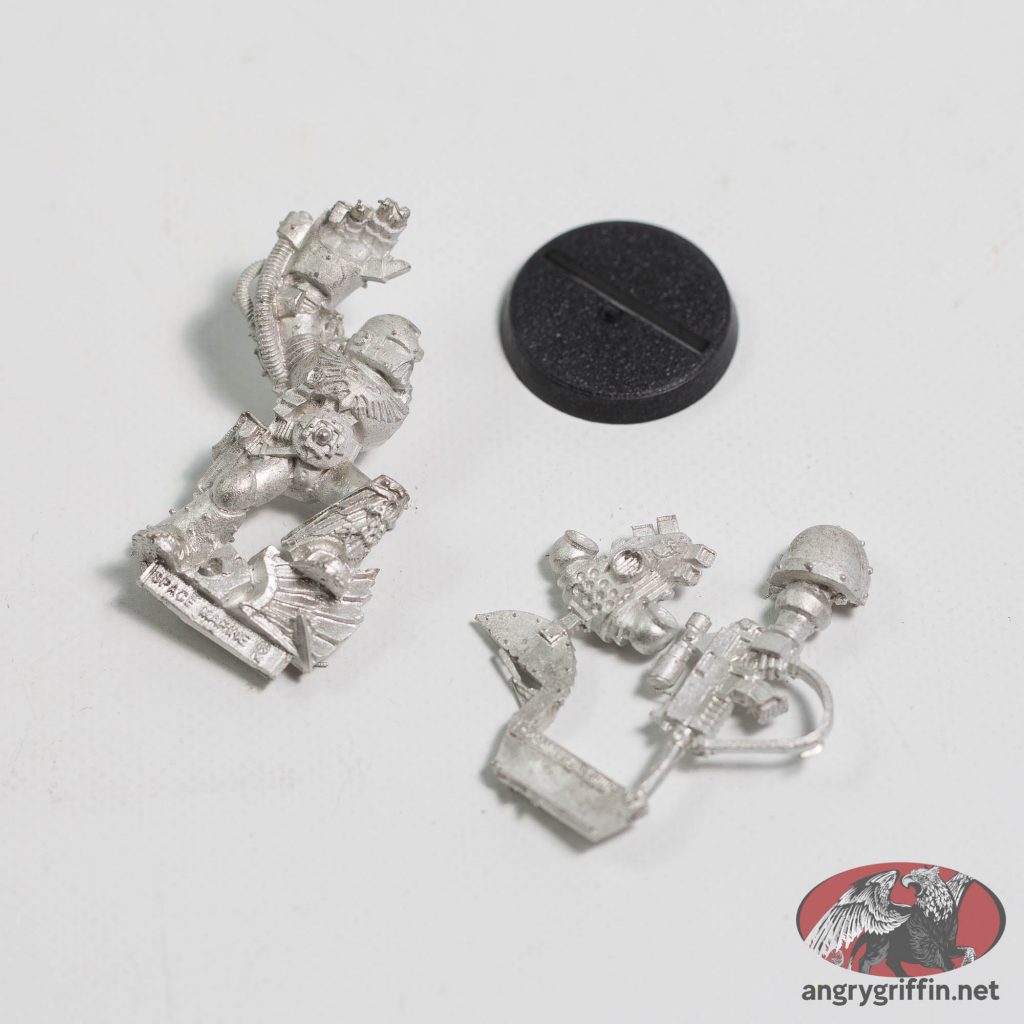
Out of the blister:
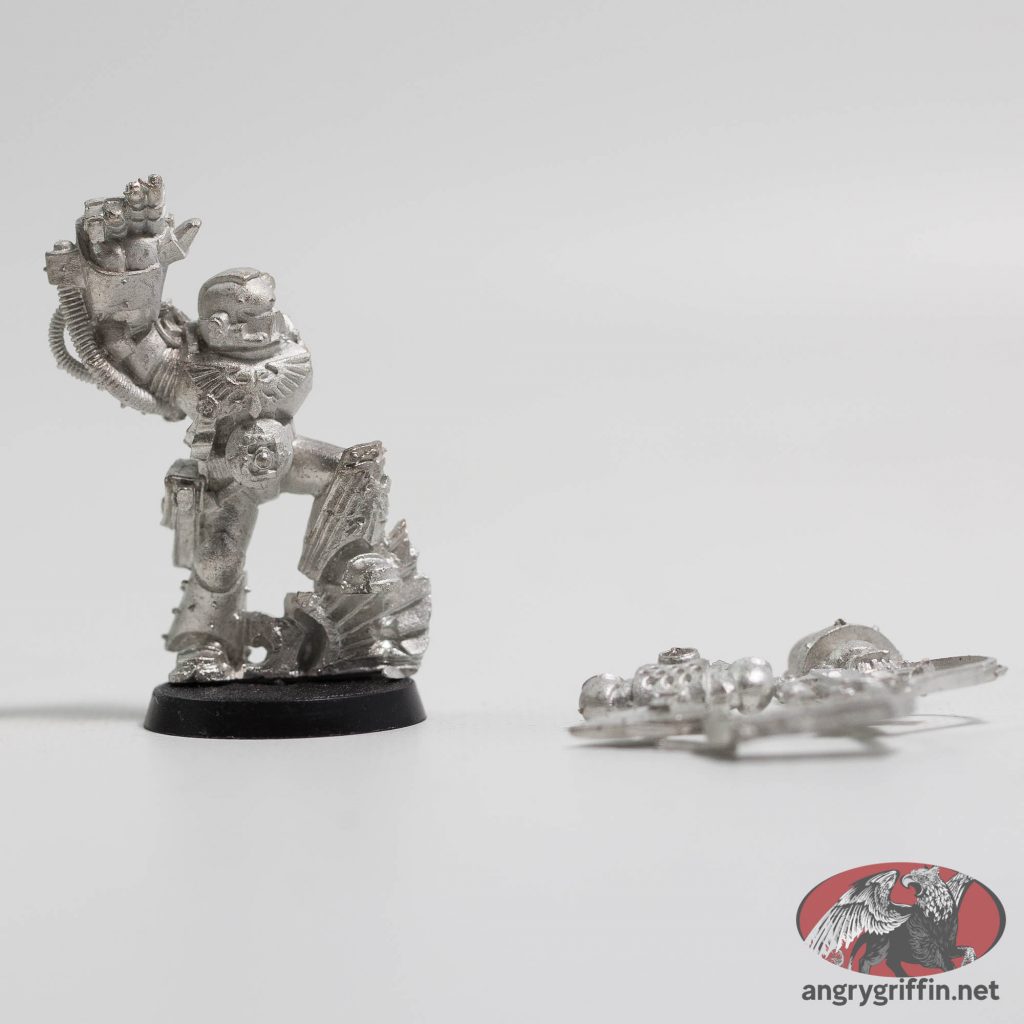
Looks alright!
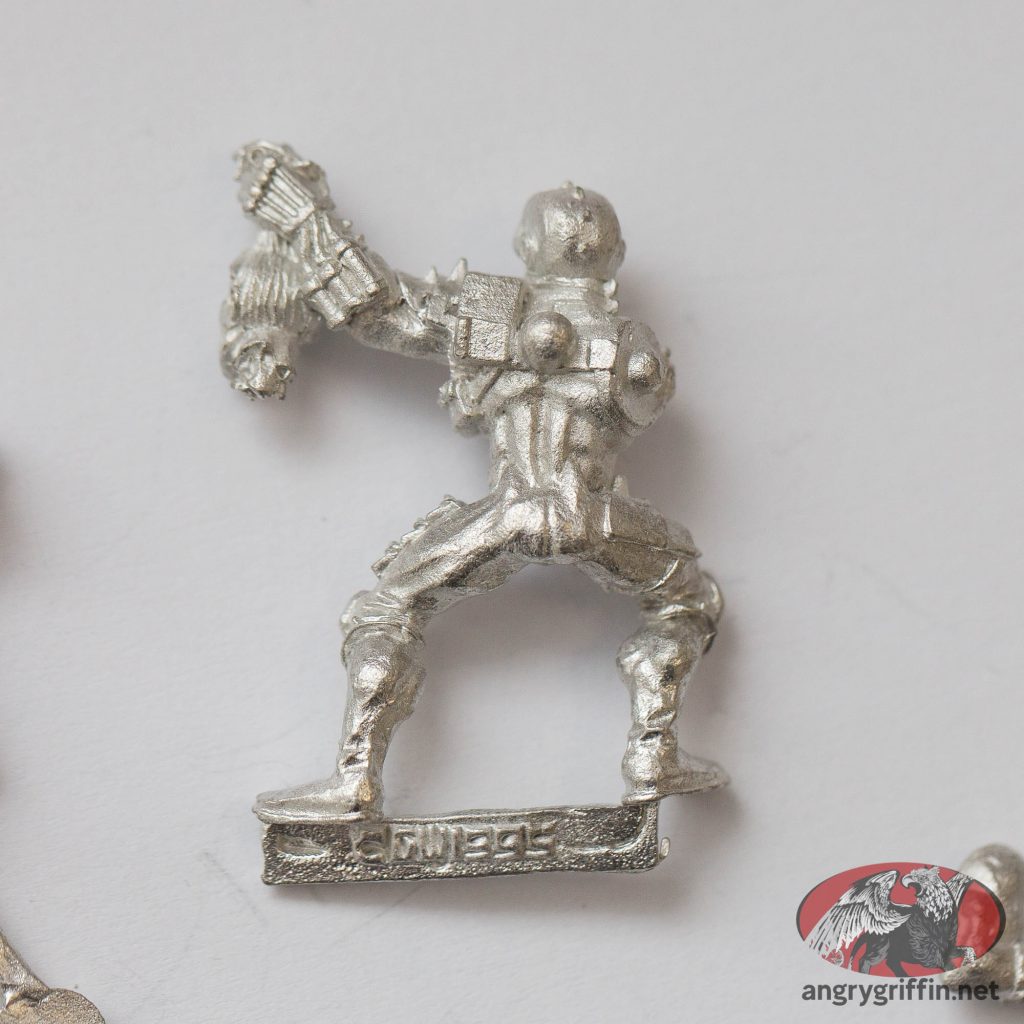
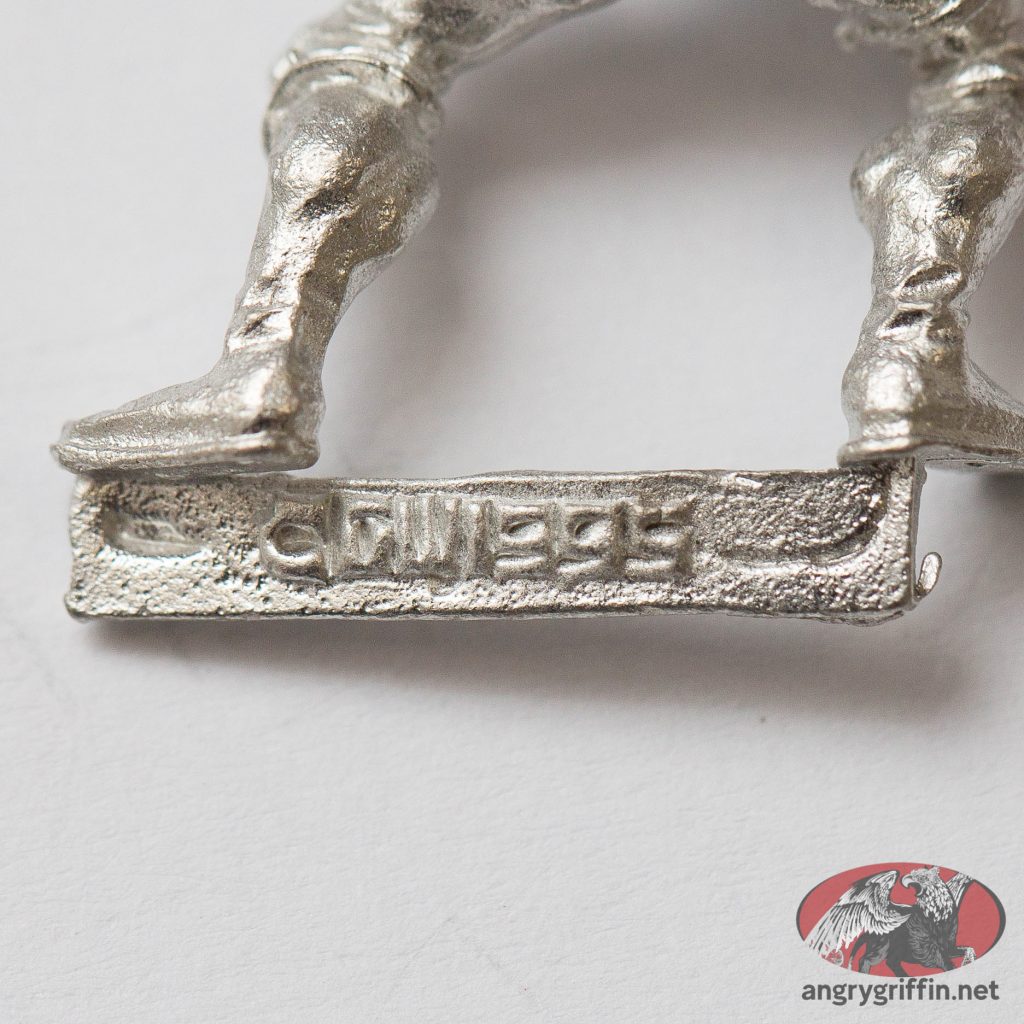
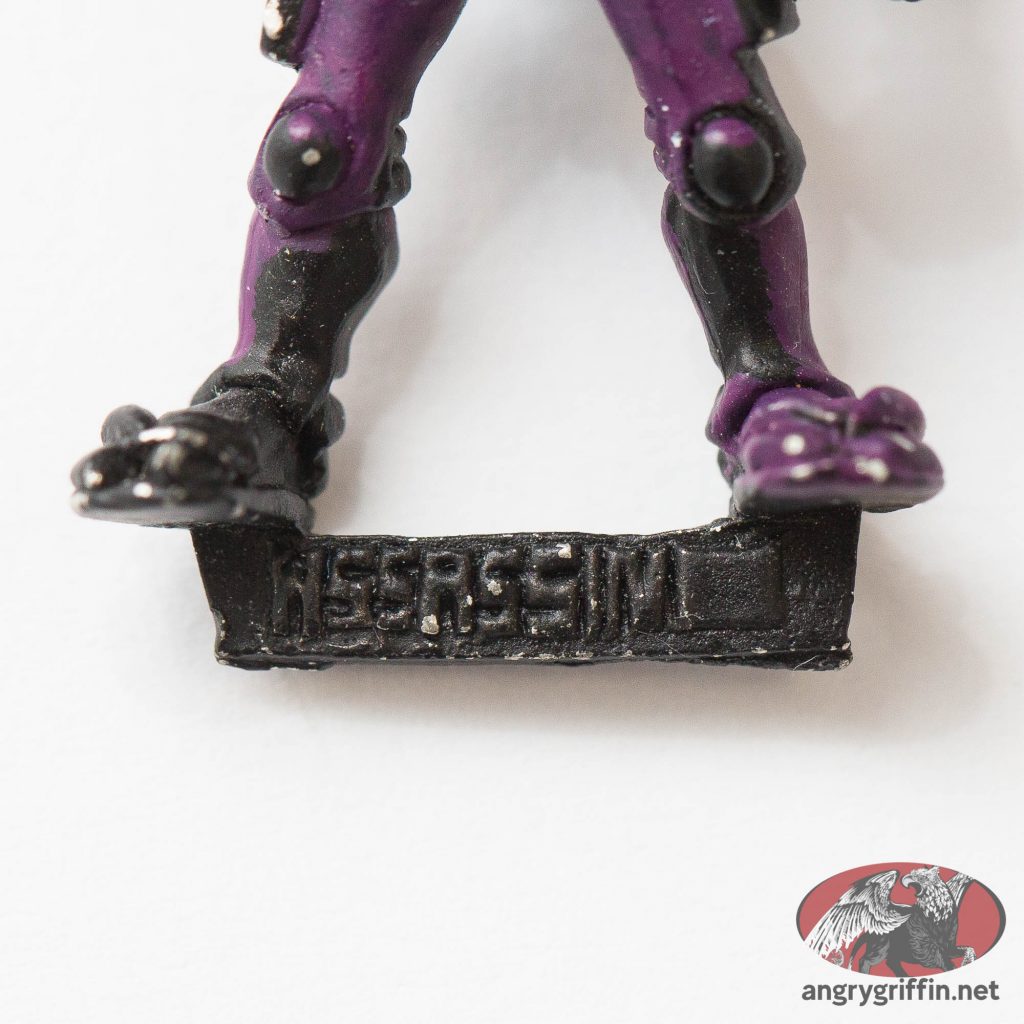
The back, however:
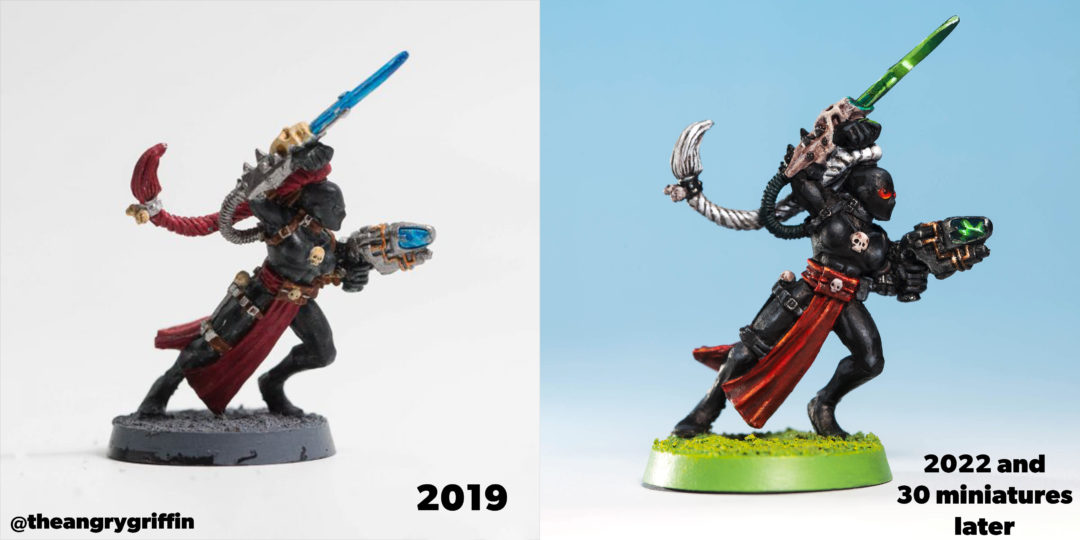
First crack at painting her:
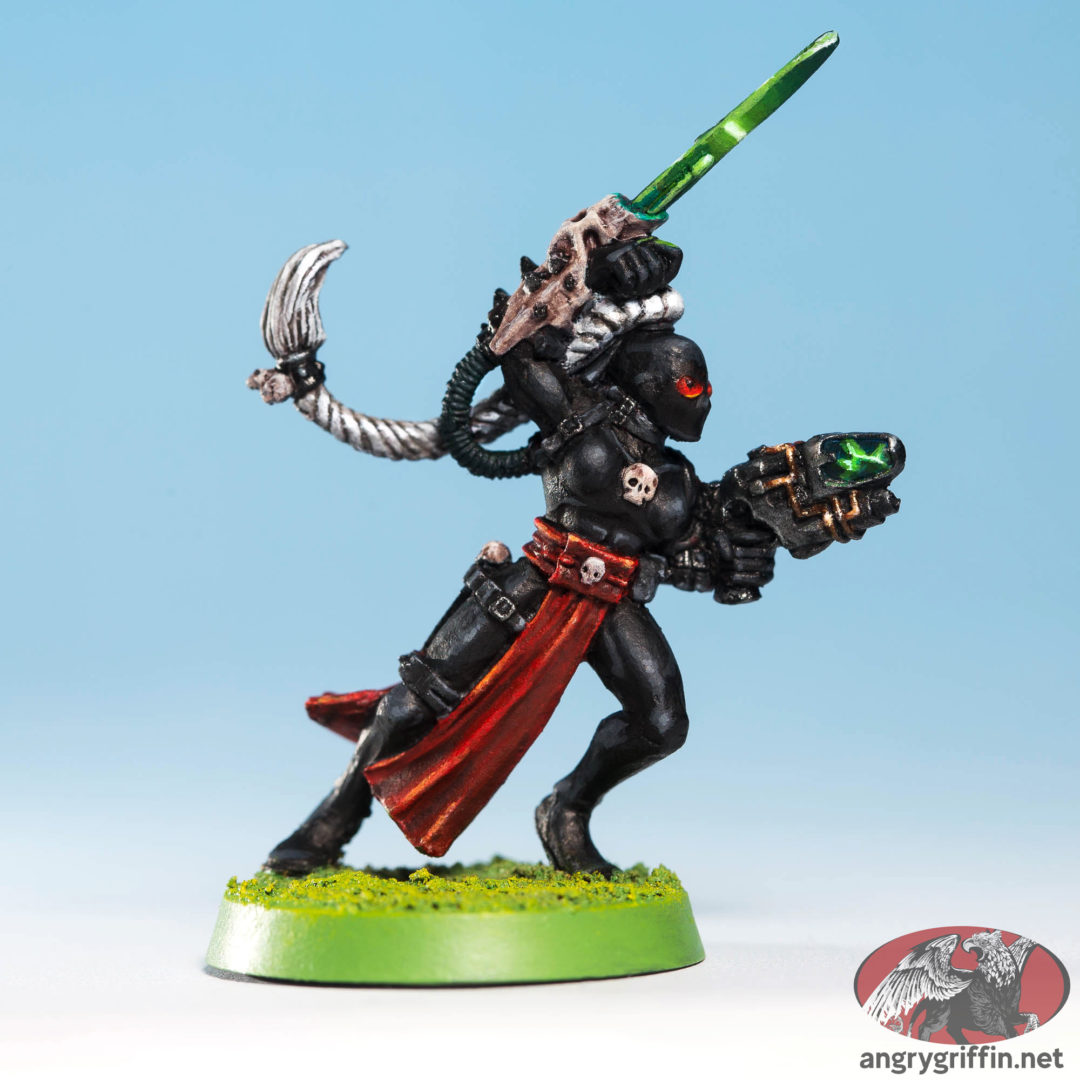
Second attempt three years and 30 miniatures later:
Paints used in the second go:
Undercoat: Vallejo Mecha Black
Red: Kimera Toluidine Red, then Pro Acryl Bold Pyrrole Red, shaded with Pro Acryl Burnt Red mixed progressively with Art Black. Highlighted with a mix of Pyrrole Red and Pro Acryl Orange, further highlighted with pro Acryl Orange mixed with Pro Acryl Titanium White.
White: Scale75 Artic Blue then Art White, shaded with Nuln oil. Highlight of Pro Acryl Titanium White.
Bone: Pro Acryl Ivory, highlighted with Pro Acryl Titanium White. Shaded with Targor Rageshade. Highlighted with Pro Acryl Ivory.
Leather: Kimera Toluidine Red mixed with Art Black, shaded with Sigvald Burgundy contrast. Decided that the warm brown was no good for this particular model and re-did it with a mix of Pro Acryl Titanium White and Art Black, highlighted with a blend of the same leaning more towards white. Shaded with a mix of Nuln and Black Legion Contrast.
Gun: Sap Green, highlighted with Turquoise Blue, highlighted with Art White, glazed with Cobalt Blue. Tried again with Emerald Green followed by a mix of Emerald/Spring Green then highlighted with Titanium White. The latter three used for the sword too.
Silver: Vallejo Metal Color Steel, then Black Metal/Thrash Metal/Speed Metal/White Alchemy. Washed with Nuln.
Copper: Decayed Metal, then Old Copper, then Amber Alchemy, then White Alchemy.
Black: Art Black, highlighted with a mix of Pro Acryl Titanium White and Art Black.
Base: Goblin Green then a drybrush of Sunburst Yellow.
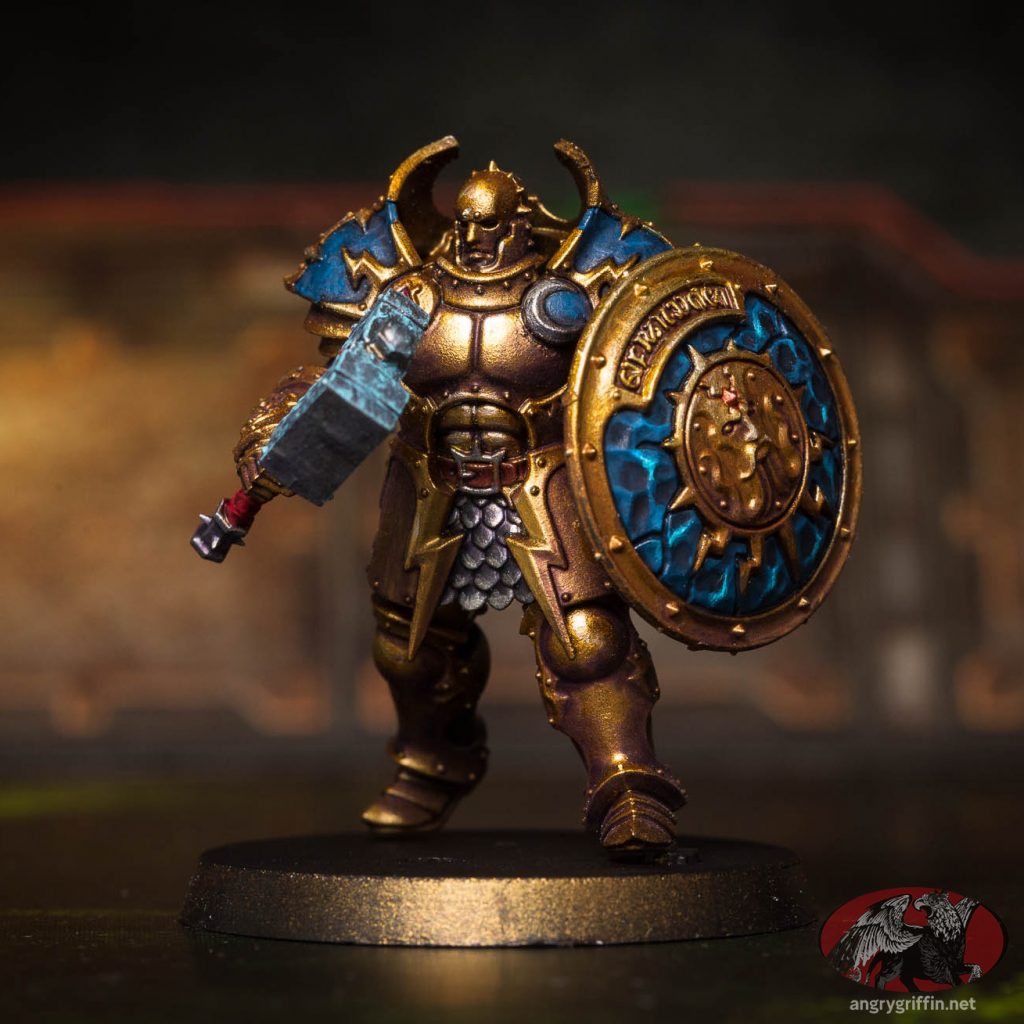
This is the third attempt at a colour scheme for a Stormcast Annihilator from the Dominion box and the second gold attempt – I think it’s much better than the first, the gold shading really made a lot of difference.
Undercoat: Vallejo Mecha Black
Metal base: Scale75 Necro Gold, Scale75 Viking Gold over that
Metal shade: Watered down Scale75 Instant Arcane Purple, 7 or so layers at the darkest point
Highlight with Dwarven Gold
Highlight that with Elven Gold
Highlight that with Peridot Alchemy
Highlight that with Citrine Alchemy
Silver:
Black Metal
Thrash Metal
Heavy Metal
Wash in recesses – hold model upside down – with Fairy Blood, followed by Shadow Black
Leather:
Mournfang Brown
Shade with Grizzly Brown
Red handles:
Vallejo Heavy Red
Shade with Grizzly Brown
Gems:
Vallejo Heavy Red, shade with Grizzly Brown, highlight Vallejo Model Color Cold White
Blue: Prussian Blue, shade with Drak, further spot shade with Fairy Blood, highlight with Prussian Blue and some light scratches with same
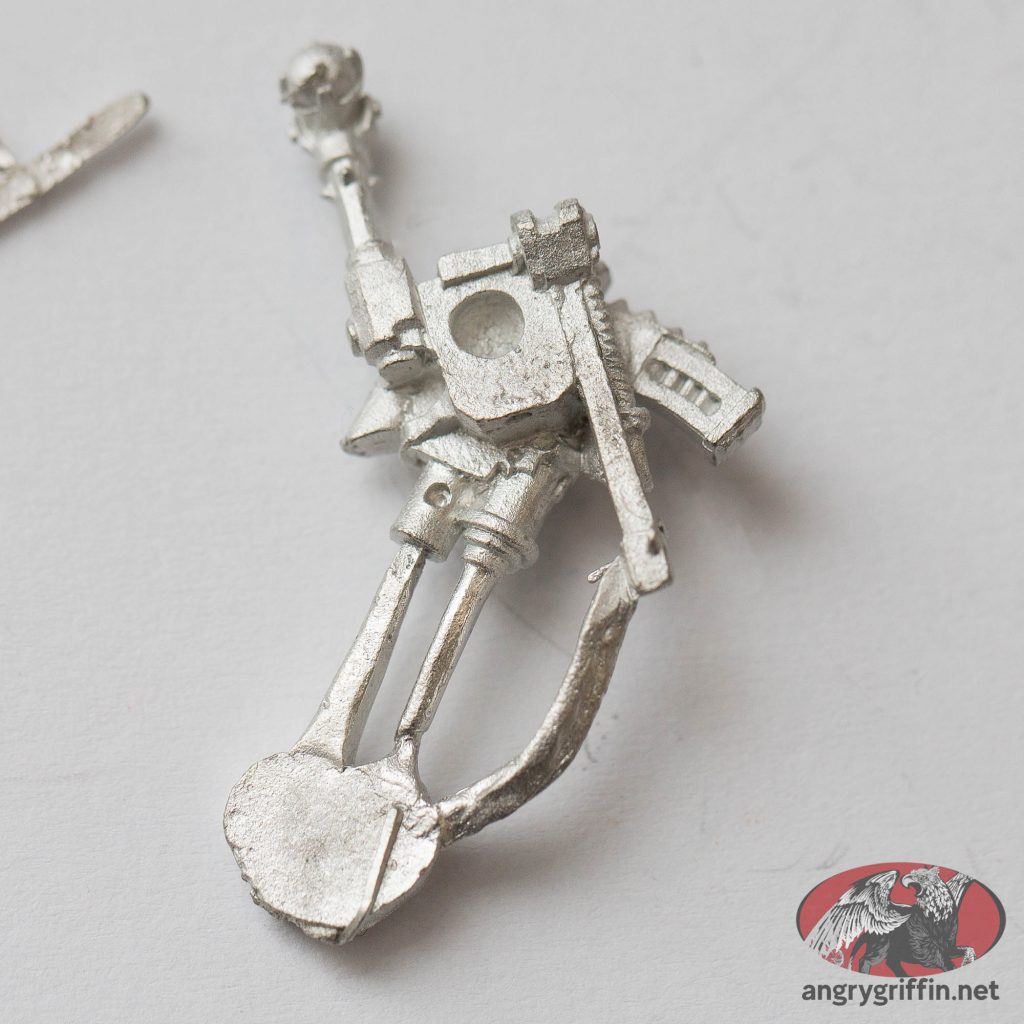
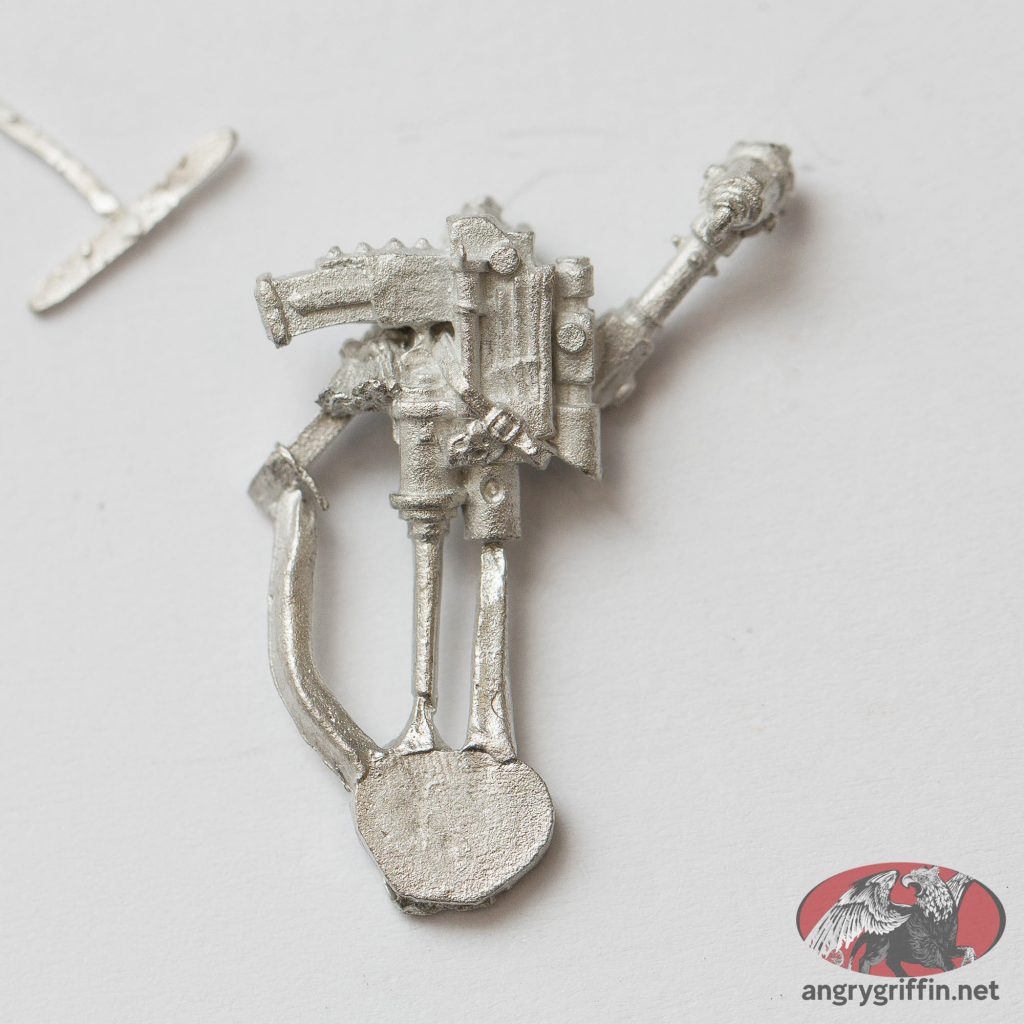
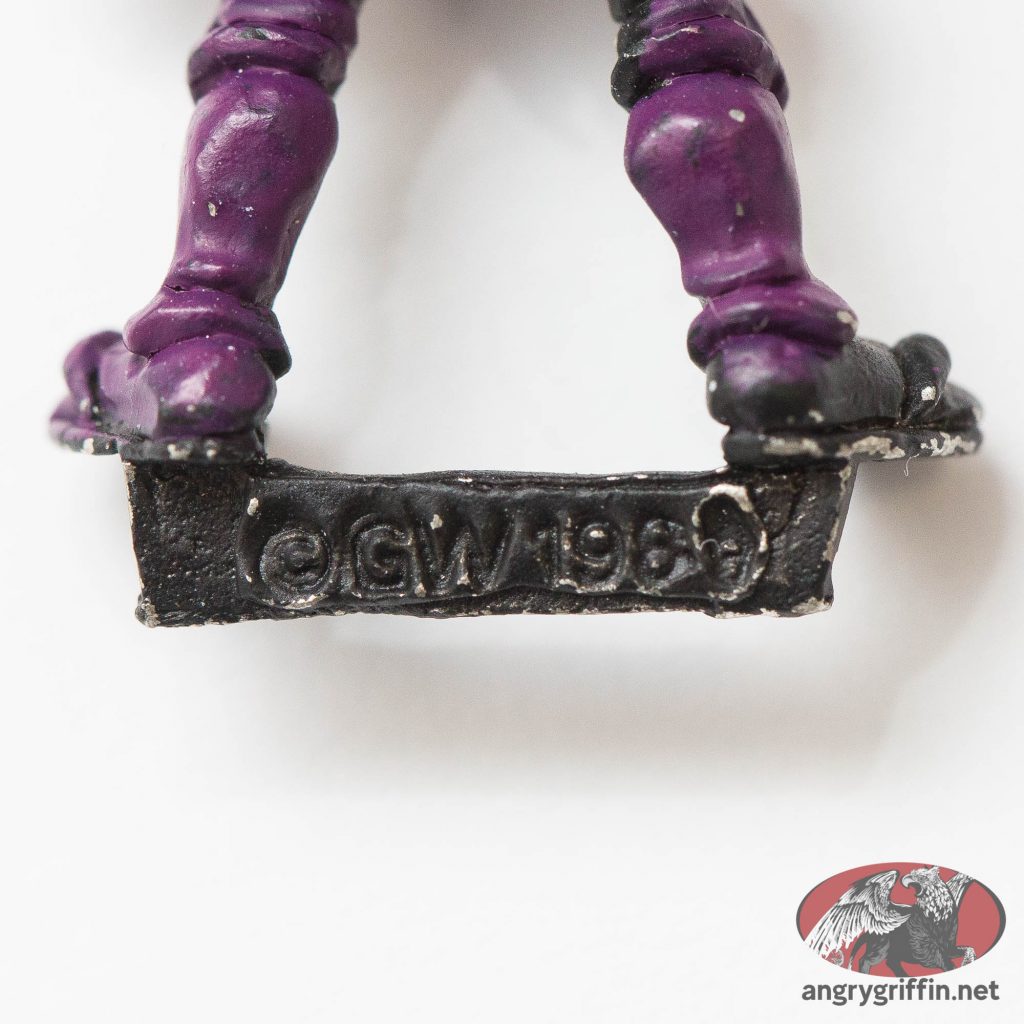
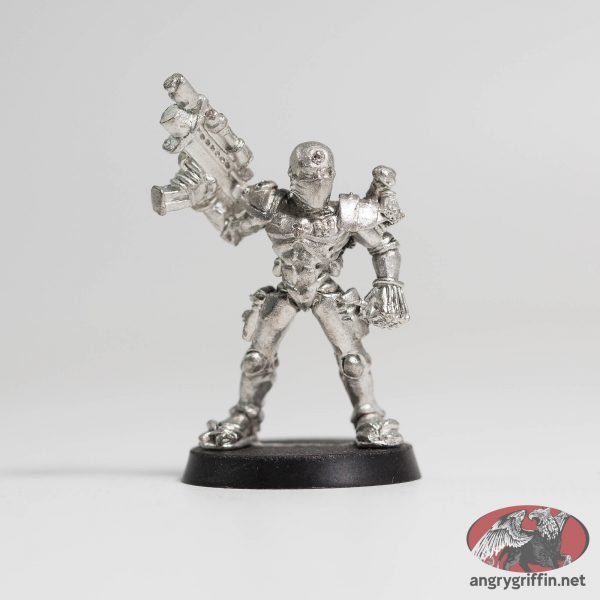
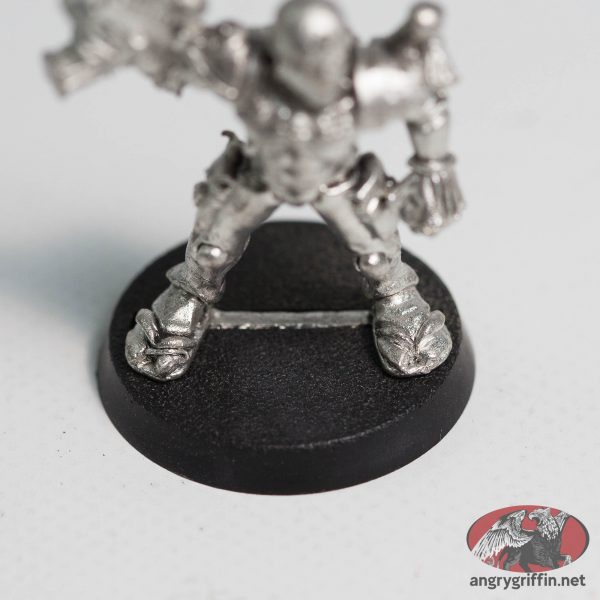
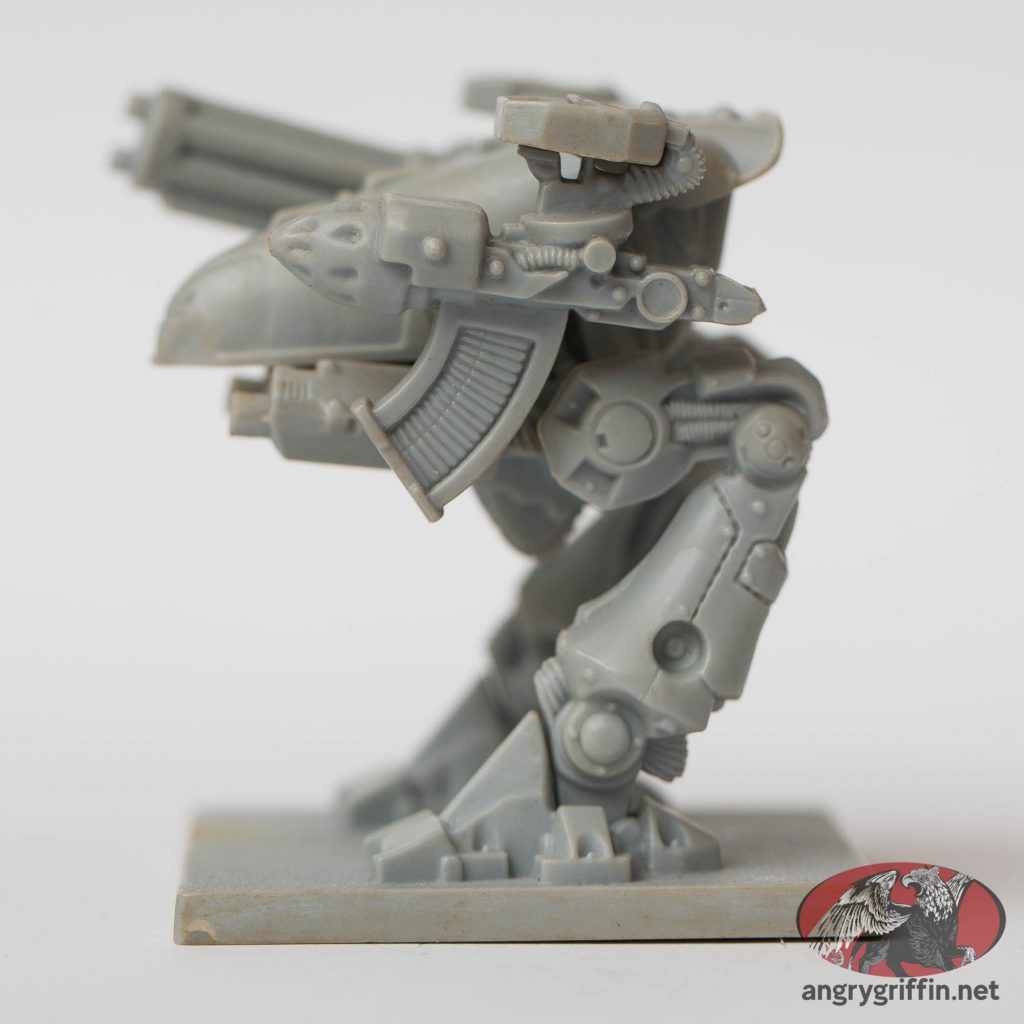
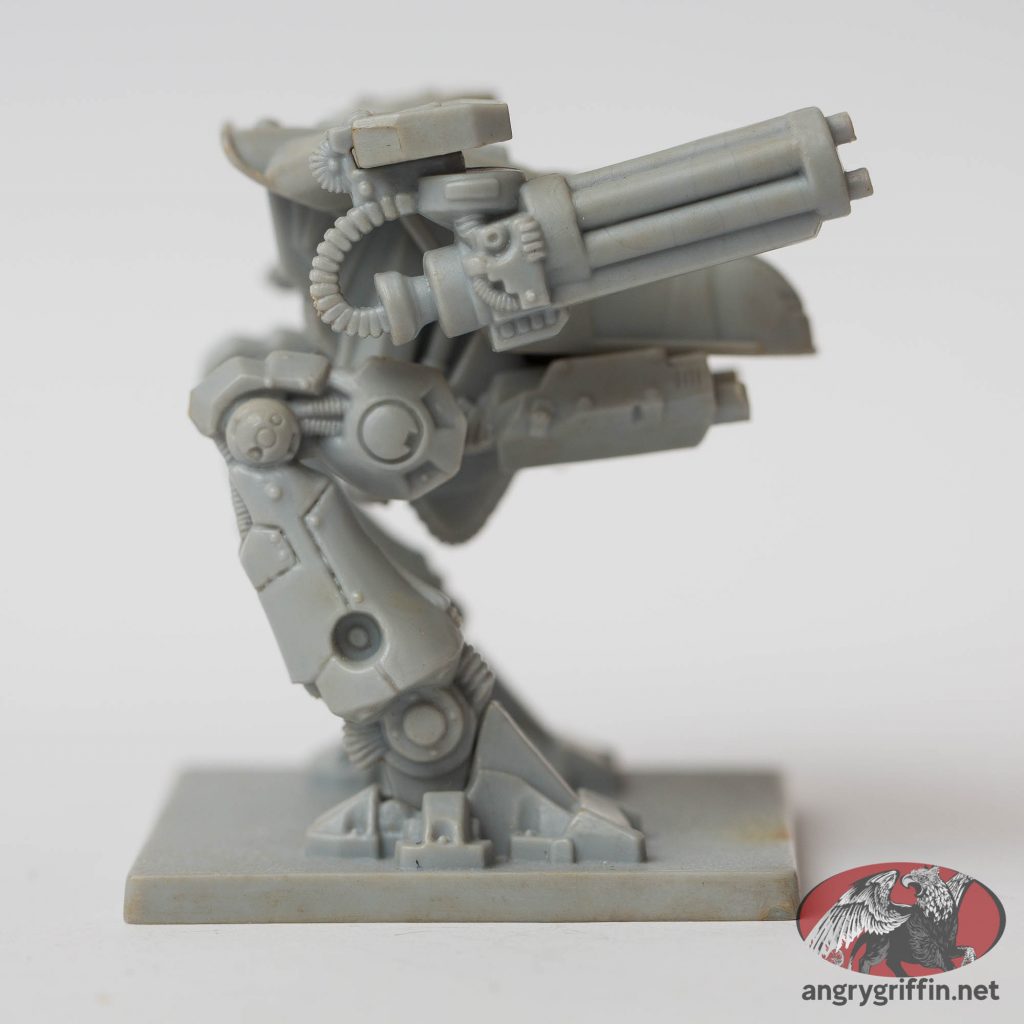
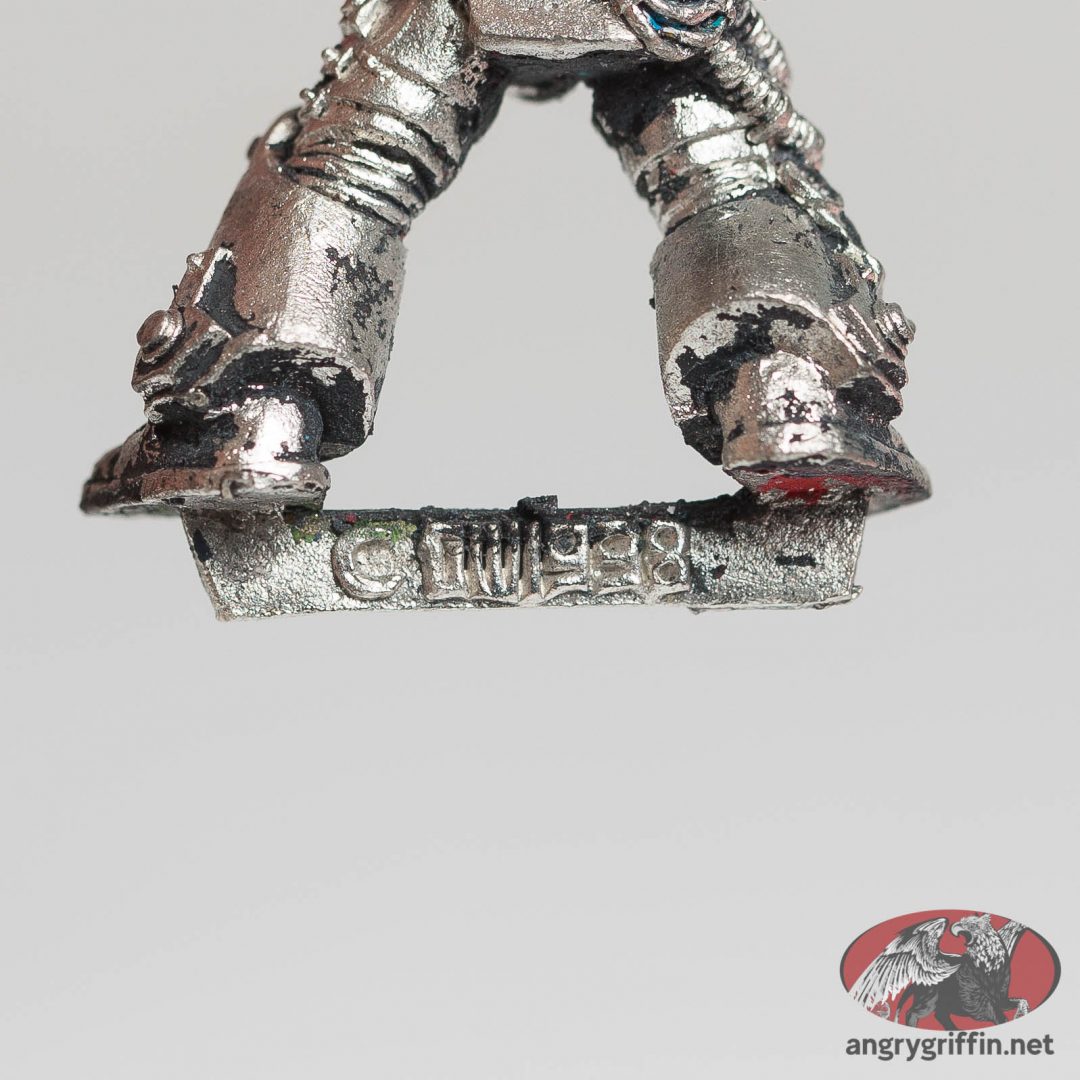
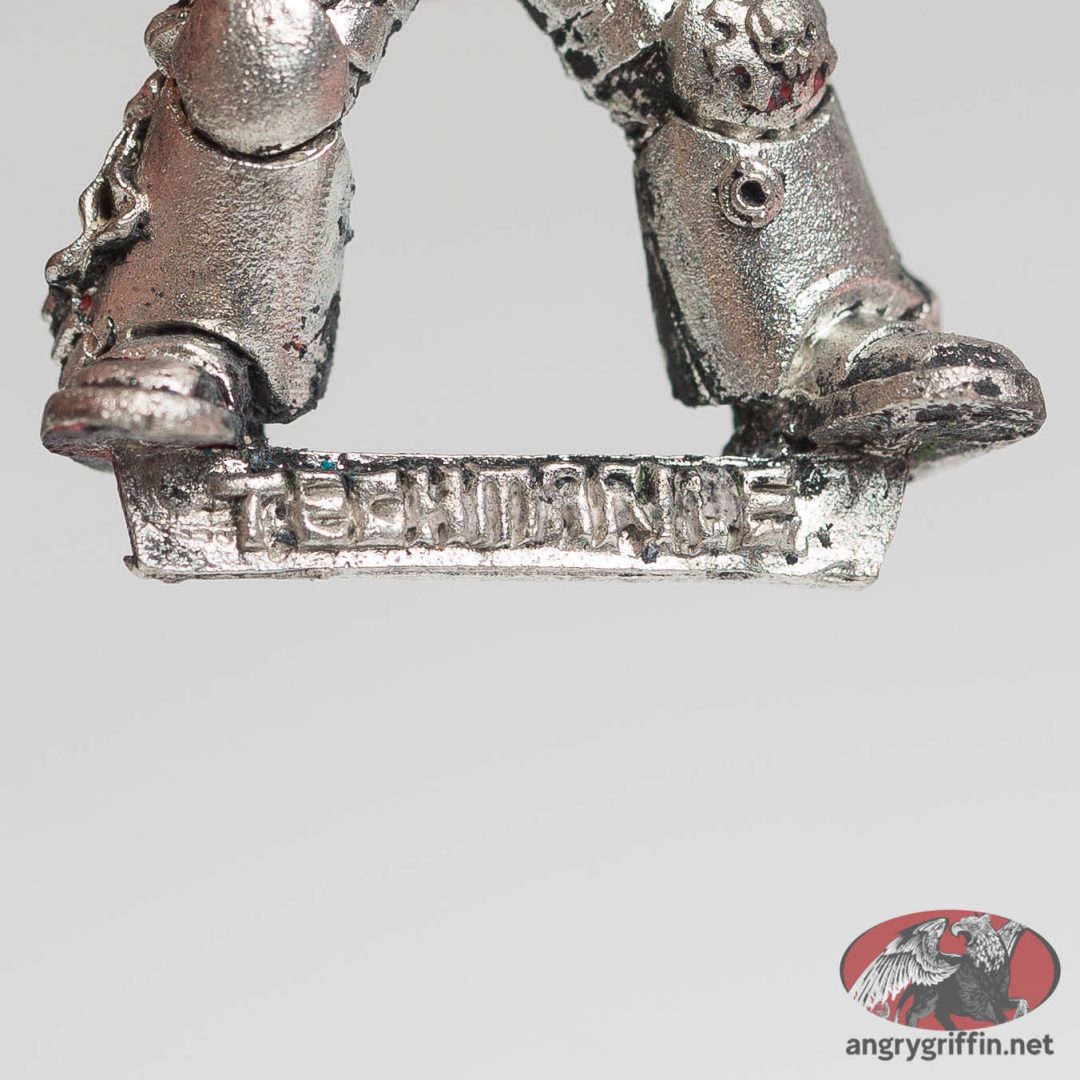
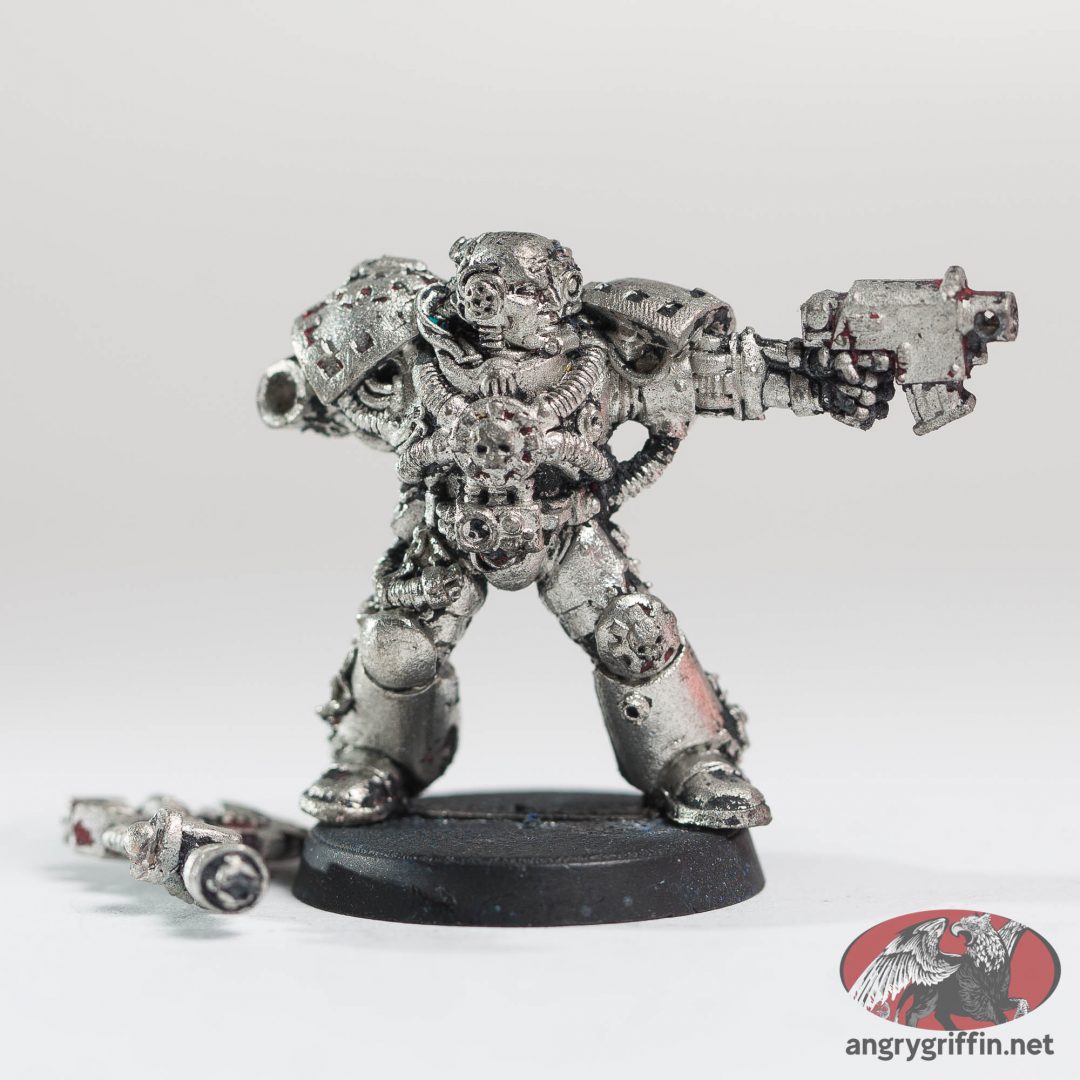
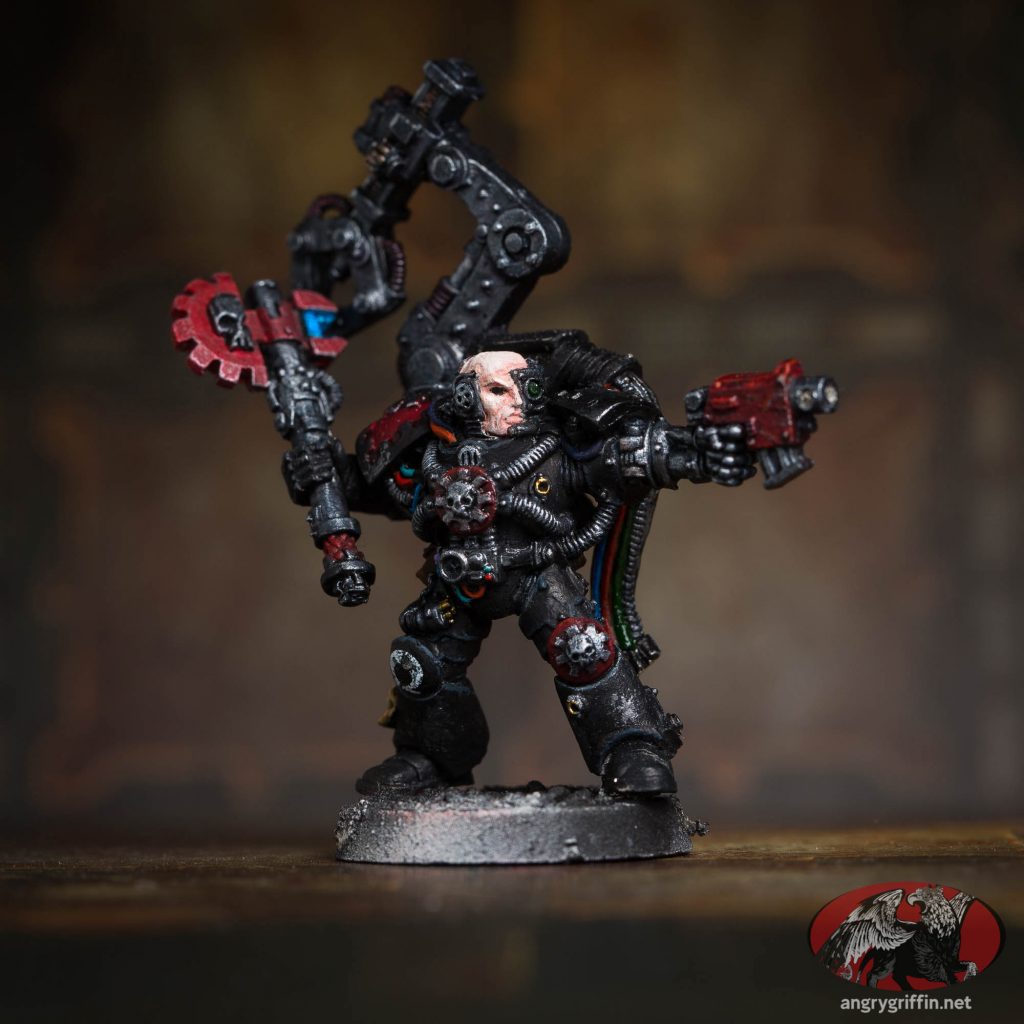
Some oldhammer! Or is this middlehammer? I lose track. This Games Workshop Warhammer 40K Techmarine was released as part of the Company Command box set a month 3rd edition hit, apparently – which would put him at being released in late 1998. Still using the same metal backpack as the older 2nd Ed. Techmarines, his sculpt is a mirror of the Captain with Terminator Honours and various others. It’s a Jes Goodwin sculpt.
In the 2004 US catalogue this miniature is part number 010110305 with backpack 010107503 and axe/hand 010110306.
I was painting the metal guys up as a Raven Guard successor when I got him, so he has been stripped for repainting in blue. The RG successor scheme:
All painted using Scale75 with the exception of some washes and a contrast – in the scheme of a Raven Guard sucessor that is as yet unnamed. Back when I was playing 2nd. Ed I called them the Harbingers, but that name is actually a canon chapter now (perhaps it was then too) so I need to find another.
Base armour: Scale75 Artrist Green Grey, attempted to shade with SIN-42 Golem Grey but it wasn’t very dramatic
Base armour highlight: 50/50 Green Grey and Scale75 SART-16 Artist Arctic Blue
Base armour ultimate highlight: Arctic Blue
Red base: Scale75 Crimson
Red highilight: Scale75 Primary Red
Red wash: Carroburg Crimson
Metal base: Scale75 Black Metal
Metal wash: Drakenhof Nightshade
Metal shade: Scale75 Instant Fairy Blood
Metal highlight: Black Metal then Thrash Metal and Speed Metal, White Alchemy as ultimate highlight
Axe glow at the back: Scale75 Art White + Talassar Blue Contrast
Eye lens: Scale75 Sap Green and Spring Green, dot of Art White
Cables: Primary Blue, Crimson, Cobalt Blue, Primary Yellow, Dark Violet, Turquoise Blue
Wash for cog and rack on servo arm: Vallejo Mecha Dark Rust Wash
Wash for tubes on arm/backpack: Scale75 Instant Love Affair
Purity Seal: Scale75 Off White, Seraphim Sepia, writing Scale75 Artist Burnt Sienna Umber
Eye (all black as per RG): Scale75 Artist Art Black
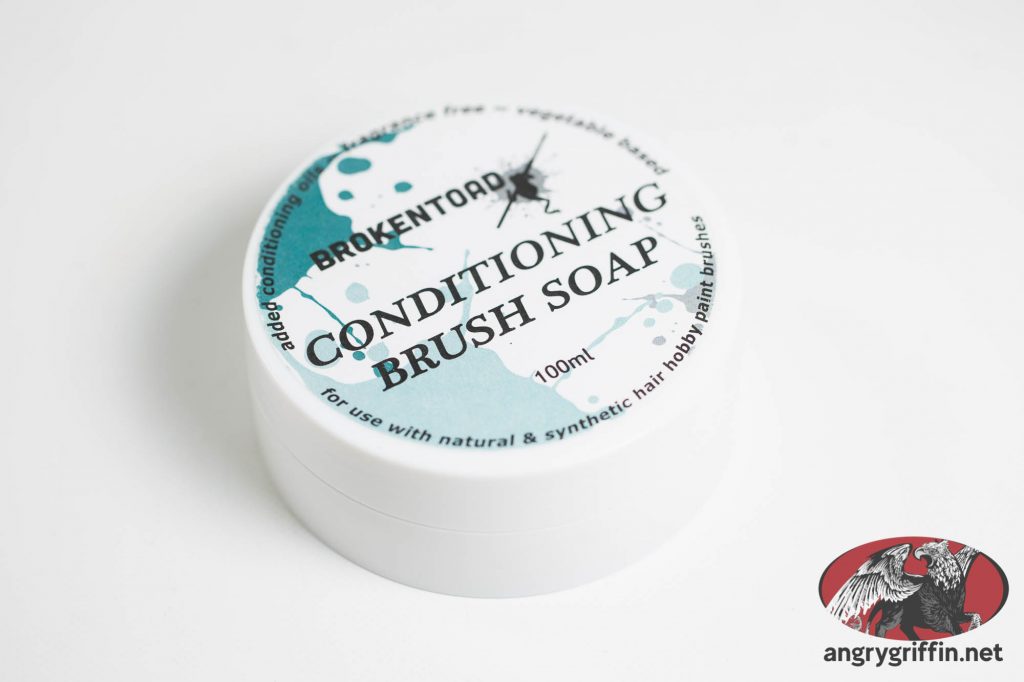
Apart from making brushes, BrokenToad also have a brush soap. Here’s my short review of it.
If you’re just starting out and are wondering what on earth this is for, brush soap is essential for cleaning your brushes after use – it’ll keep the brushes usable (and useful) for far longer than if you never used it. It’s not terribly exciting visually:
It’s white, has a faint (not unpleasant) smell, is vegetable based and has had no fragrances added. One thing you want – or at least I want – out of a brush soap is the ability to get a good lather going so I can work the soap into the bristles and make sure that I get all of the paint residue out. Happily, this soap lathers easily and seems very effective at getting the old paint out of the bristles without requiring a lot of work.
In terms of value for money it’s about $14AUD on eBay AU with $9 or so postage at the time of writing, which I think is pretty decent value for 100ml of brush soap. That volume should last you quite a large number of painting sessions, and it ought to save more than $14 of brushes in that time frame.
Overall – recommended – works well and good value for money! Worth checking out if you need some brush soap, and pretty much everyone who paints miniatures needs some way of cleaning paint from their brushes if they want them to stay pointy.