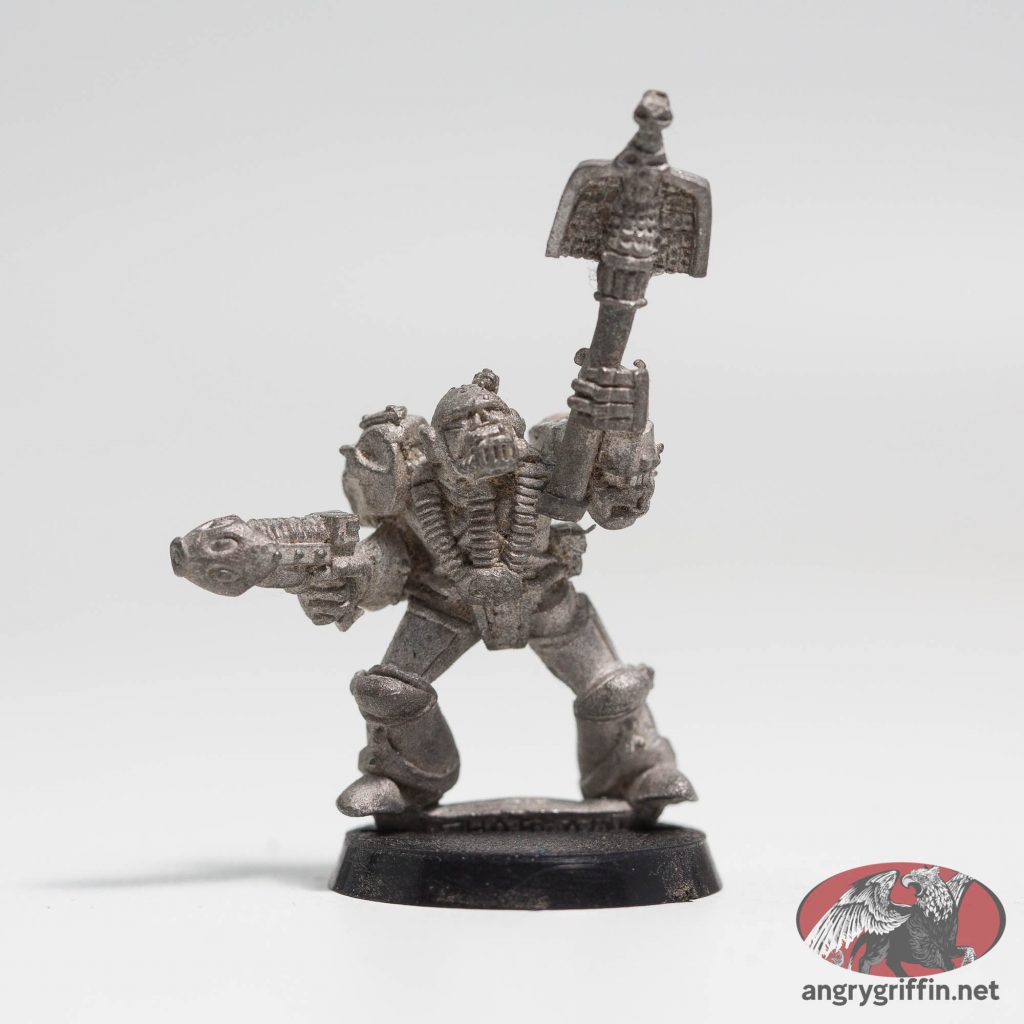
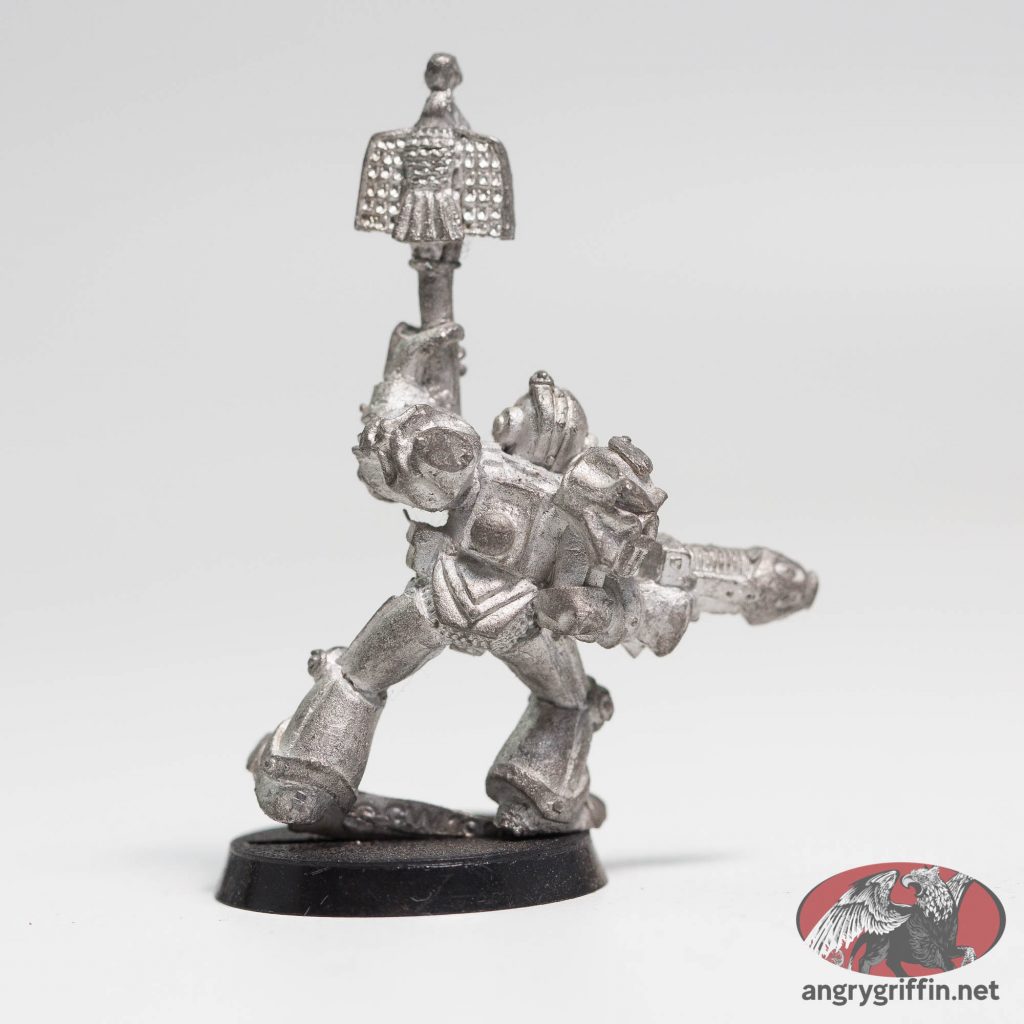
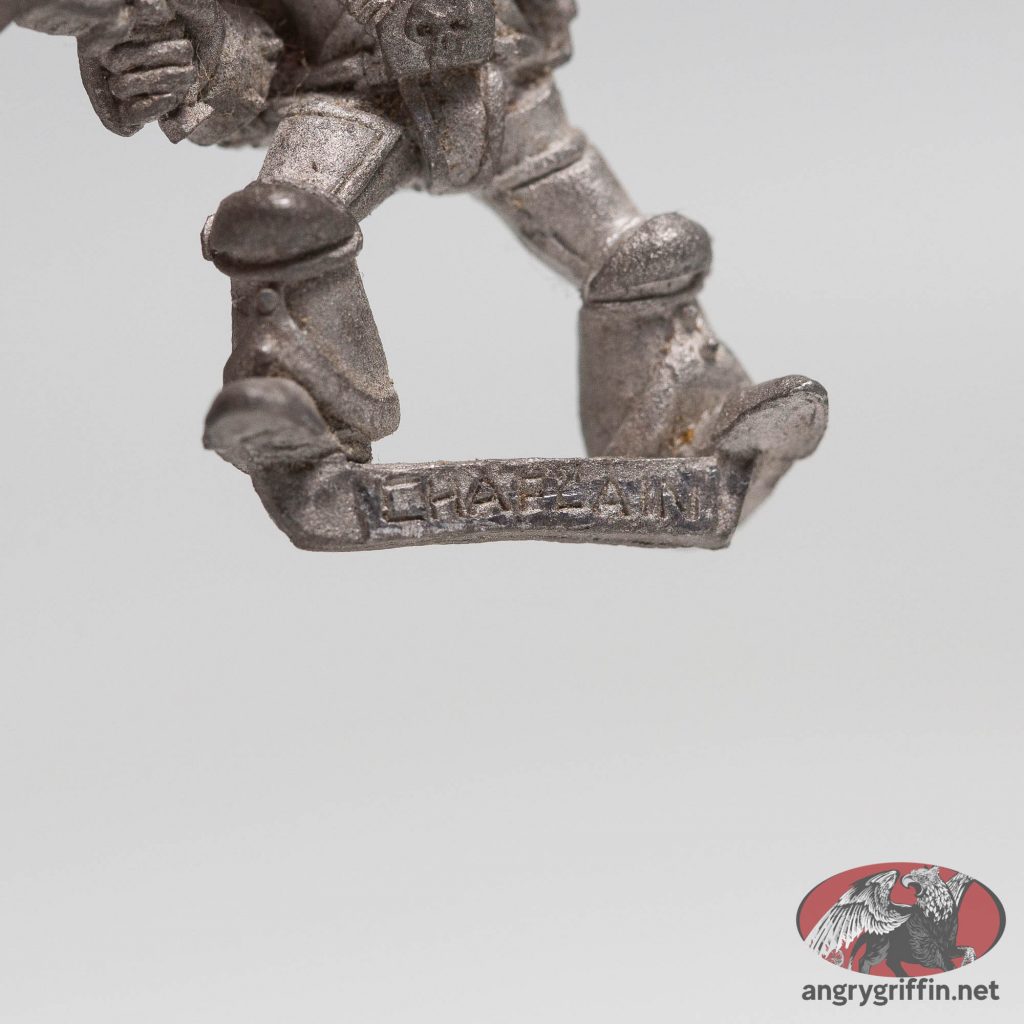
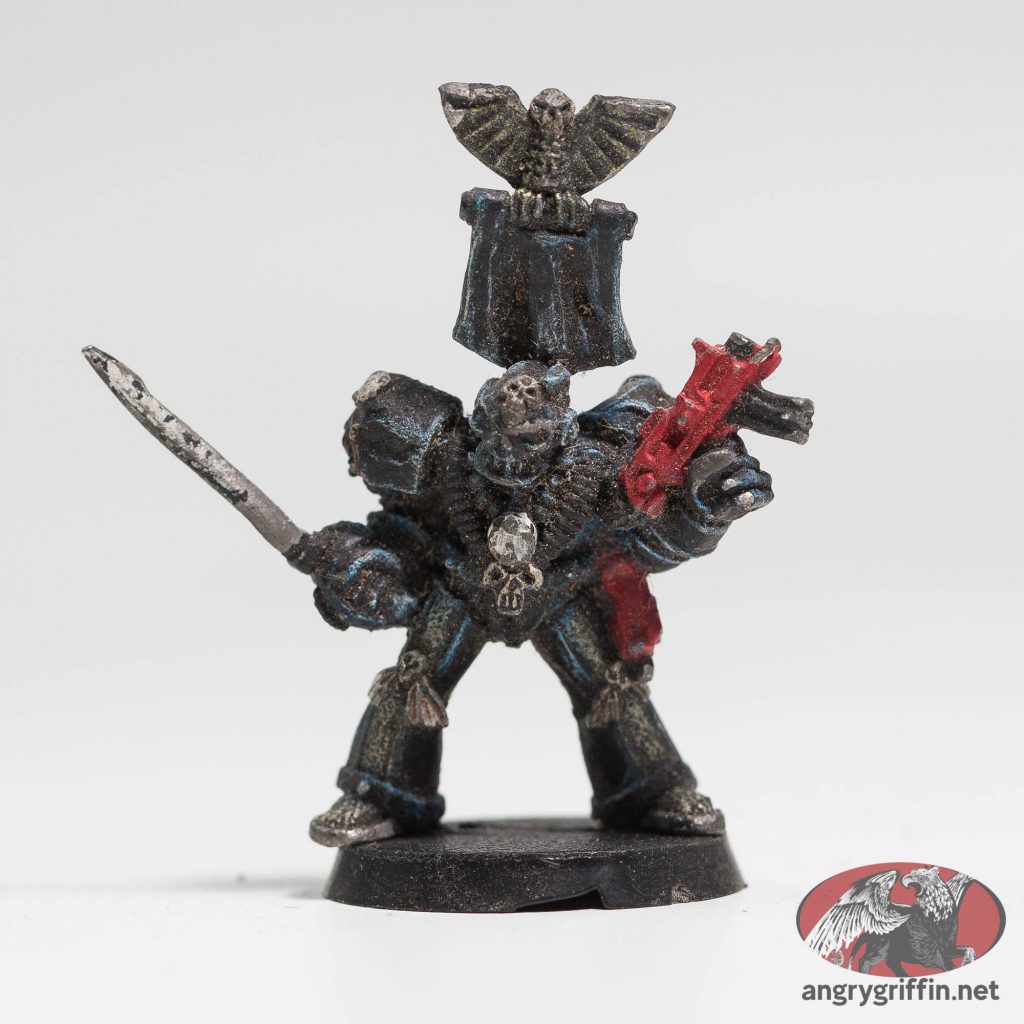
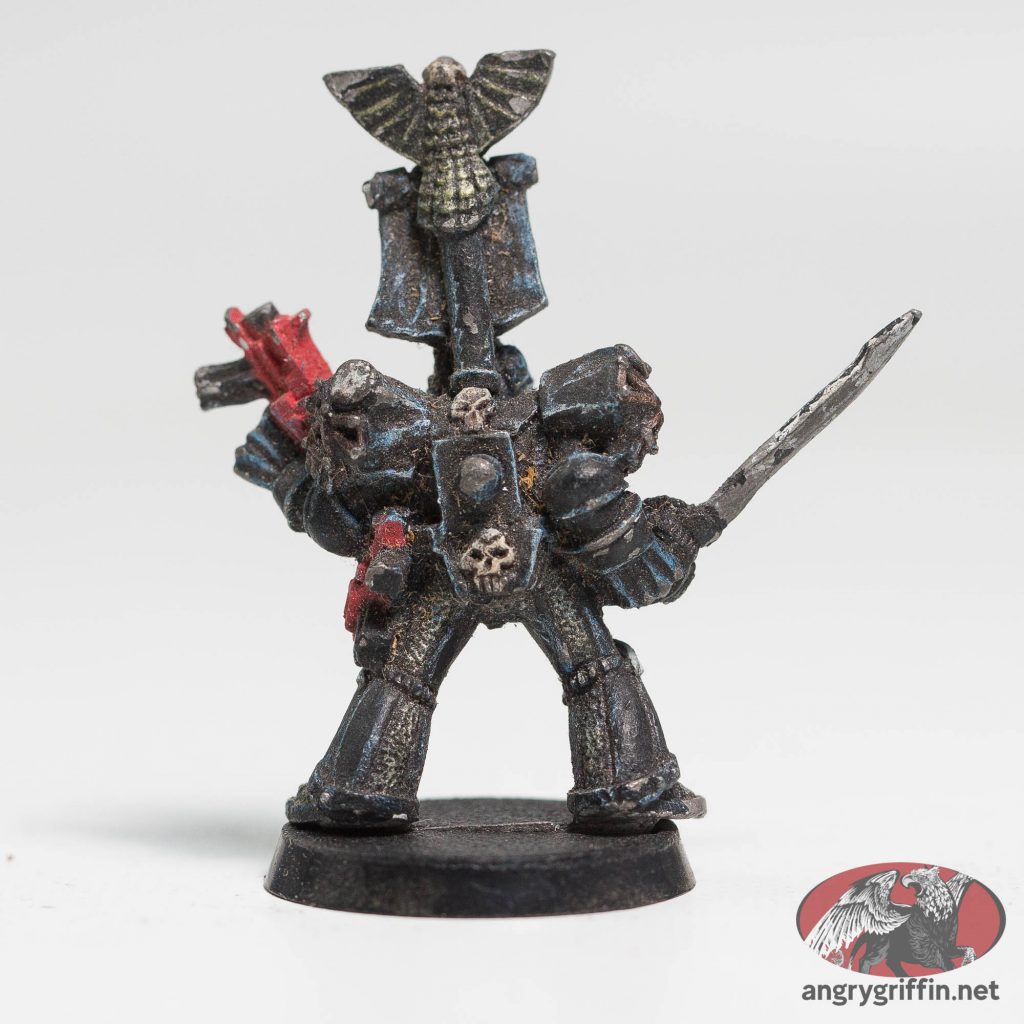
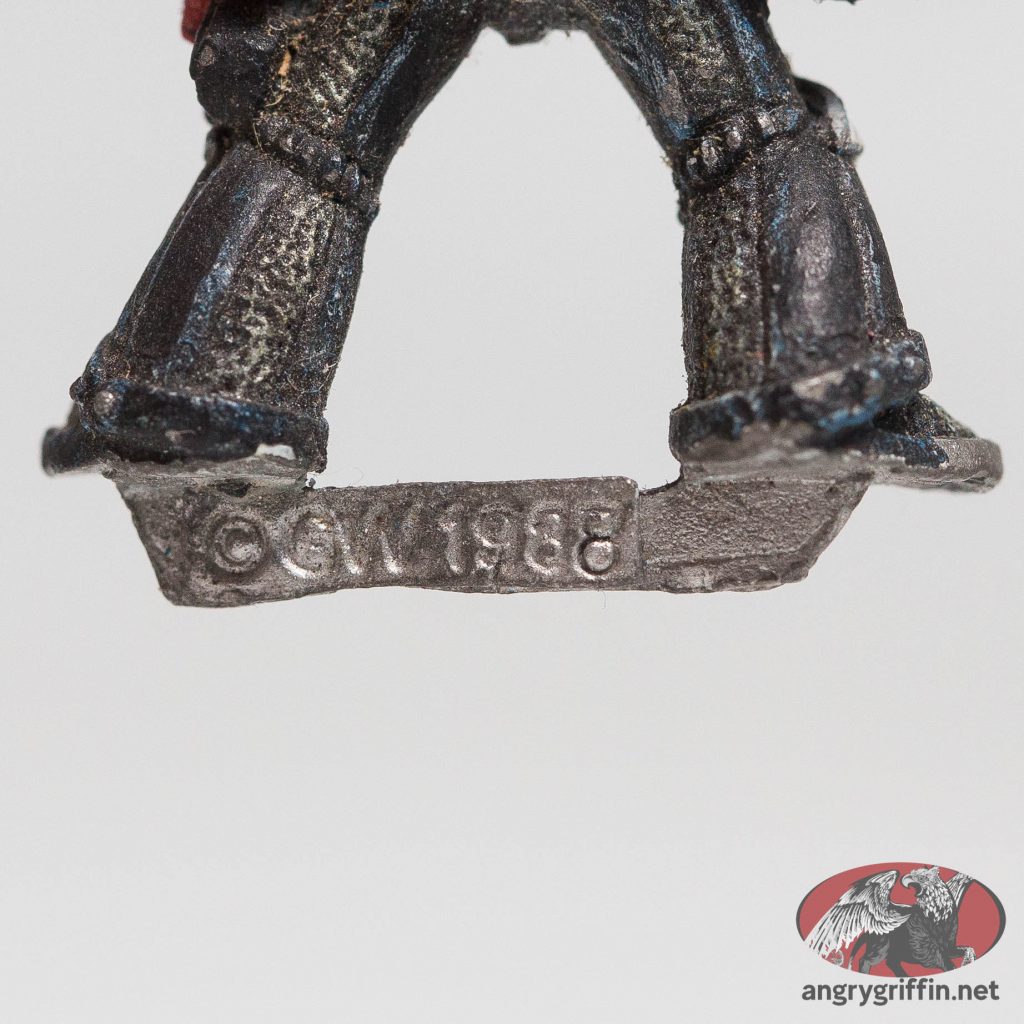
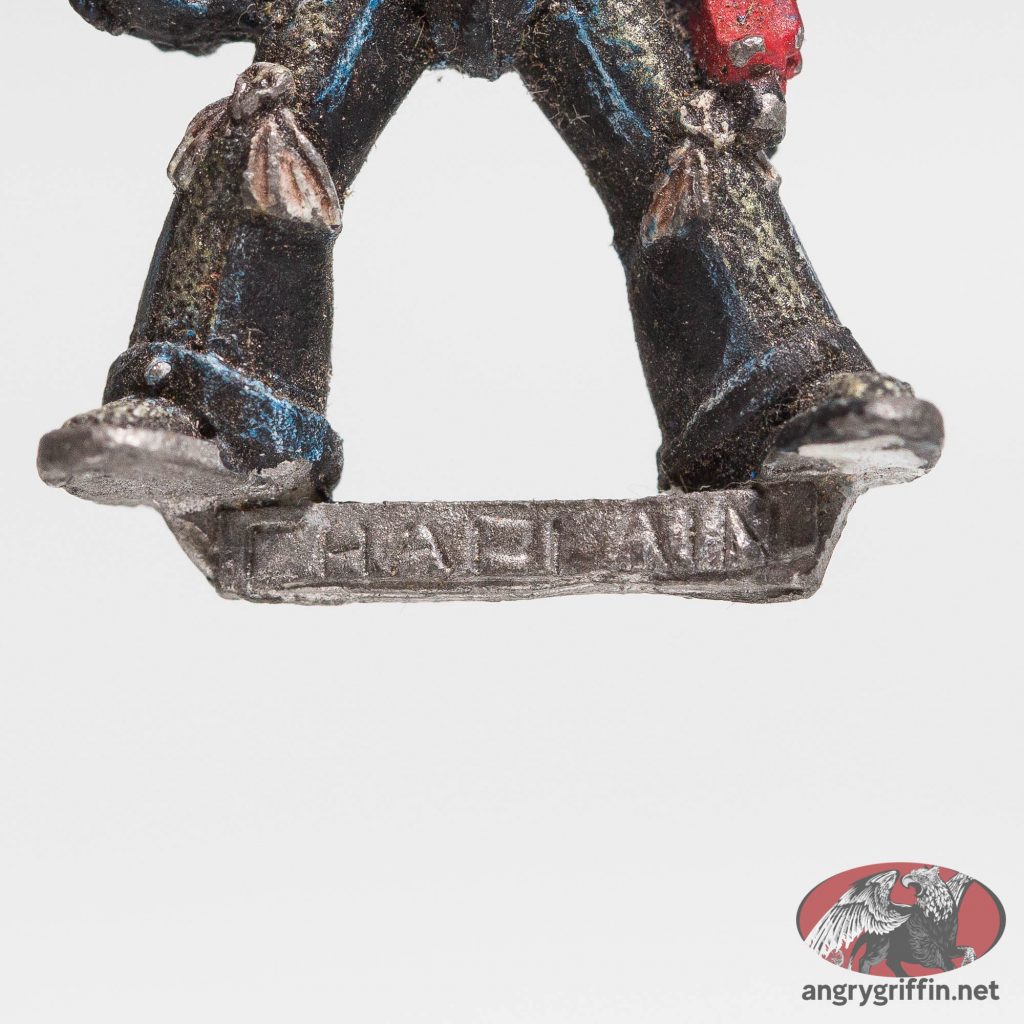
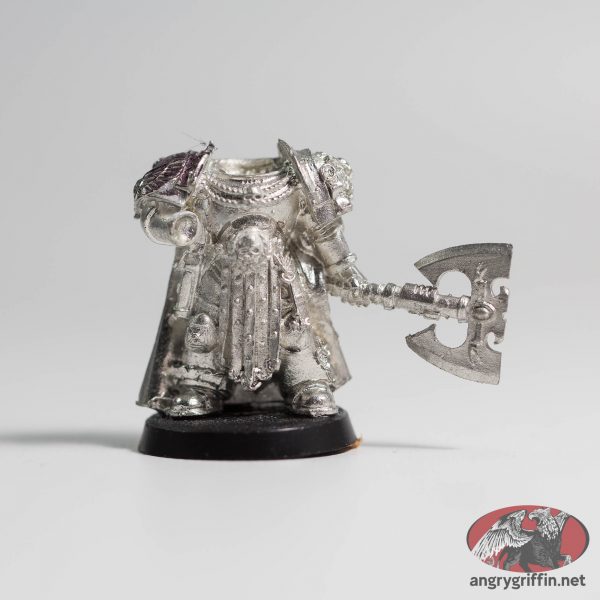
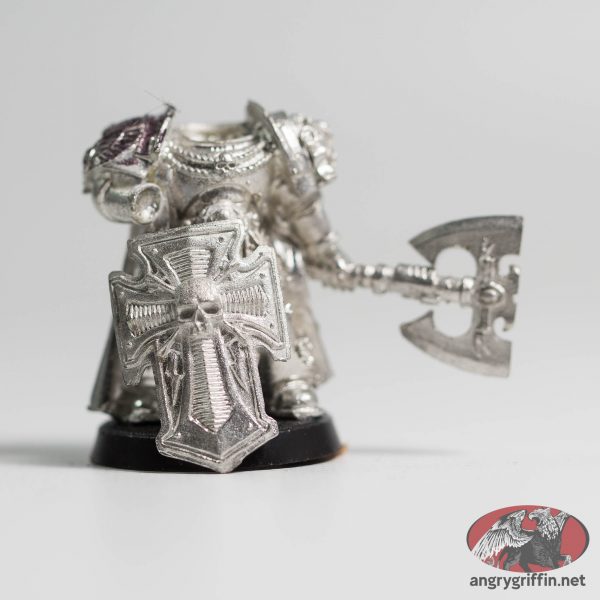
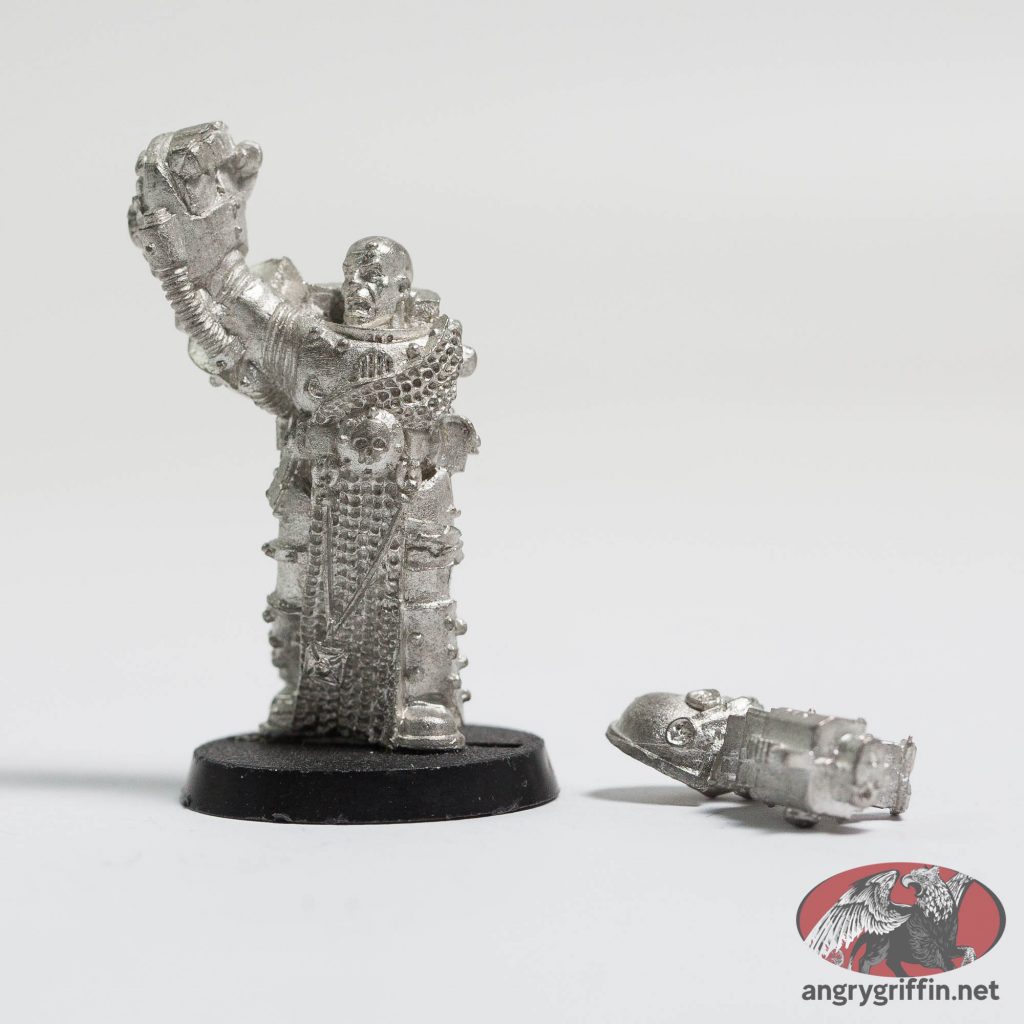
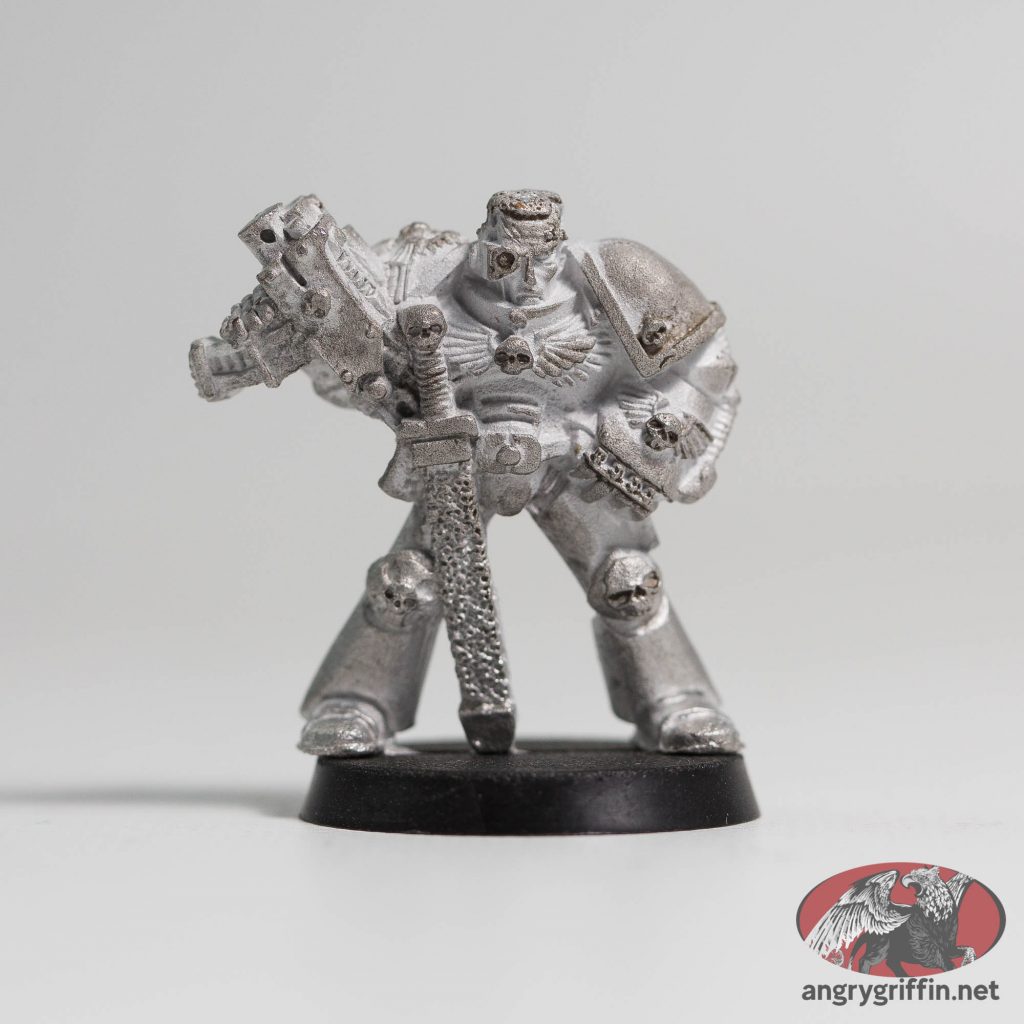
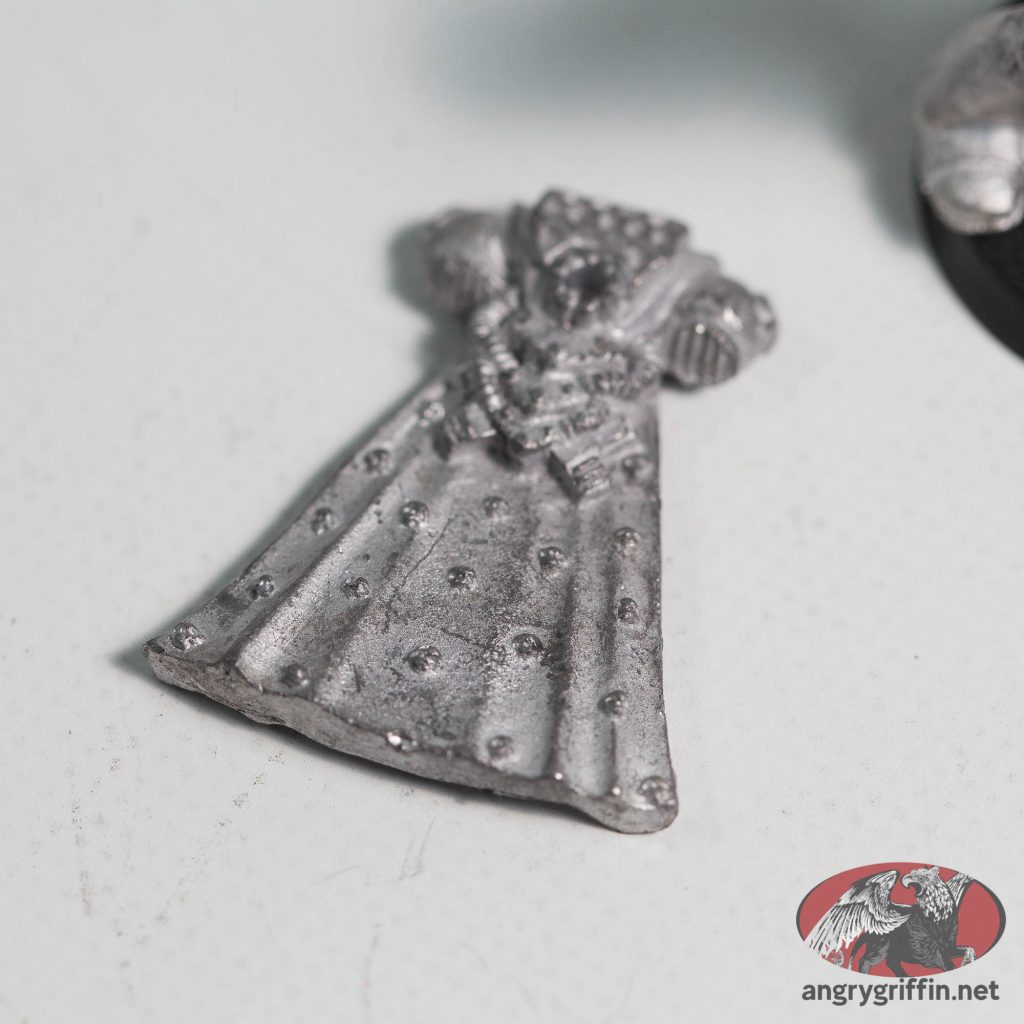
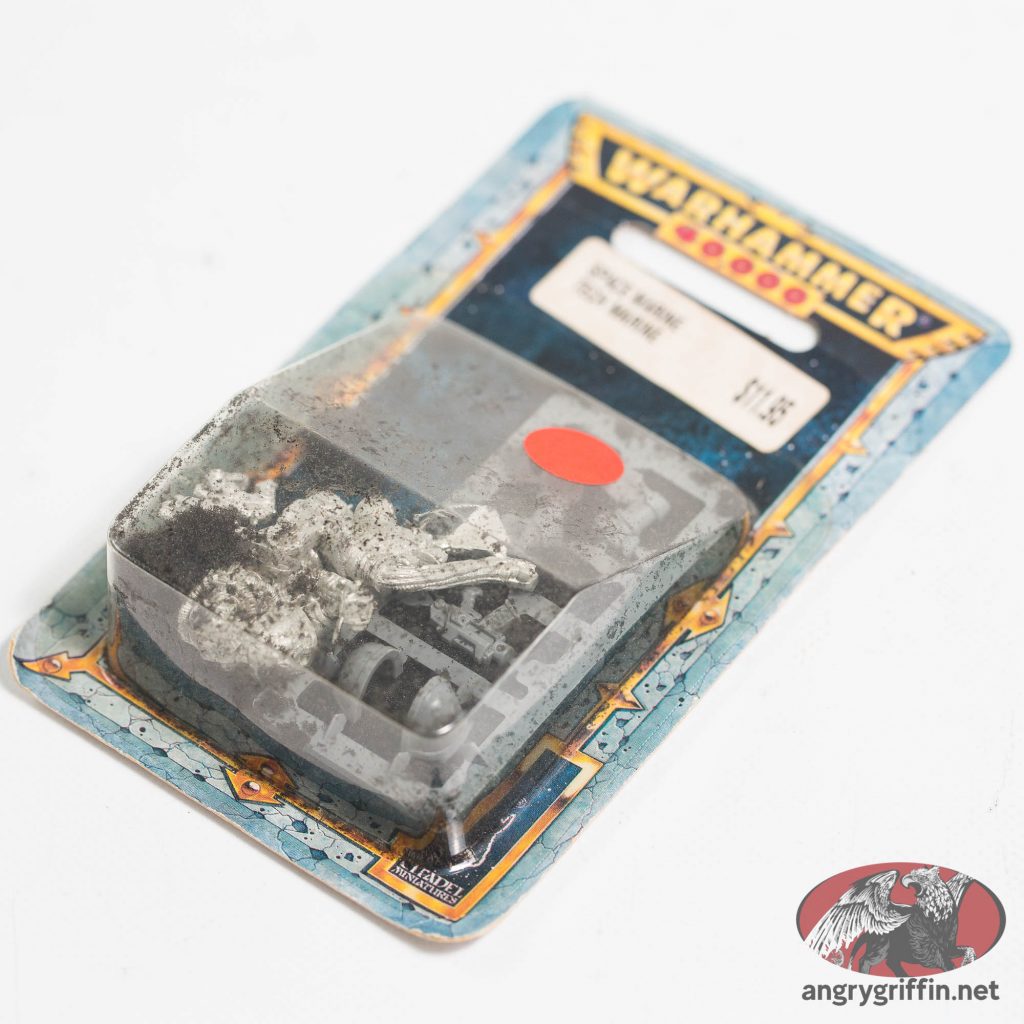
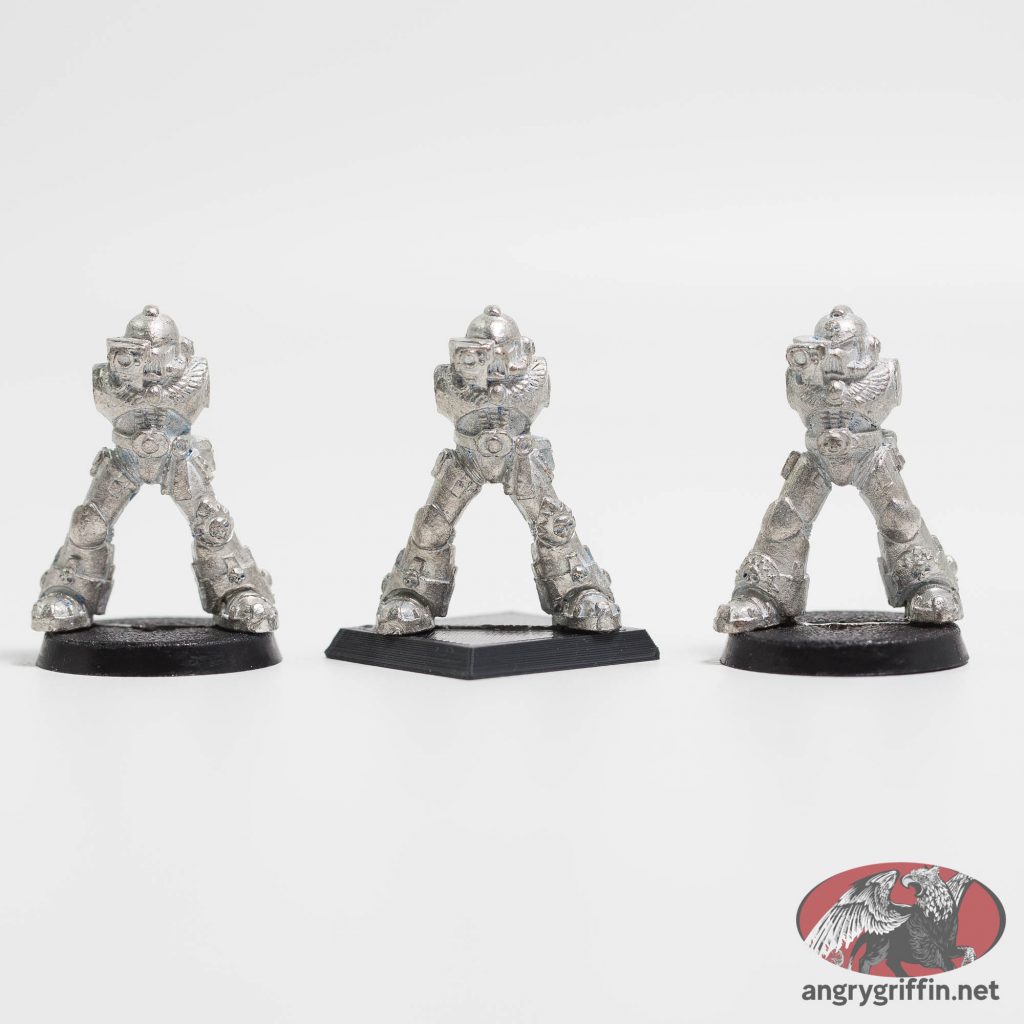
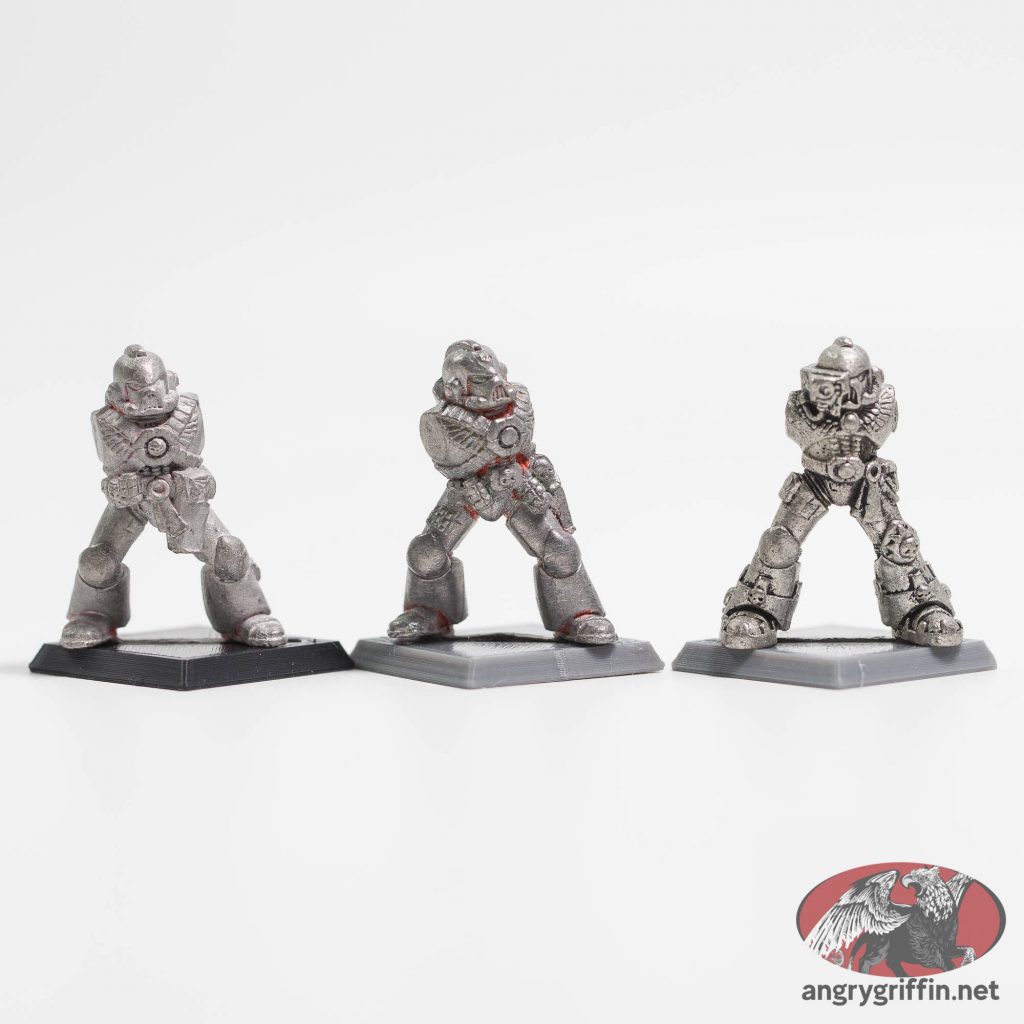
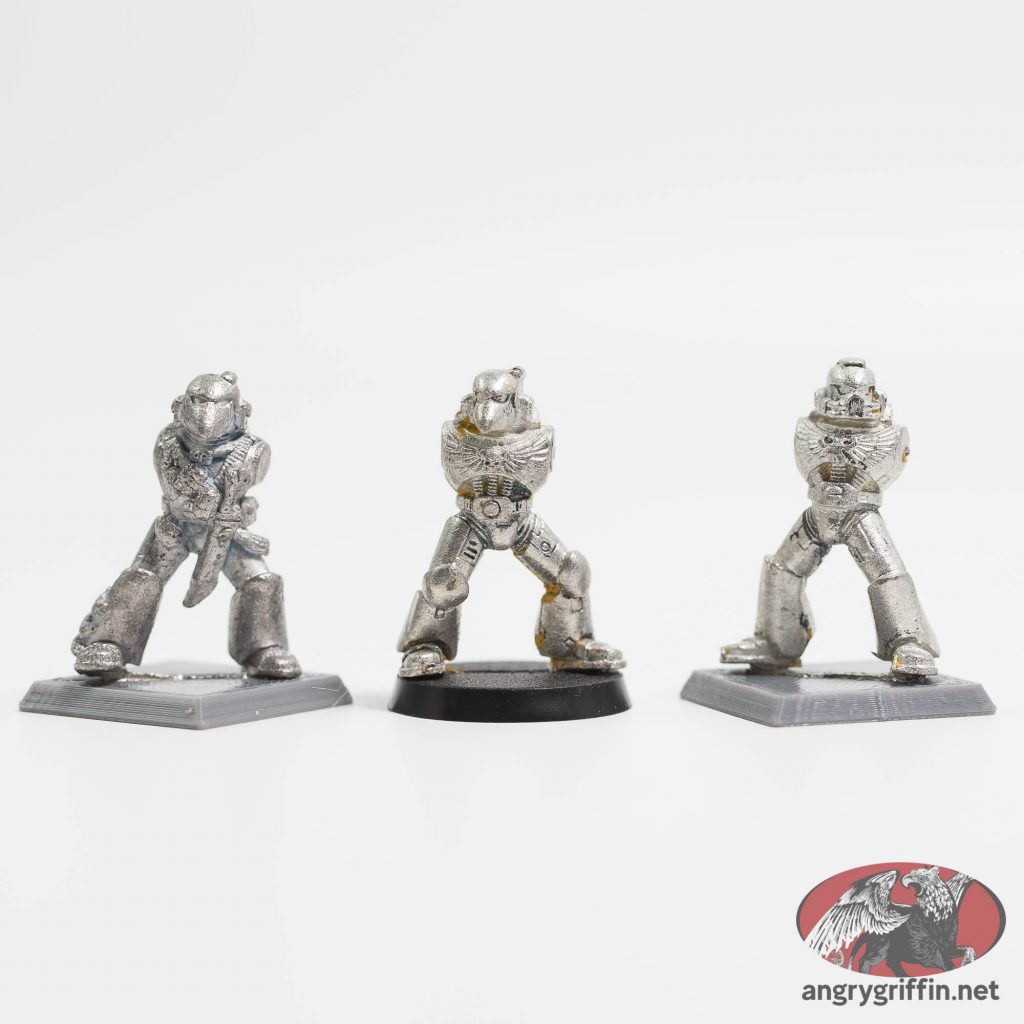
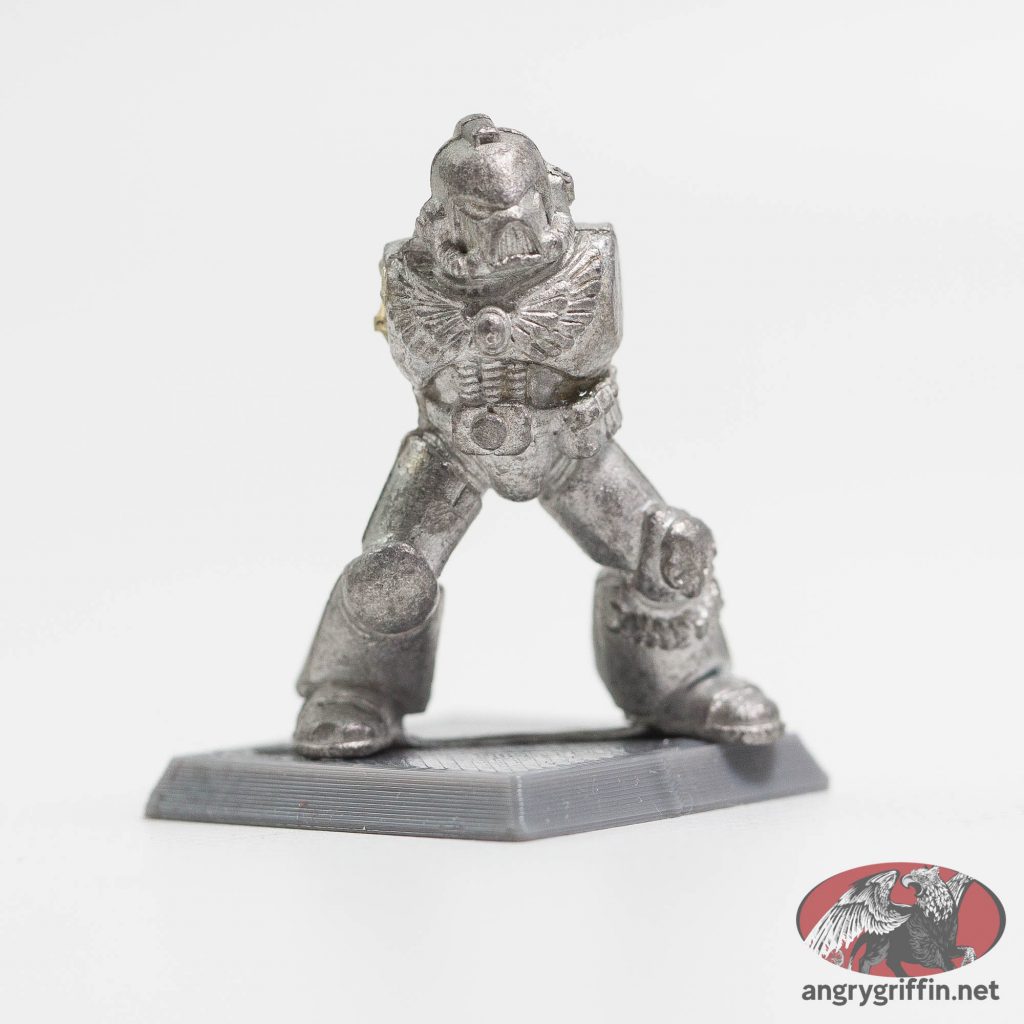
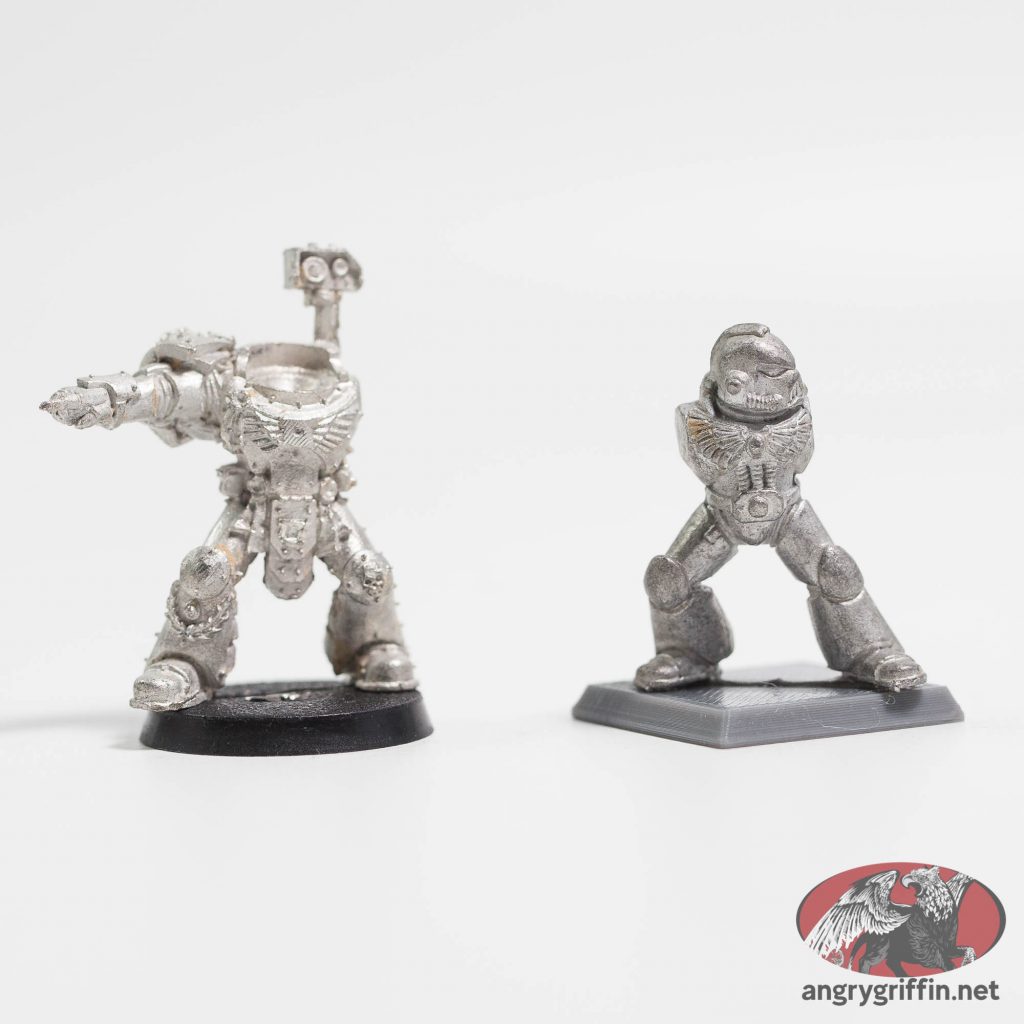
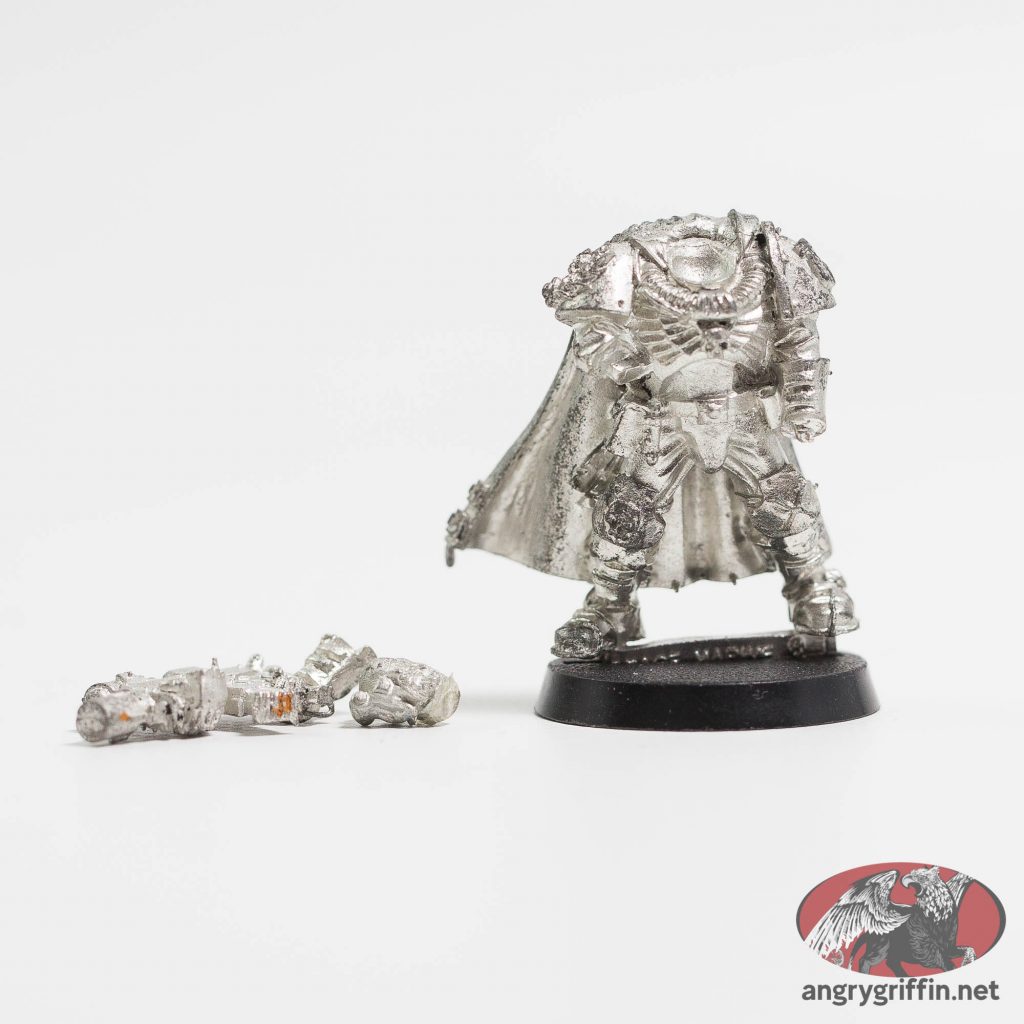
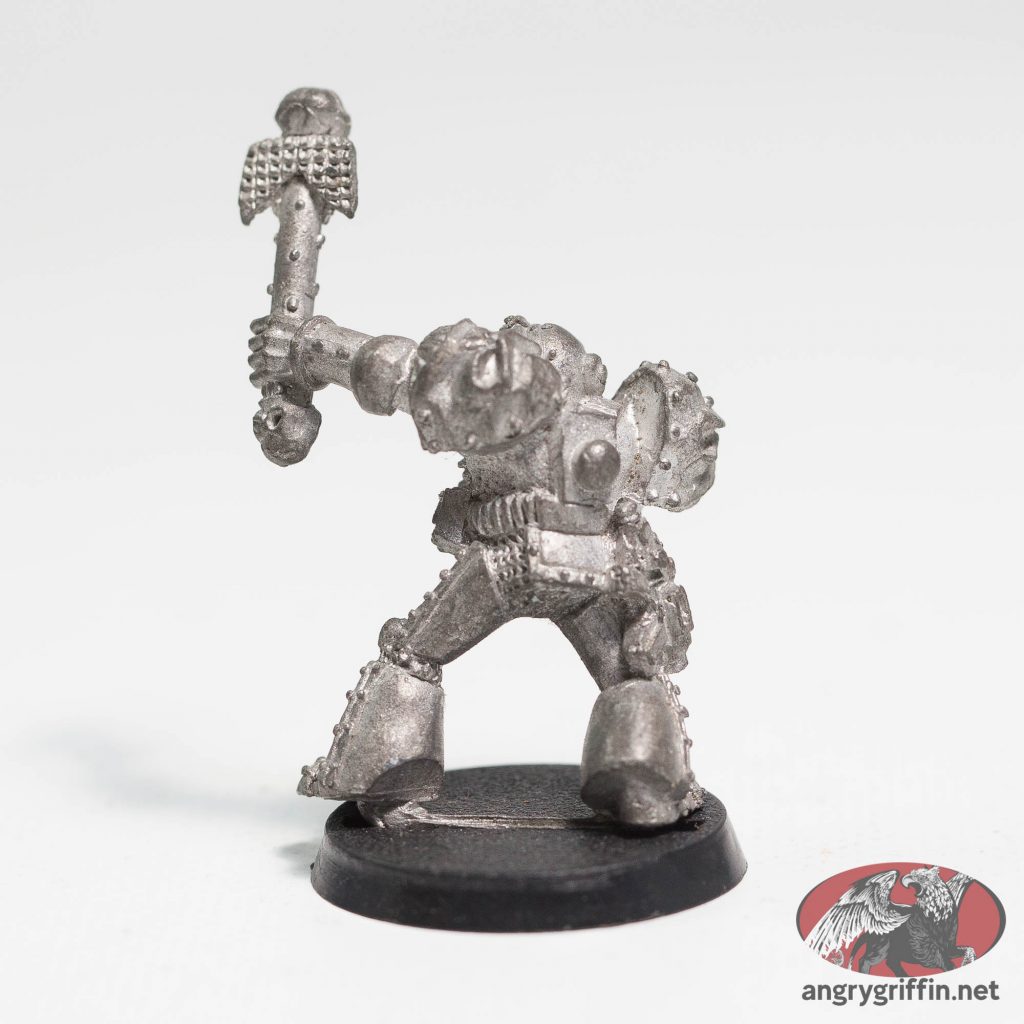
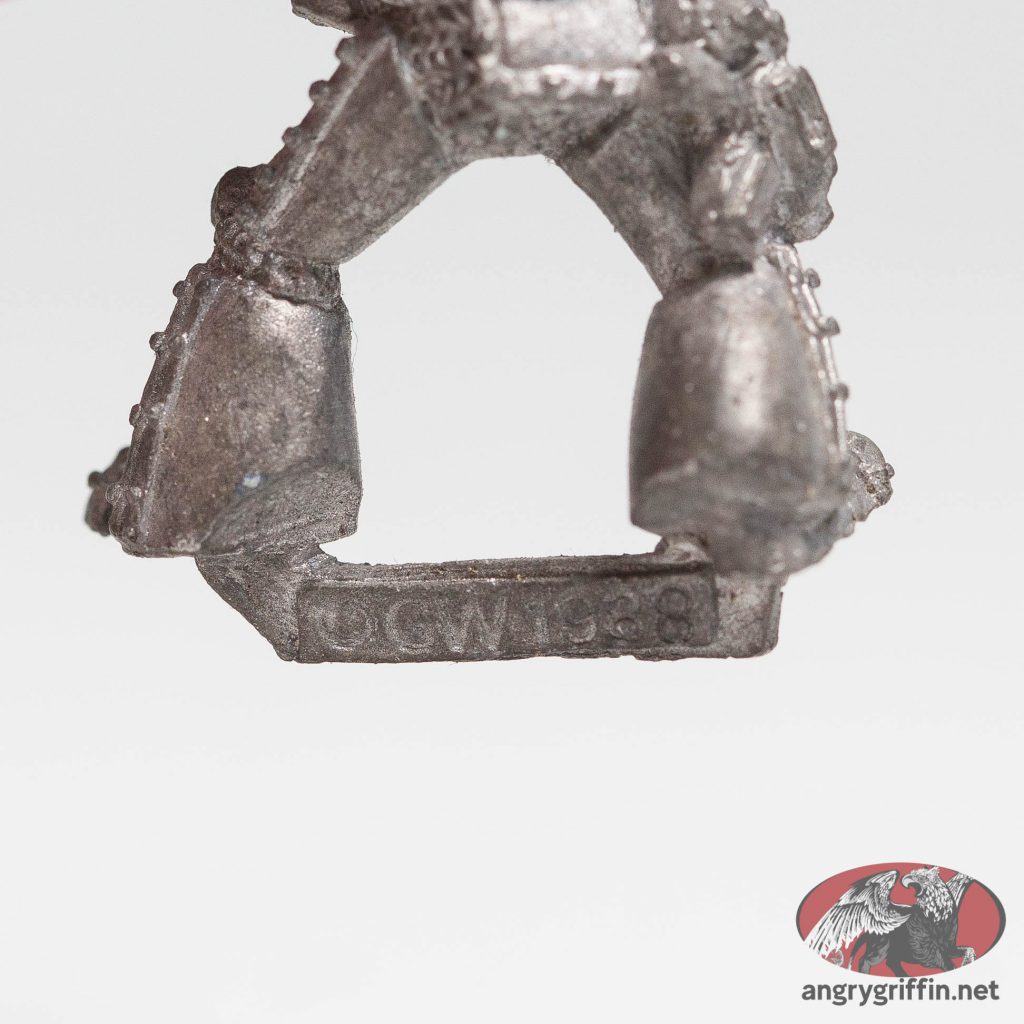
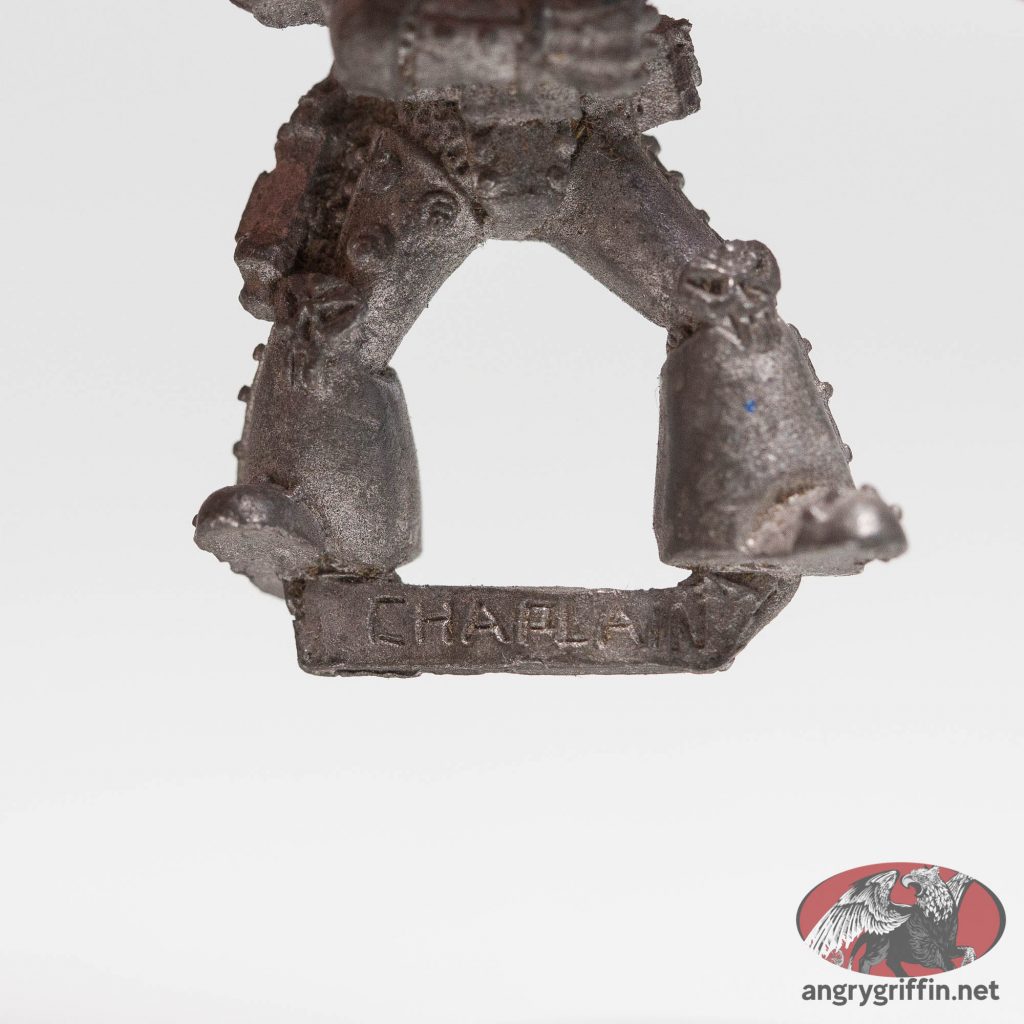
Here’s another Rogue Trader Space Marine Chaplain! Part number 410605 initially and later 070133/61. He’s a 1988 Mark Copplestone sculpt.
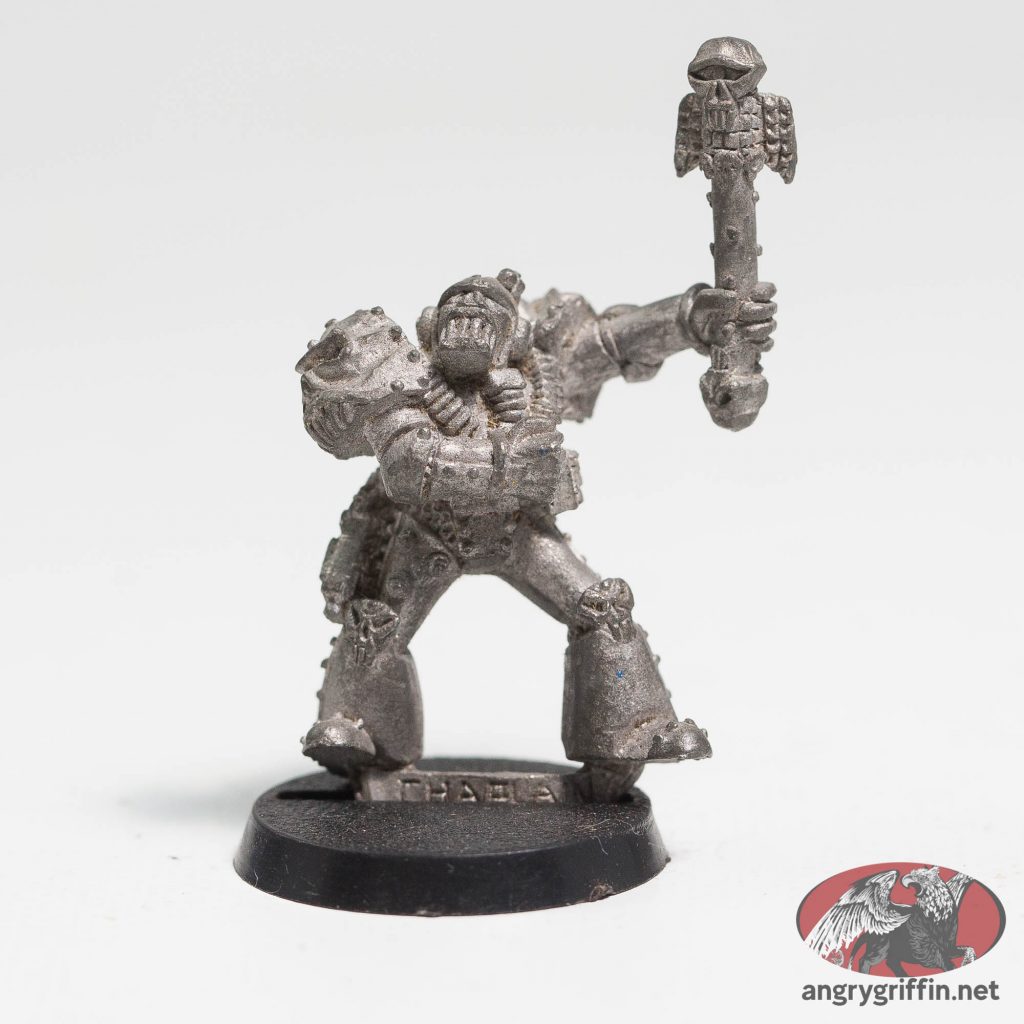
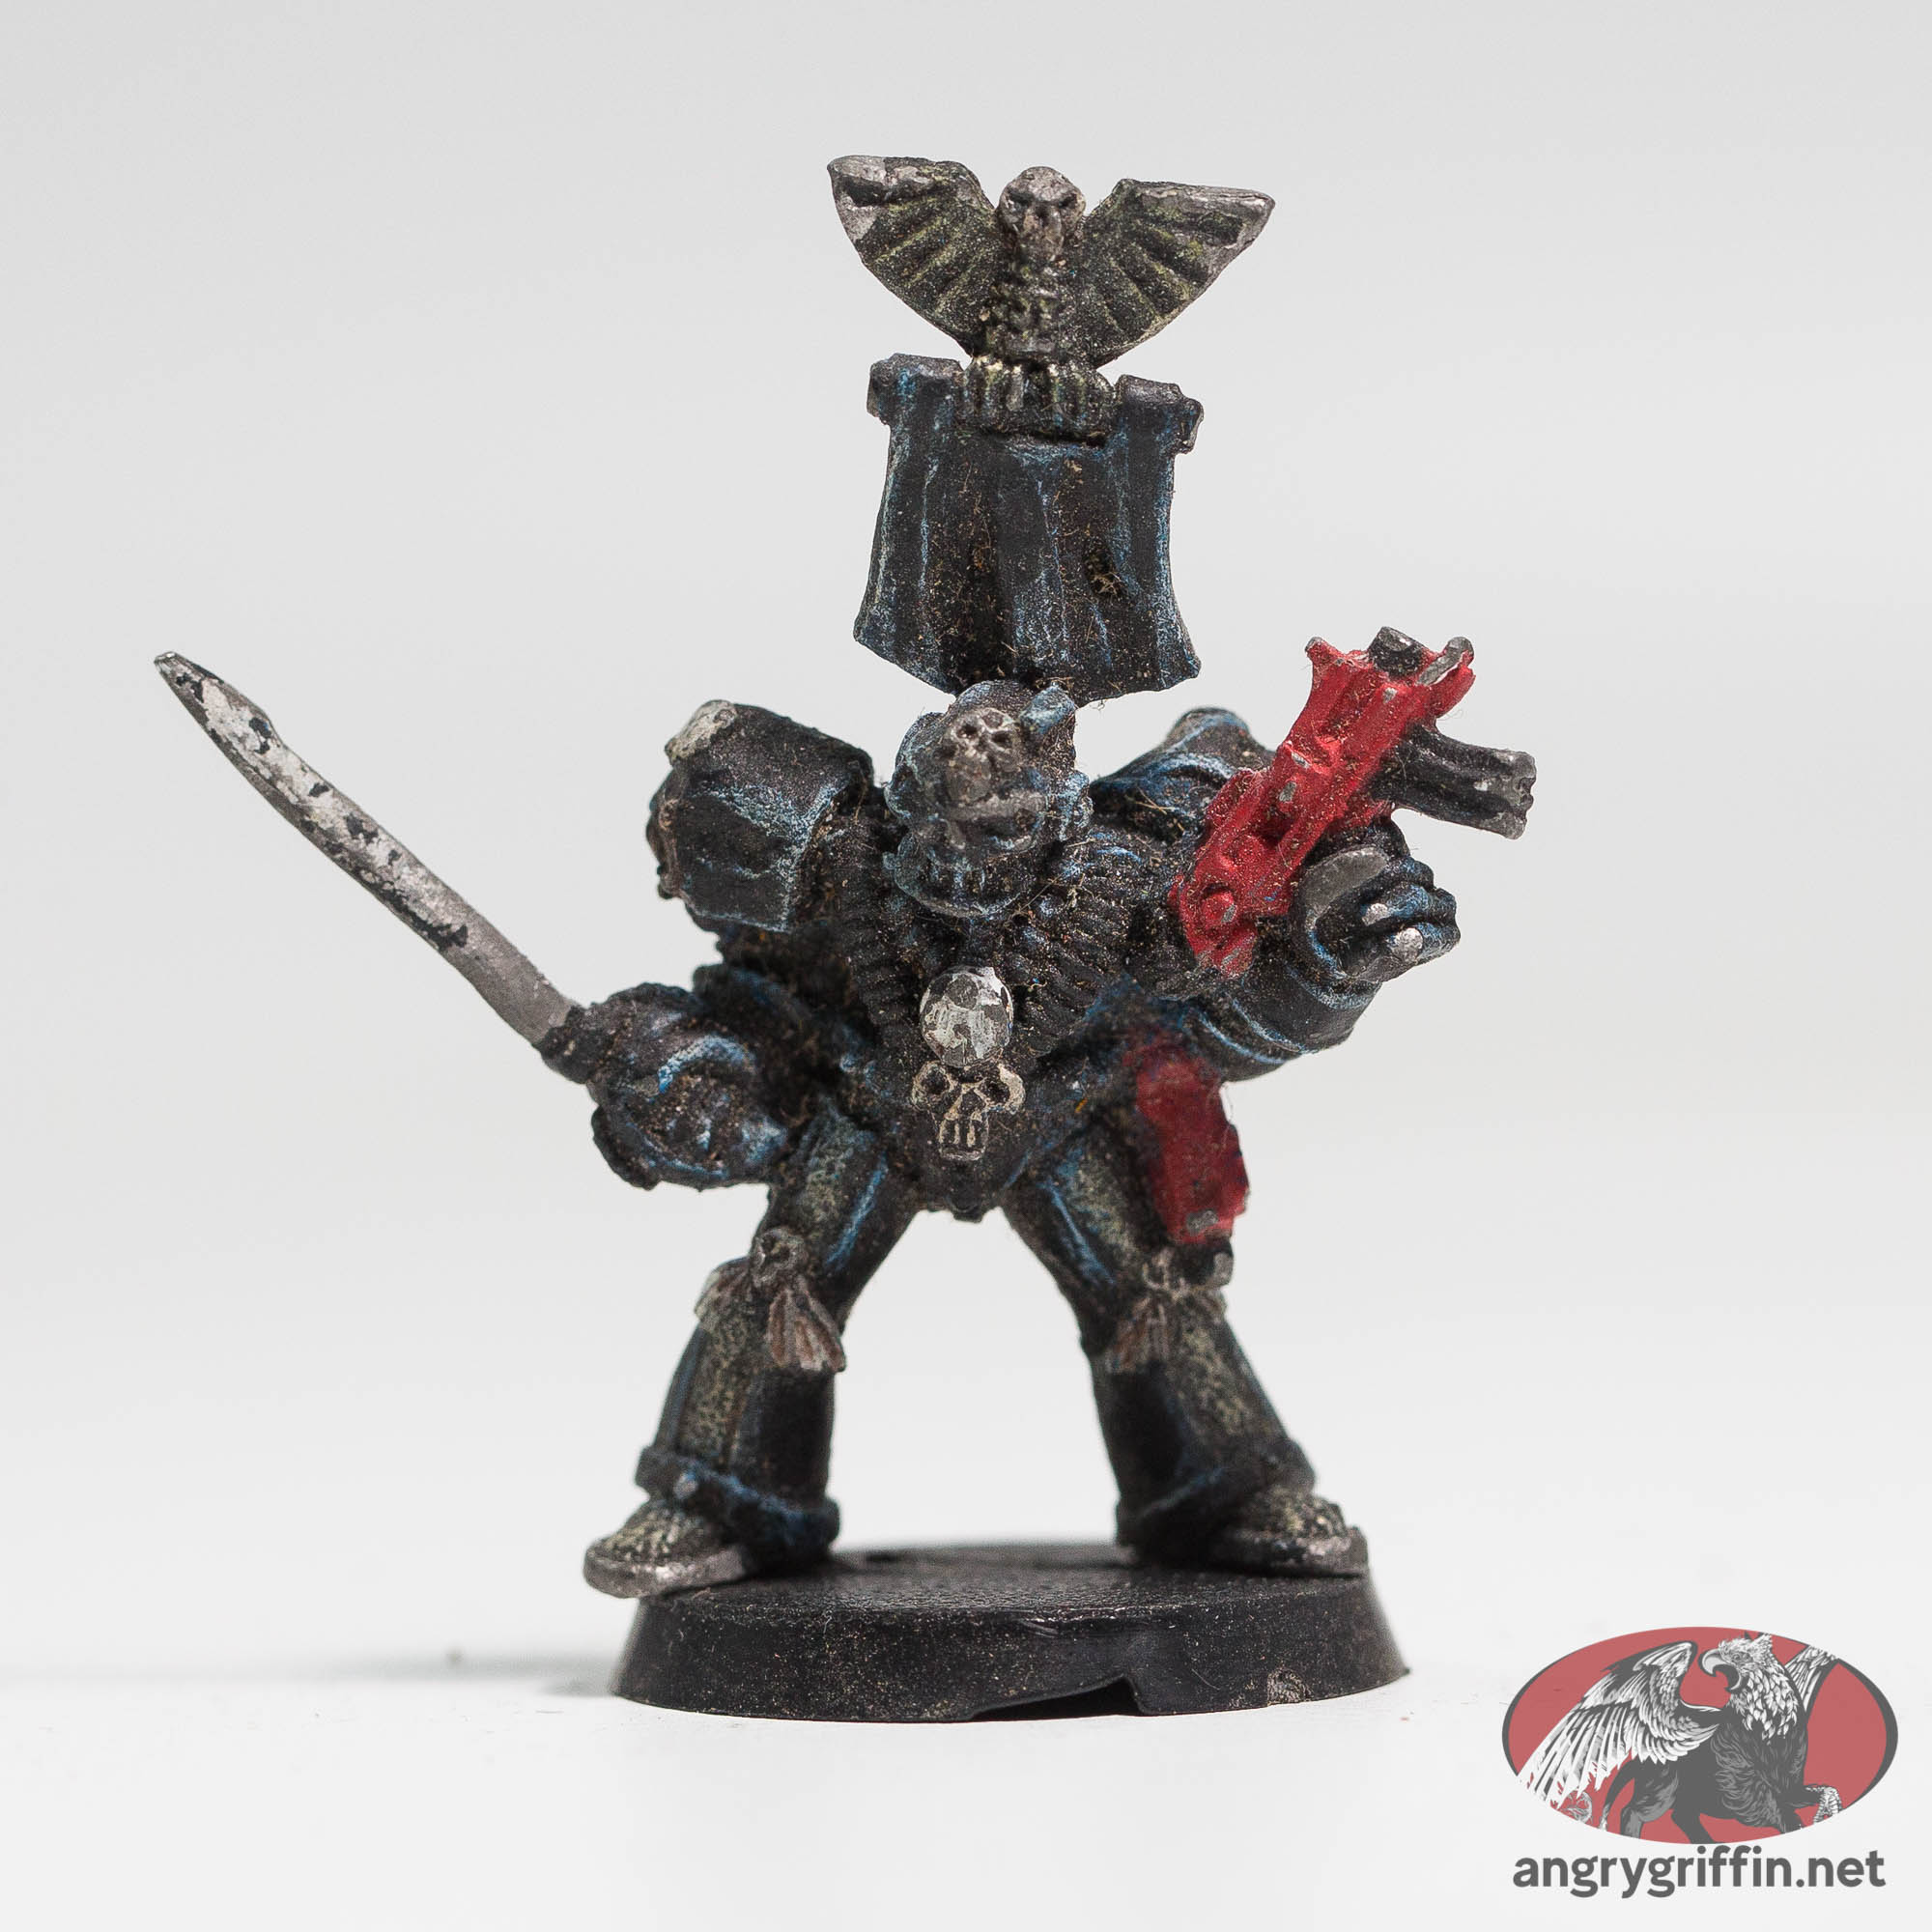
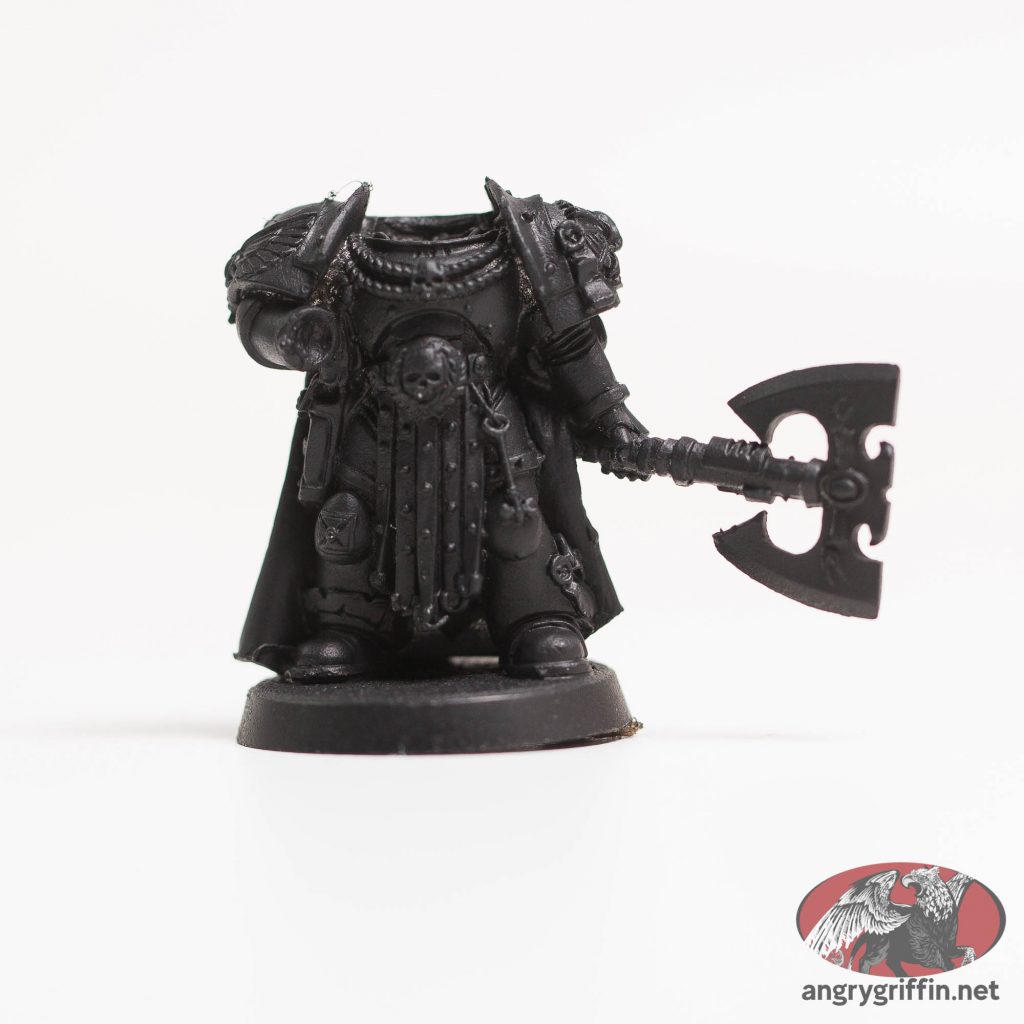
Painted:
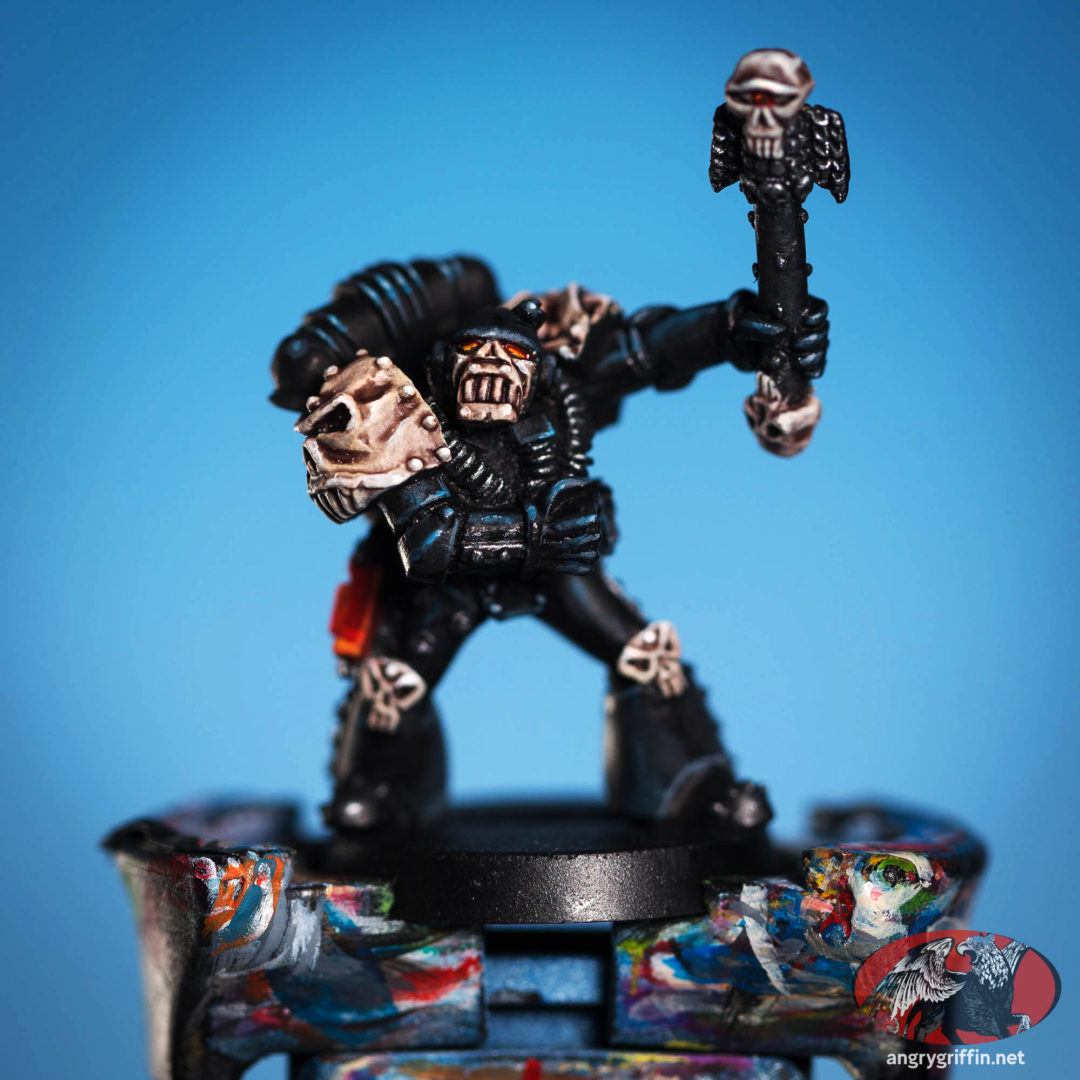
Undercoat: Vallejo Mecha Black
Black: Scale75 Art Black, highlighted with a mix of Primary Blue/Art Black/Titanium White
Red: Pro Acryl Burnt Red followed by Bold Pyrrole Red, then a mix of Golden Yellow and Bold Pyrrole Red
Silver: Black Metal, washed with a mix of Black Legion and Nuln, highlighted with Thrash Metal, then Speed Metal
Bone: Pro Acryl Ivory and Pro Acryl Titanium White, washed with Targor Rageshade, highlighted with same