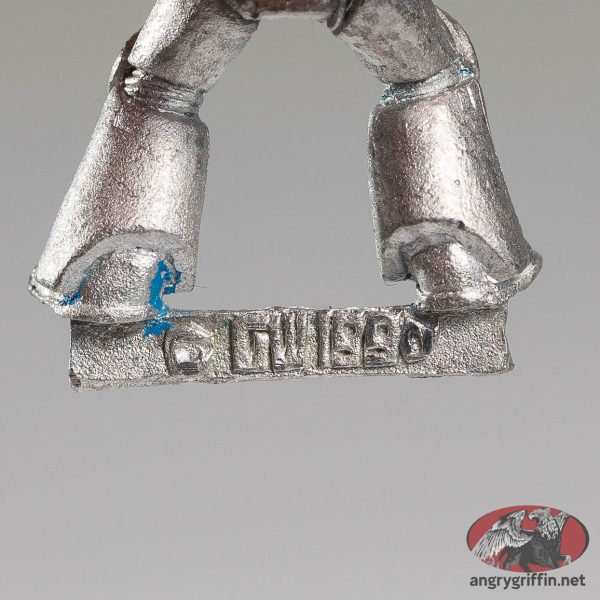
This guy is part number 70081/2.


1994 sculpt!
This guy is part number 70081/2.
1994 sculpt!
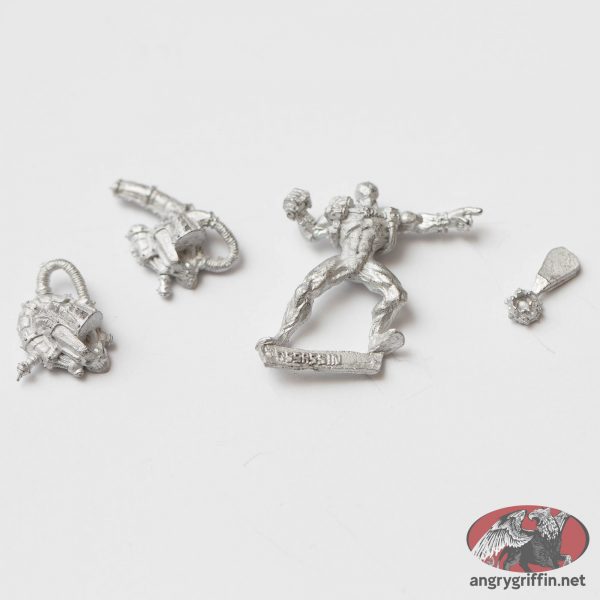
This guy is part number 070270/16 and can be found in the Legends section of the 1997 catalogue. He’s a Jes Goodwin 1991 sculpt.
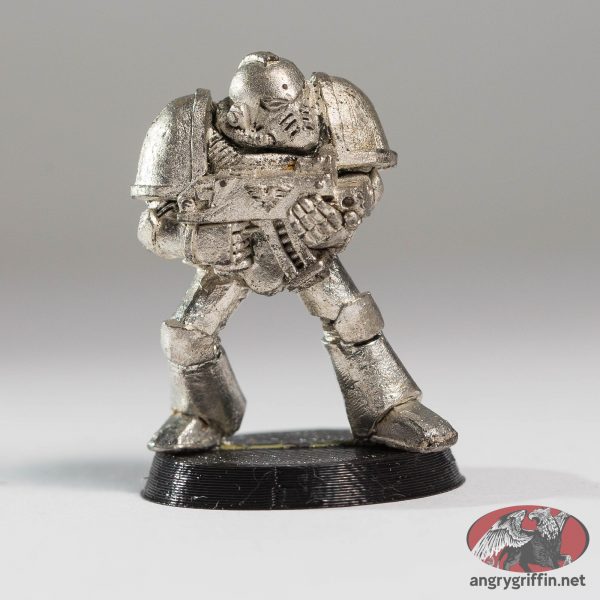
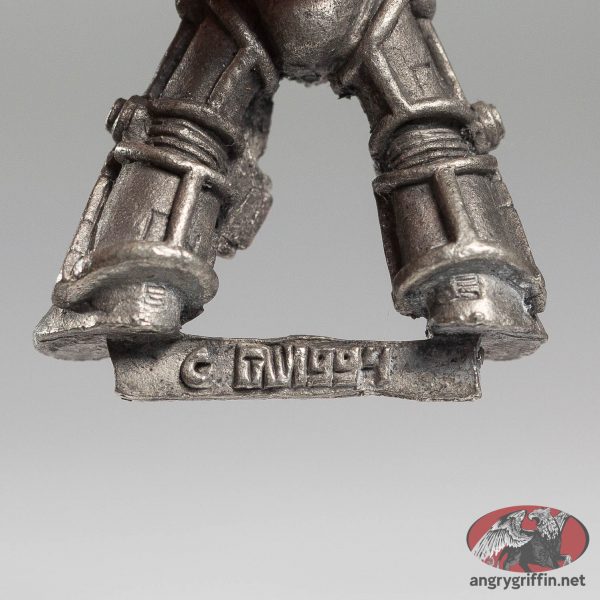
This guy is part number 70106/56.

1990 Jes Goodwin sculpt.
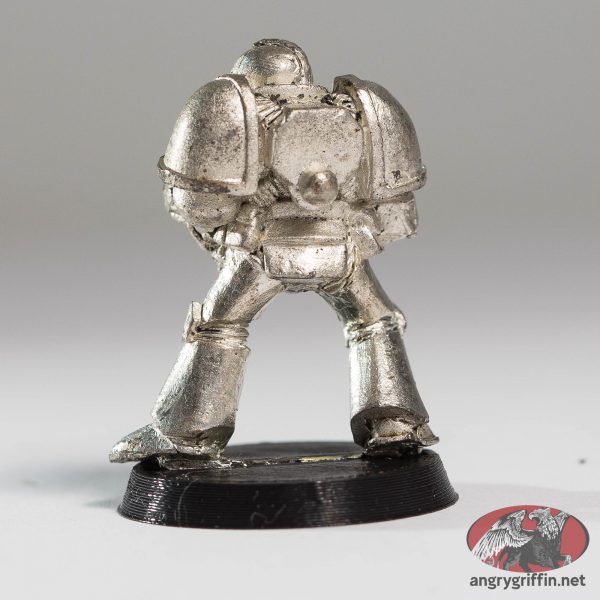
This guy is part number 70106/55.
Sculpted in 1990, by the looks of it!

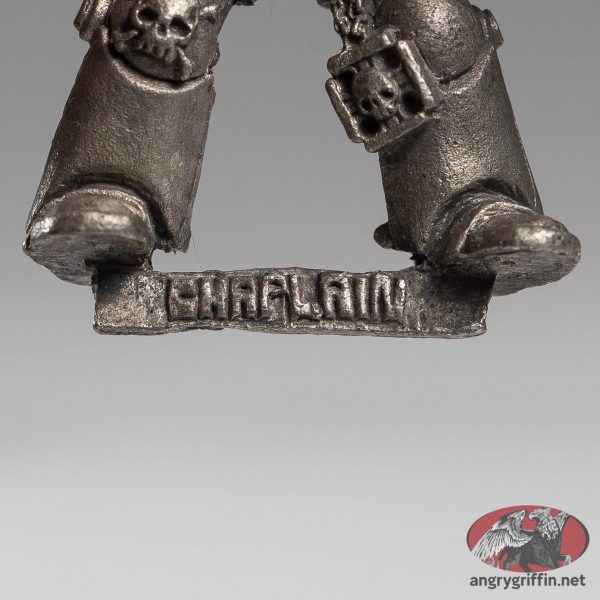
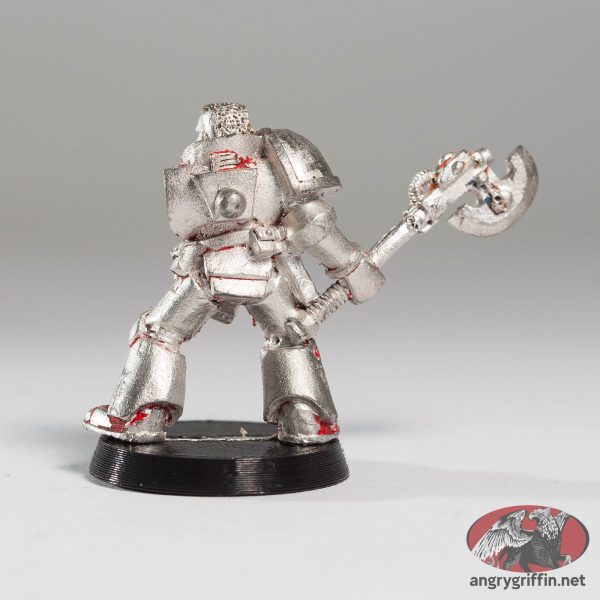
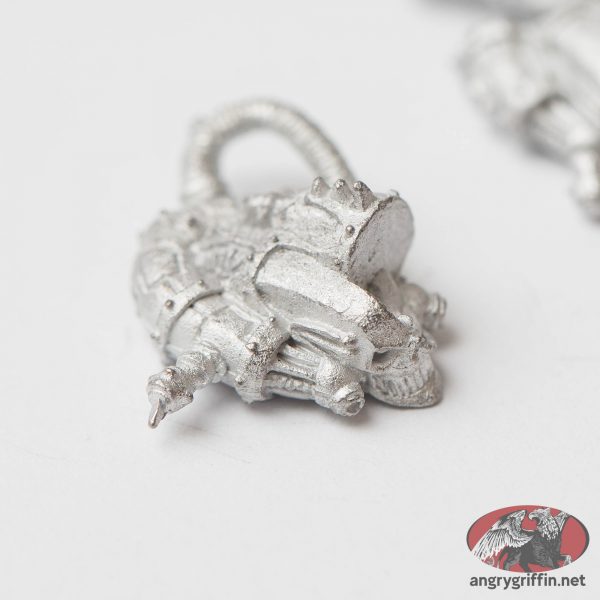
 1994 sculpt. His right arm was the usual storm bolter 0441/4 and the left was the Crozius Arcanum 70155/2.
Playing around with a new wood STL!
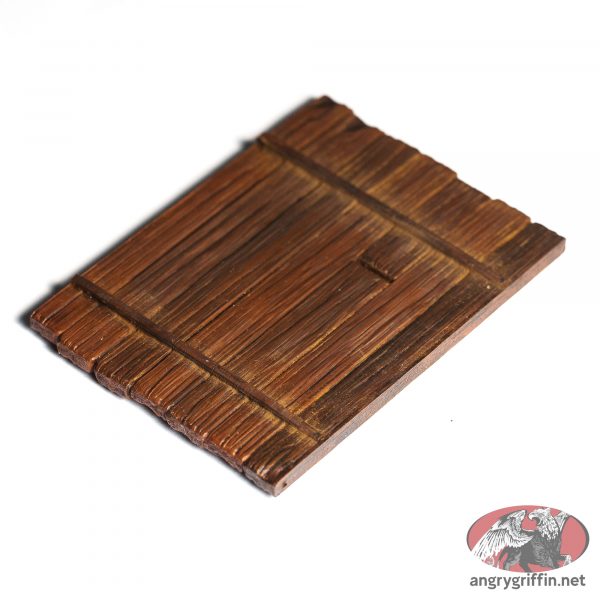
Undercoat: Scale75 Surface Primer Sand
Base Coat: Mournfang Brown
Boards: Alternately Wyldwood, Snakebite Leather, Guilliman Flesh, drybrush Mournfang Brown, selective wash of Agrax Earthshade
Pigment: Scale75 Dark Earth


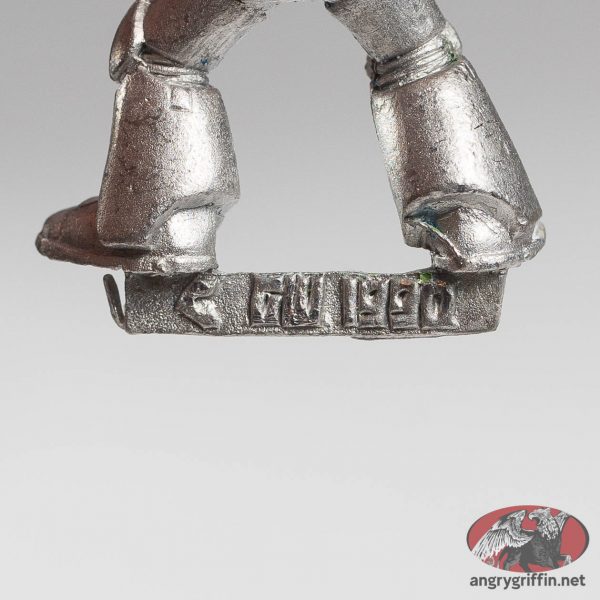
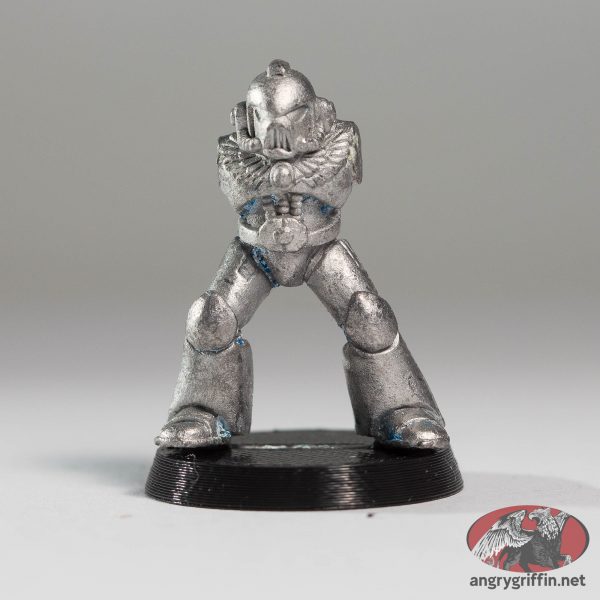
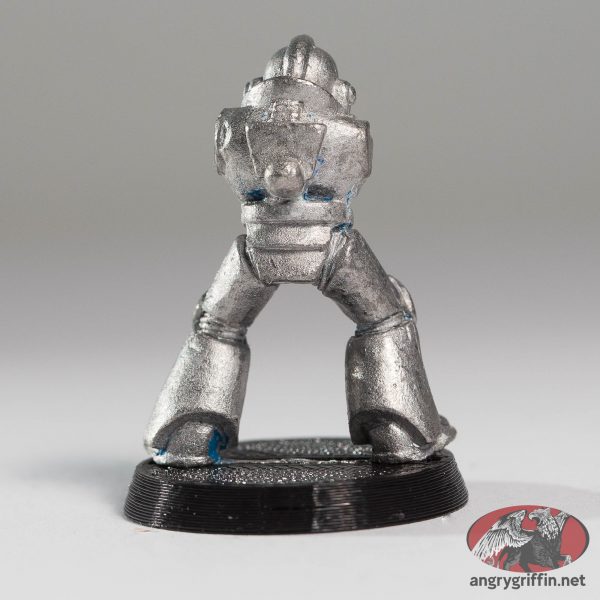
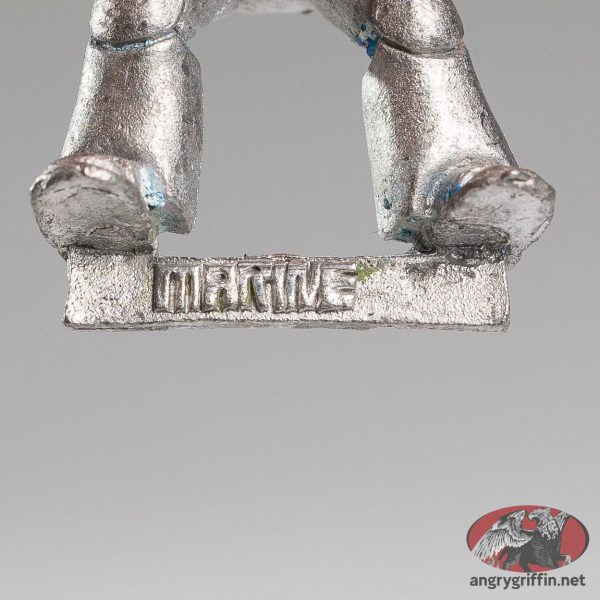
 1995 sculpt!
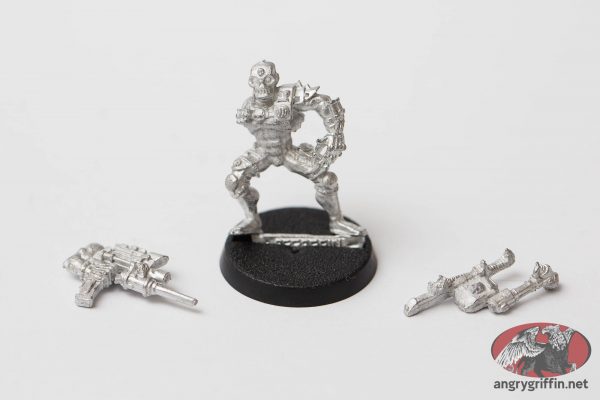
This guy is part number 010800101 with gun 010800102.

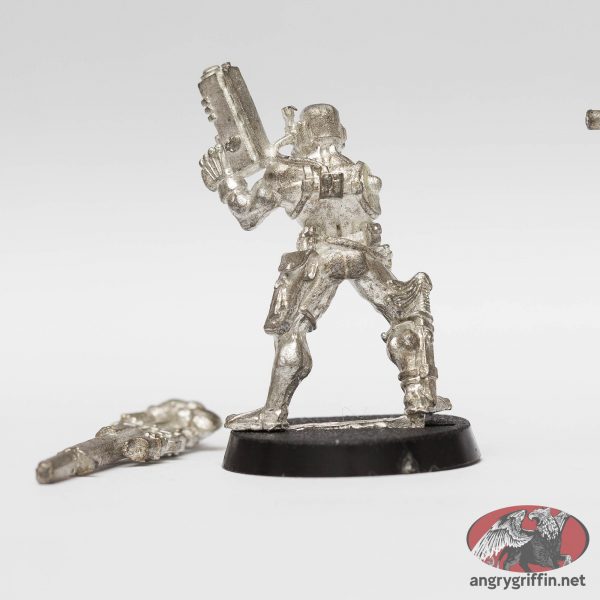
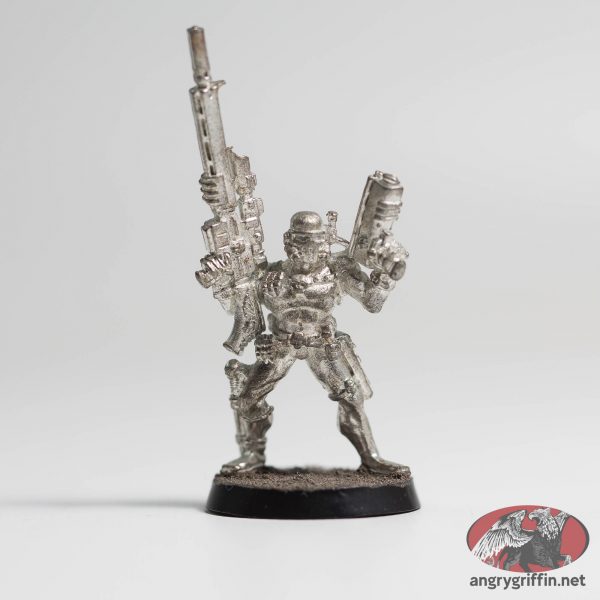
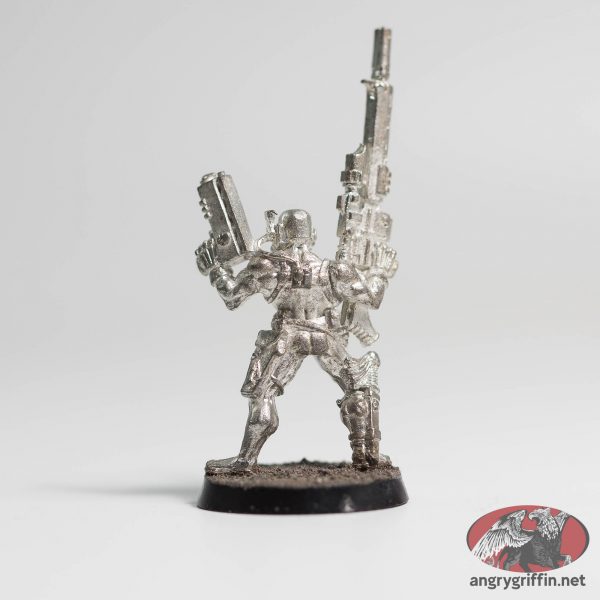
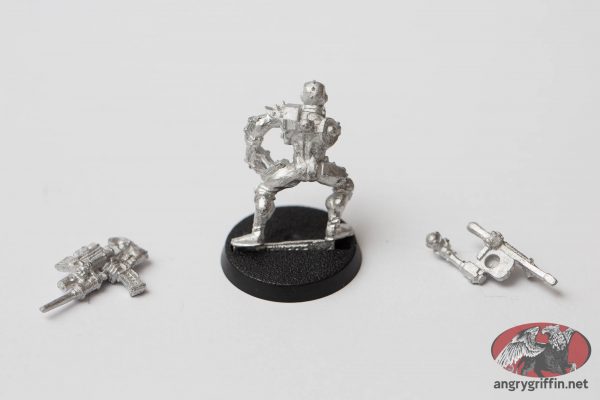
This guy is part number 010800301 for the body, 010800302 for the pistol and 010800303 for the sentinel array. He’s a 1995 Jes Goodwin sculpt.
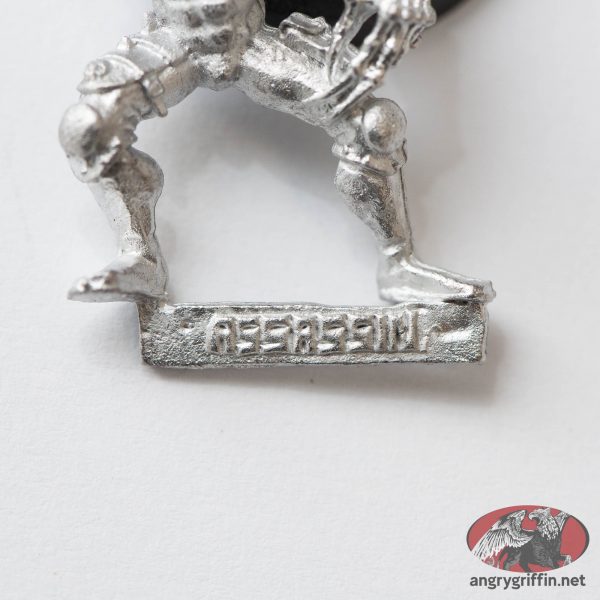
My first Assassin way back when.
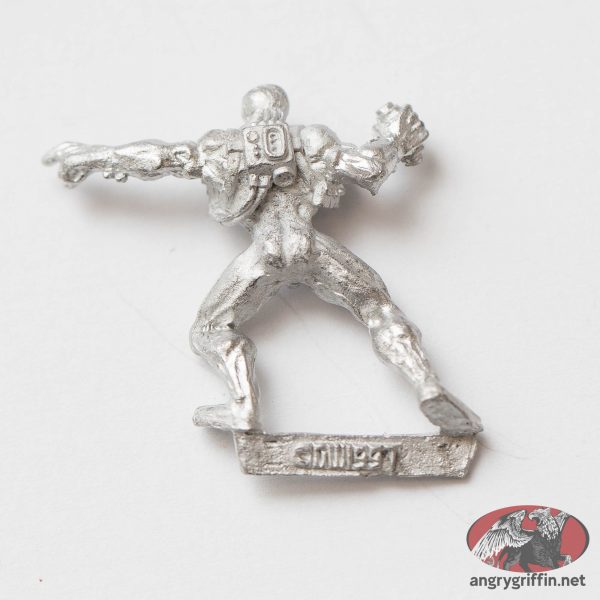
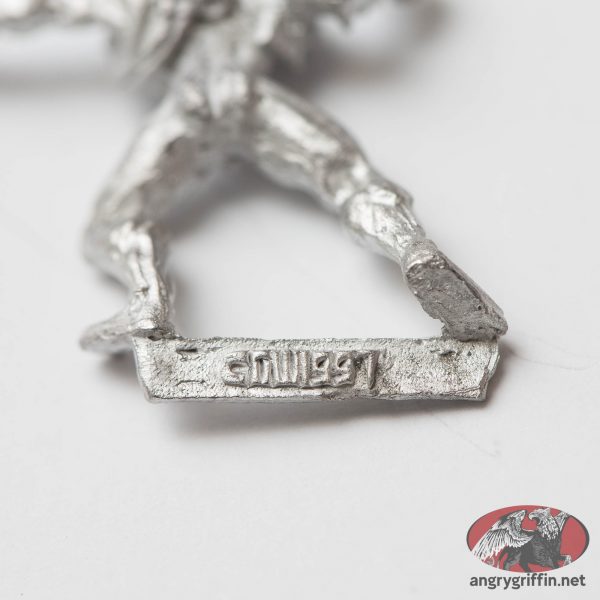
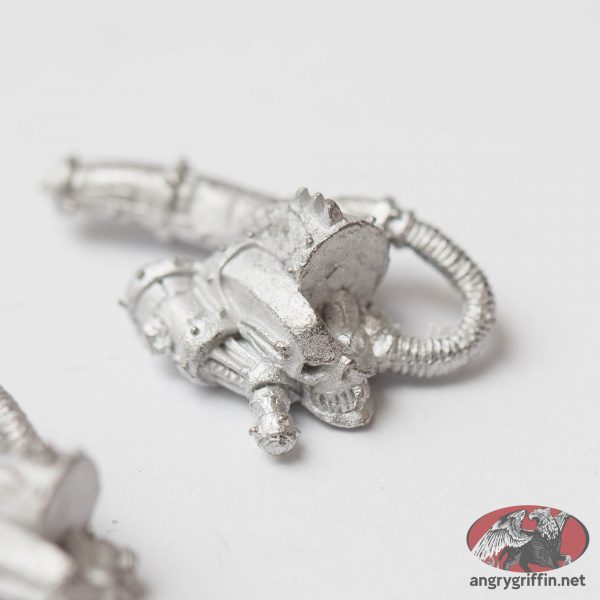
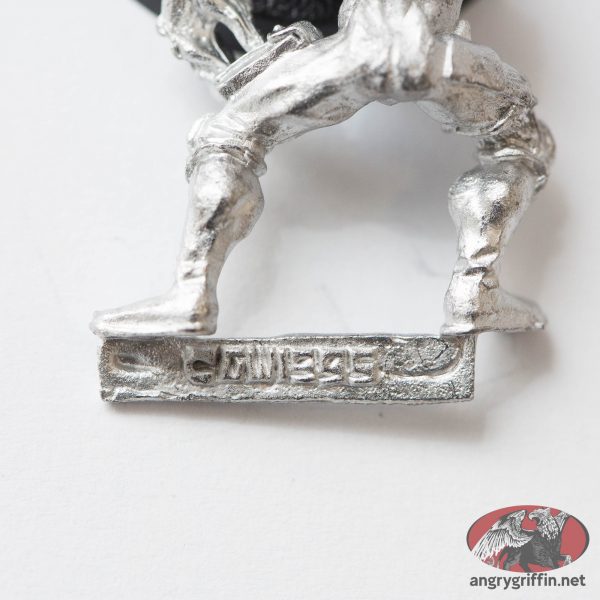
A 360deg view: