Author: The Angry Griffin

  • Review: BrokenToad Conditioning Brush Soap

    Apart from making brushes, BrokenToad also have a brush soap. Here’s my short review of it.
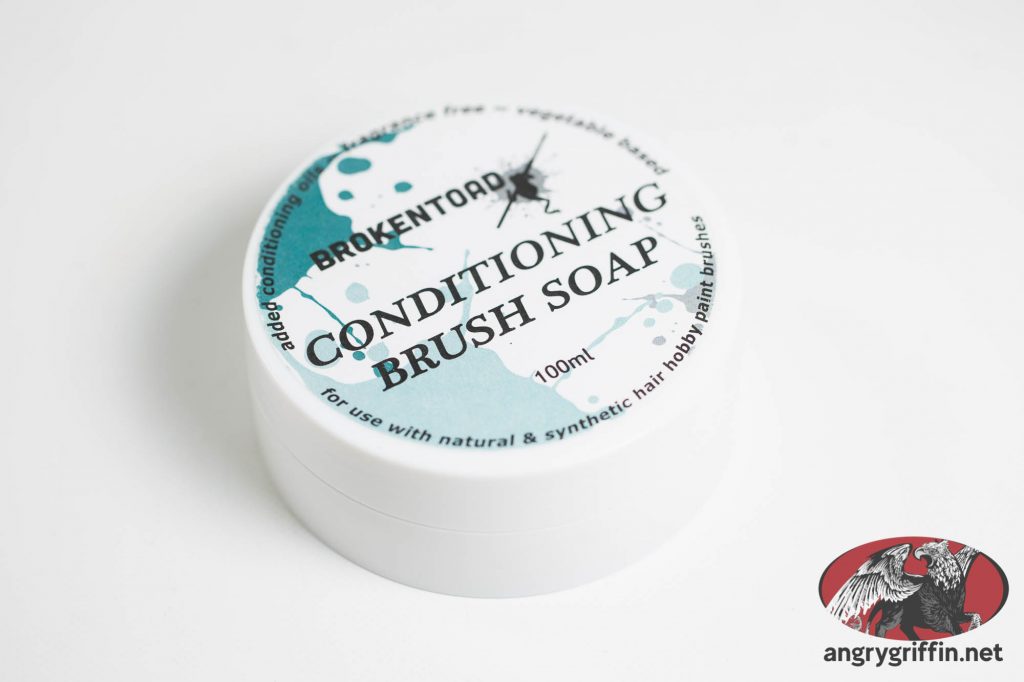
    If you’re just starting out and are wondering what on earth this is for, brush soap is essential for cleaning your brushes after use – it’ll keep the brushes usable (and useful) for far longer than if you never used it. It’s not terribly exciting visually:
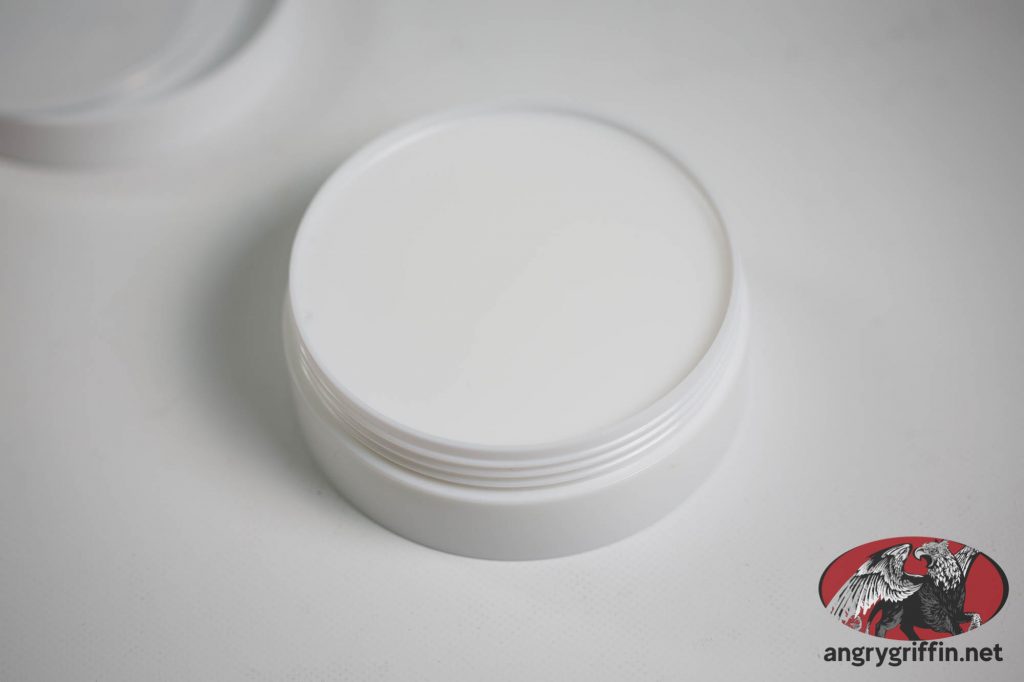
    It’s white, has a faint (not unpleasant) smell, is vegetable based and has had no fragrances added. One thing you want – or at least I want – out of a brush soap is the ability to get a good lather going so I can work the soap into the bristles and make sure that I get all of the paint residue out. Happily, this soap lathers easily and seems very effective at getting the old paint out of the bristles without requiring a lot of work.

    In terms of value for money it’s about $14AUD on eBay AU with $9 or so postage at the time of writing, which I think is pretty decent value for 100ml of brush soap. That volume should last you quite a large number of painting sessions, and it ought to save more than $14 of brushes in that time frame.

    Overall – recommended – works well and good value for money! Worth checking out if you need some brush soap, and pretty much everyone who paints miniatures needs some way of cleaning paint from their brushes if they want them to stay pointy.
  • Anycubic Eco UV Resin MSDS safety data sheet

    I couldn’t find a material safety data sheet (MSDS) for the Anycubic Eco UV Resin anywhere, so I asked Anycubic for a copy. Within hours they emailed me a copy – attached here for anyone else who was curious and didn’t want to wait for them to send it to them. It seems to be current as of Sep 2021 – if you need an updated version best to get in touch with them!

  • Painting a C100 Chainsaw Warrior from 1987

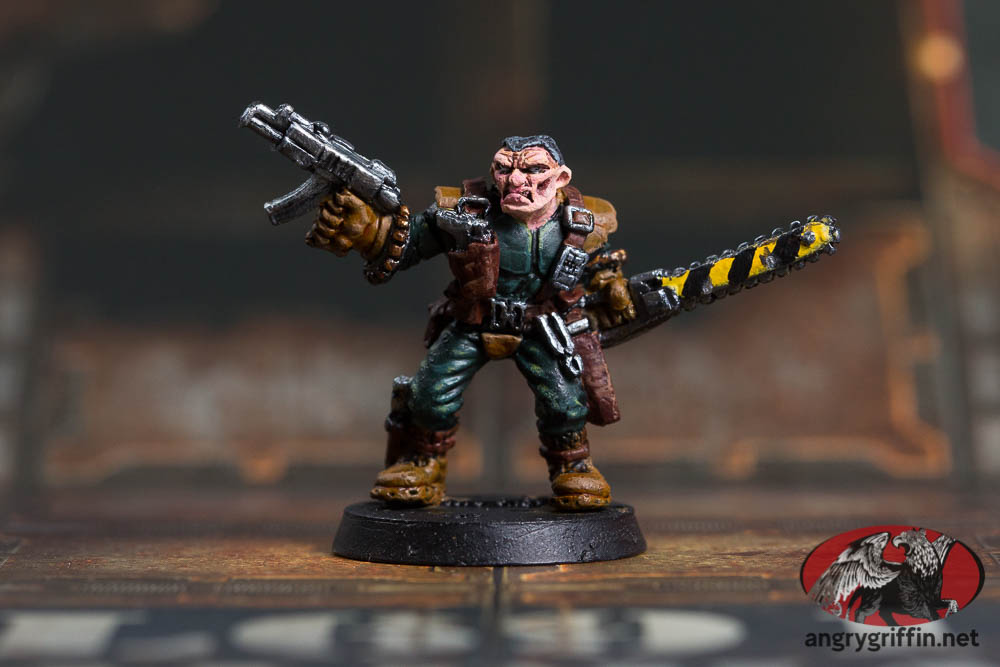
    This guy was released in 1987 with the board game of the same name, and was apparently tied into Warhammer 40K in the 1988 Rogue Trader Part One flyer. You got three for £1.95 – the Chainsaw Warrior with Reaper (heavy weapon), Chainsaw Warrior with Missile Launcher and the guy pictured above – the Chainsaw Warrior with Chainsaw and Blaster.

    The guy behind the sculpt is apparently Bob Naismith – who is still sculpting miniatures to this day!

    The little Griffins bought me some skin paint for Fathers Day, so I thought I’d better have a crack at a miniature with skin on it. The paints used here:

    Undercoat: Vallejo Mecha Black

    Green base: Citadel Caliban Green

    Green highlight #1: Sons of Horus Green

    Green highlight #2: Orruk Flesh

    Brown (Boots/gloves/shoulders/codpiece): Vallejo Game Extra Opaque Heavy Brown

    Wash for that brown: Scale75 Instant Ogre Brown (1 coat overall, 2 coats in recesses)

    Leather straps and holsters/pouches: Mournfang Brown

    Wash for that brown: Scale75 Instant Rage Brown

    Highlights for that brown: Game Extra Opaque Heavy Brown and Mournfang Brown

    Metal base: Scale75 Black Metal

    Metal highlight #1: Scale75 Thrash Metal

    Metal highlight #2: Scale75 Heavy Metal

    Metal highlight #3: Scale75 Speed Metal

    Chainsword yellow: Vallejo Model Color 70.953 Flat Yellow

    Chainsword black: Army Painter Matt Black

    Chainsword wear marks: Black Metal/Heavy Metal inside that

    Skin base: Scale75 Artist Pink Flesh

    Skin highlights: Pink Flesh/Golden Flesh 50/50, straight Golden Flesh, shadow of Golden Flesh/Burnt Skin/Crimson, highlight of Light Skin, shade Burnt Skin + Moss Green 50/50, further shading Crimson/Burnt Skin then a glaze of Golden Flesh/Crimson 50/50 watered down. Final highlight Light Skin (basically followed the Scale75 instructions).

    Eyes: Vallejo Model Color Flat White

    Pupils: Army Painter Matt Black

    Hair: Vallejo Model Color 70.862 Black Grey

    Hair highlight: 50/50 Black Grey with Army Painter Matt White

    Arm ammo belt (assuming that’s what they are – after consulting with Mrs. Griffin who suggested that): Scale75 Decayed Metal

    Update: I spoke with the chap who designed the mini and he said they were mini grenades around the arm.

    Highlight for ammo: Scale75 Victorian Brass

    Bootlaces: Army Painter Matt Black

  • Vallejo Game Extra Opaque Set Review – 72.290

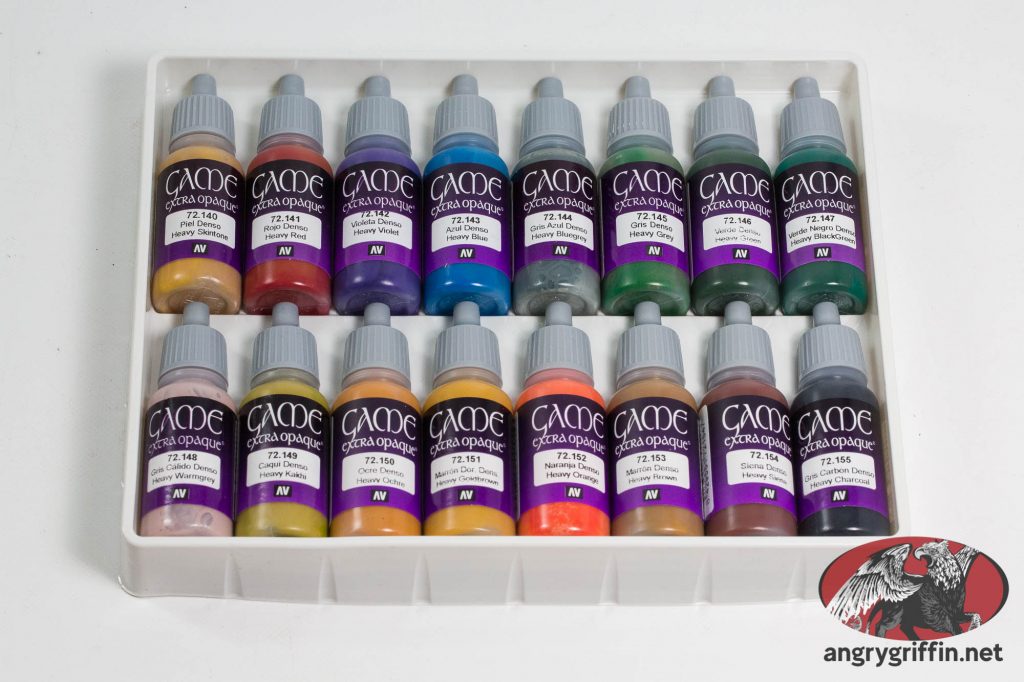
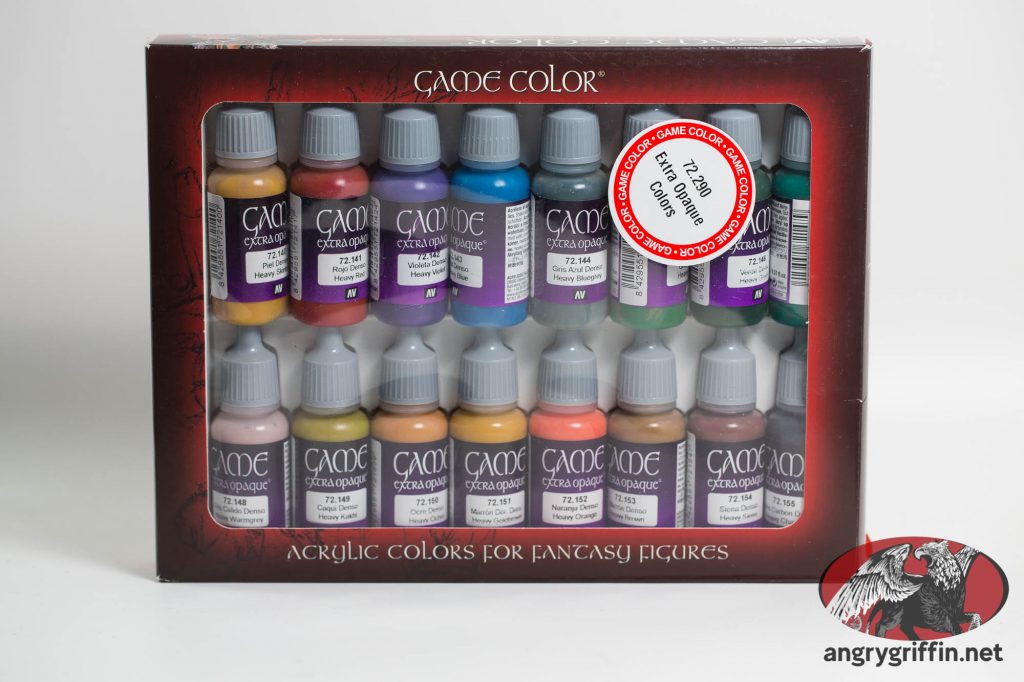
    Today I’m reviewing a set of paints from Vallejo with a difference – this is the extra opaque set, part number 72.290.

    It has sixteen 17ml bottles in it – the colours and individual part numbers are:

    72.140 Heavy Skin Tone
    72.141 Heavy Red
    72.142 Heavy Violet
    72.143 Heavy Blue
    72.144 Heavy Blue Grey
    72.145 Heavy Grey
    72.146 Heavy Green
    72.147 Heavy Black Green
    72.148 Heavy Warm Grey
    72.149 Heavy Khaki
    72.150 Heavy Ochre
    72.151 Heavy Gold Brown
    72.152 Heavy Salmon Orange
    72.153 Heavy Brown
    72.154 Heavy Sienna
    72.155 Heavy Charcoal

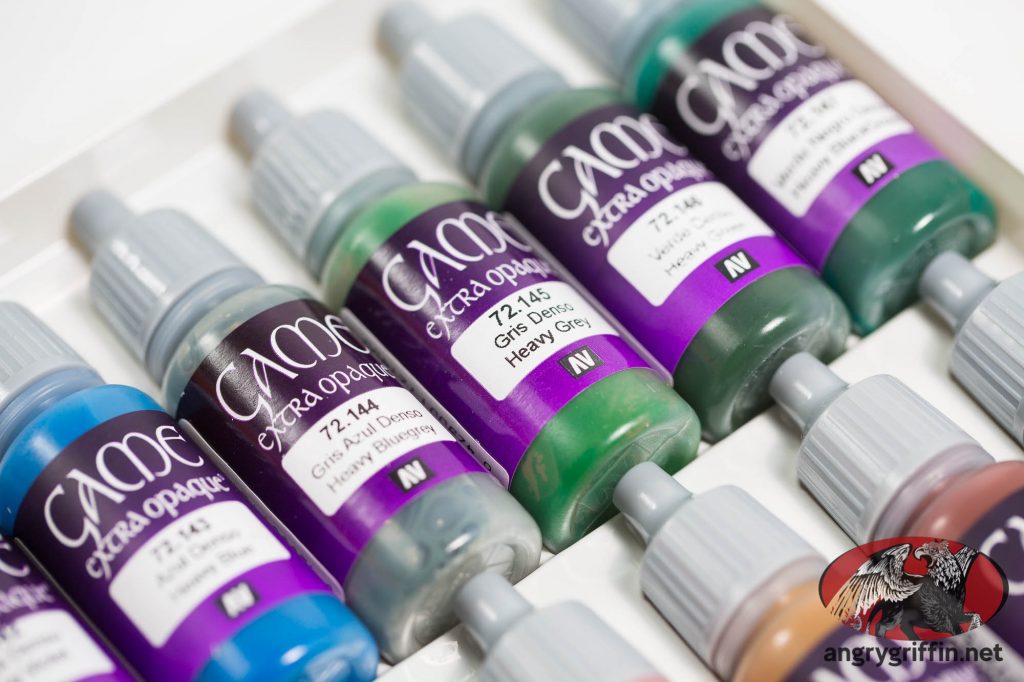
    First up – they’re thick. If you haven’t got agitator beads chuck a couple in each bottle before you start shaking them as it’ll really help. As an example, the heavy grey looks like this out of the box:

    The green component of it has well and truly separated and requires a fair bit of solid shaking to blend it all back together. I use a Four E’s vortex mixer (can be found on eBay) to help shake them and it certainly does help with these paints. The exception so far seems to be the Heavy Blue Grey which is a lot thinner than the other paints in the set, though still not exactly thin by normal standards.

    So what are the colours like?

    Overall they’re flat, muted tones with a matte finish when on the model. The big appeal, however, is that with one coat – even slightly watered down – you should get full coverage as a base coat. The colour range is reasonable – though there’s no yellow in this range at the time of writing – but otherwise there’s a pretty good spread for base colours.

    The Extra Opaque Charcoal is a shade darker than the Vallejo Model Colour Black Grey, which I usually paint Raven Guard with. The charcoal combines nicely with Army Painter Matt Black for adding shadows/depth and your choice of lighter grey for edge highlighting.

    The most impressive coverage has so far come from the blue, which is good because it’s also a very nice blue! The charcoal would be a close second. In contrast to those two a couple of the colours have been disappointing as far as outright coverage over black undercoat goes, even after an extended shaking session – the ochre/tan colours take about three coats to achieve the same coverage as just one of the blue. Still better than your average non-heavy paint of an equivalent colour, though.

    At the end of the day, would I recommend the set? I think it’s a good set overall and for those who don’t like putting on multiple coats to get even coverage some of the colours will be exactly what you’re after. They definitely require a LOT of shaking – in the same vein as Scale75 paints do to get the best out of them – but if you can manage that and are looking for paints with very good coverage to use as base paints I think it’s worth a look. Paying for the set is much more cost effective than buying them individually – the set retails for about $60AUD (eBay AU, eBay UK, eBay US, affiliate links) where individual paints are about $6ea, so to buy this set individually would set you back $96.

    This won’t be the only paint set you’ll ever need but it definitely has a place for those who like a good, fast base coat!

    Update: Colours I would buy again due to having excellent coverage:

    Heavy Blue 72.143

    Heavy Sienna 72.154

    Heavy Charcoal 72.155

  • BrokenToad Fugazi Mark III Imitation Sable Brush Set Review

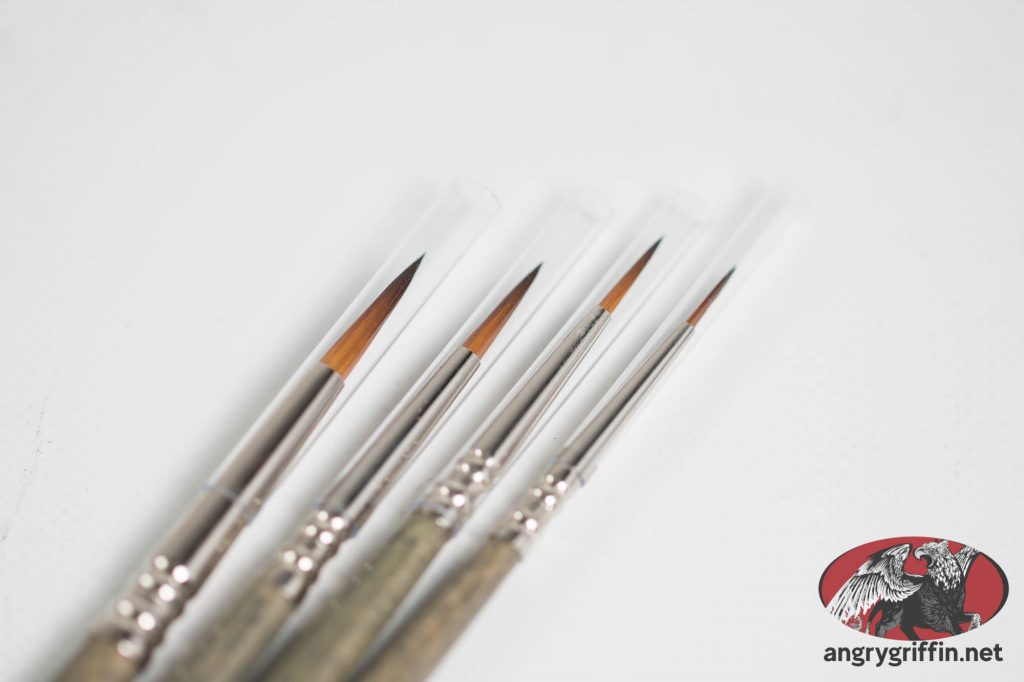
    BrokenToad are a UK based company who make (amongst other things) a variety of styles of paintbrushes aimed at miniature painters. Their synthetic line is called Fugazi, and today I’m reviewing the full set of brushes from that line.

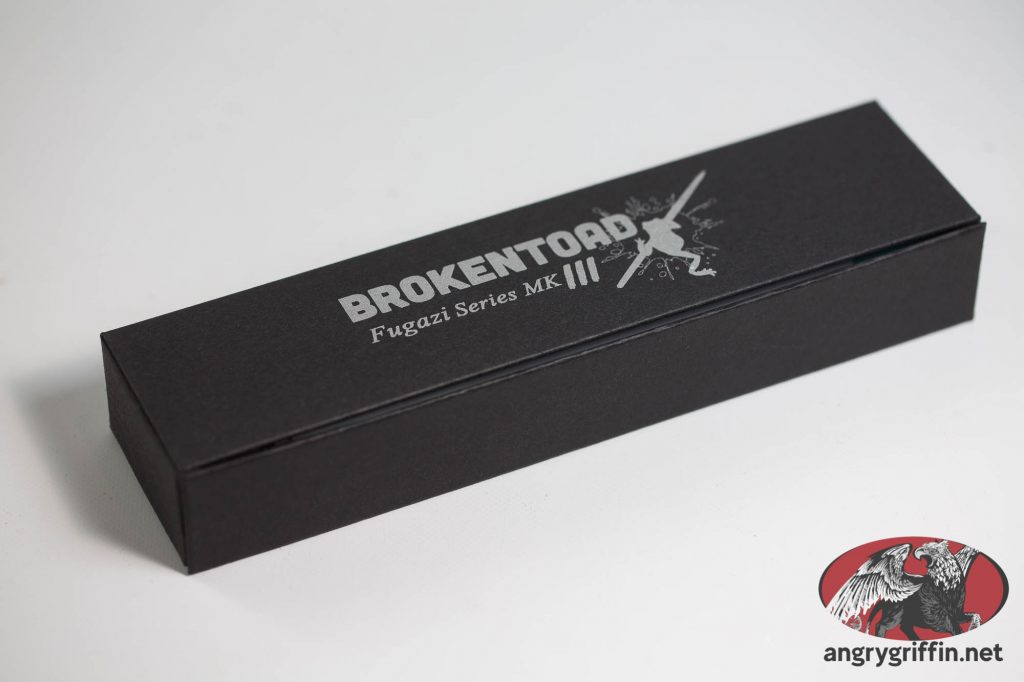
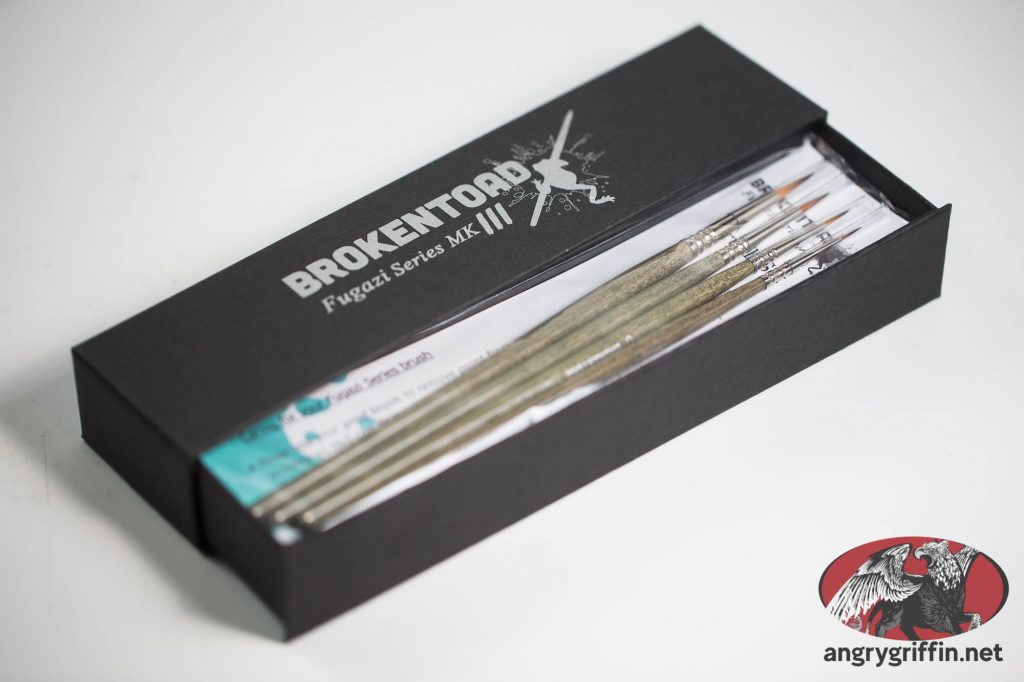
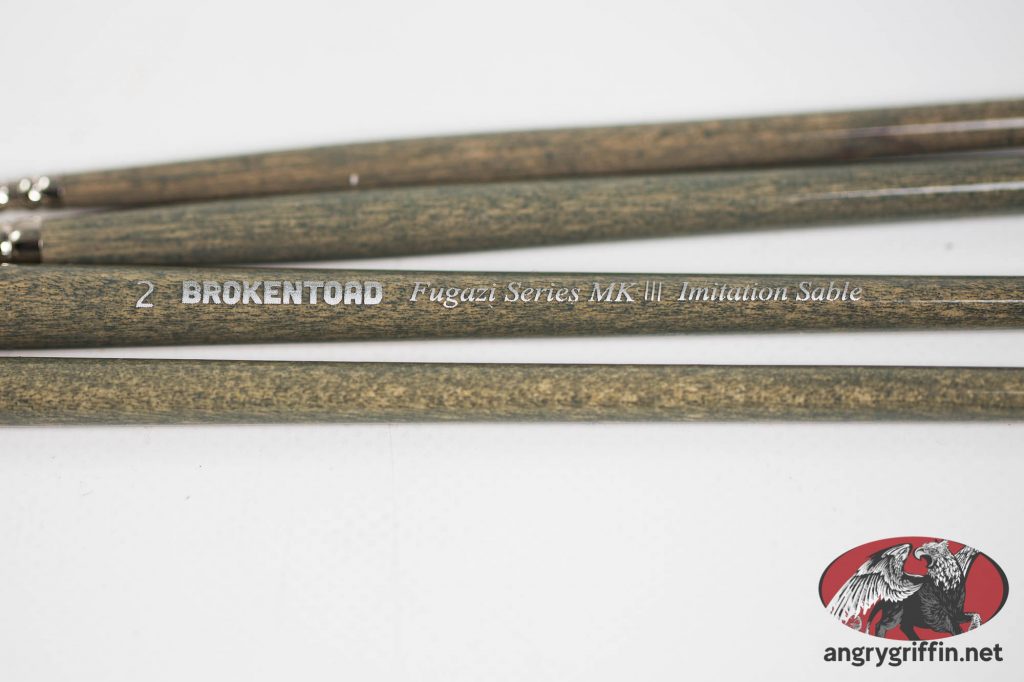
    The box I have is the Mark III, as you can see from the picture. The brushes were packed well and had protective plastic sheaths to prevent the tips being damaged:

    There are four brushes in the set – 2, 1, 0 and 000 (aka 3/0).

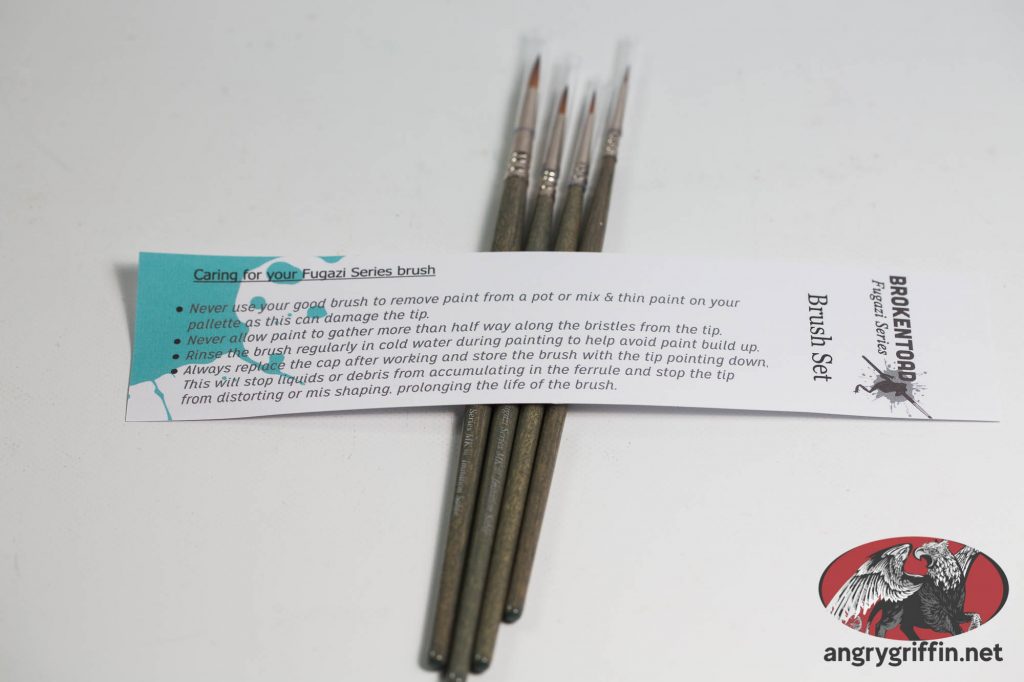
    There is a brush care slip with the brushes:

    In the listings online there’s also a statement about the tip curling after some use, and how to fix it by dipping it in hot water and straightening it. I’ve only been using these for a week so it’s probably early days for that to be happening, but I’ve seen no sign of it. Update: A month later, still no issues.

    The brush handles have a distinct patterning which makes them easily identifiable amongst your other brushes.

    So, what are they like in use?

    I’m impressed by how sharp the tip is on the brushes and how well they retain that tip throughout use. Compared to the Citadel STC range I was trying out last month these brushes are night and day different – the Layer brushes don’t hold their points for nearly as long without cleaning.

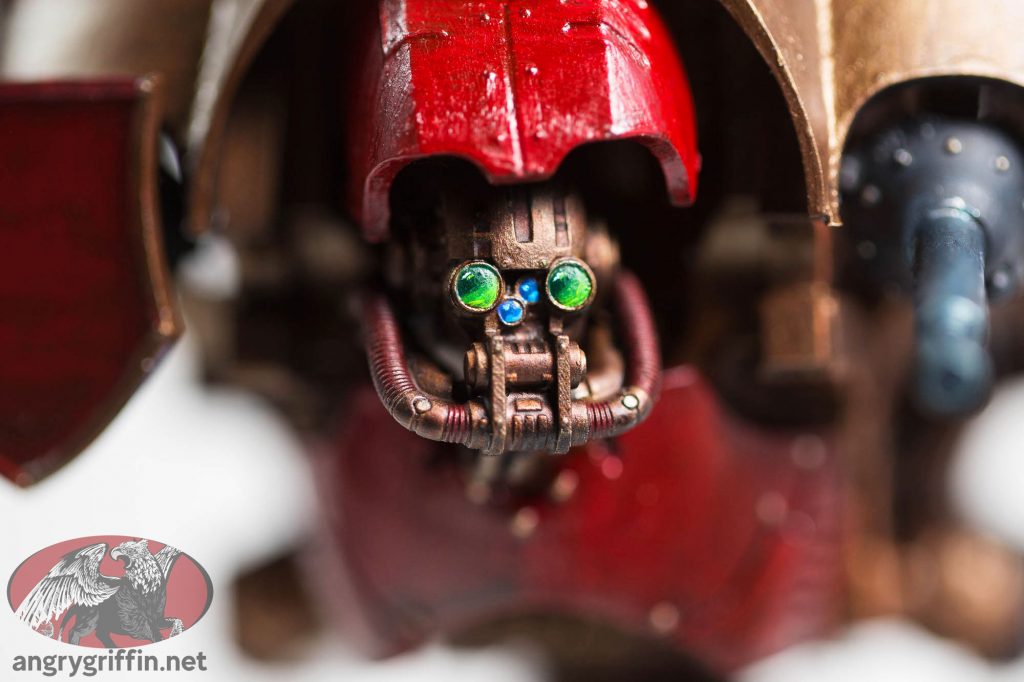
    I was practicing working on eye lenses and tried doing the lenses of this Questoris Knight with the #1 Fugazi and was pleased with how easy it was – I’d normally reach for my 2/0 Raphael or Winsor Newton to do so but it was no harder using the #1.

    I wanted some good synthetic brushes to complement my sable brushes, which I’m not keen on using with metallic paints in an effort to extend their life and keep them pointy. So far the BrokenToad Fugazi brushes have exceeded my expectations substantially, and are very good brushes in their own right.

    You should be able to grab your own set of Fugazi brushes from eBay US, eBay AU or eBay UK (affiliate links) or check out the official stockist list.

    2 week update: I find that I am primarily using the 2, 1 and to some extent the 0 size – the first two especailly are nice and springy and have a consistent paint flow. The 3/0 after a few sessions has proven to be a little long and less stiff than I would prefer so it’s fallen out of favour, but the other brushes are solid and are currently my primary brushes for metallics.

    1 month update: I have come to favour the 2 and 1 strongly – the 3/0 bends too easily for my liking and the 0 is much the same. The 2 and 1 are definitely my favourite synthetic brushes in those sizes and are still holding a point very nicely – they’re my go-to for metallics.

  • Citadel STC Synthetic Paint Brush Review

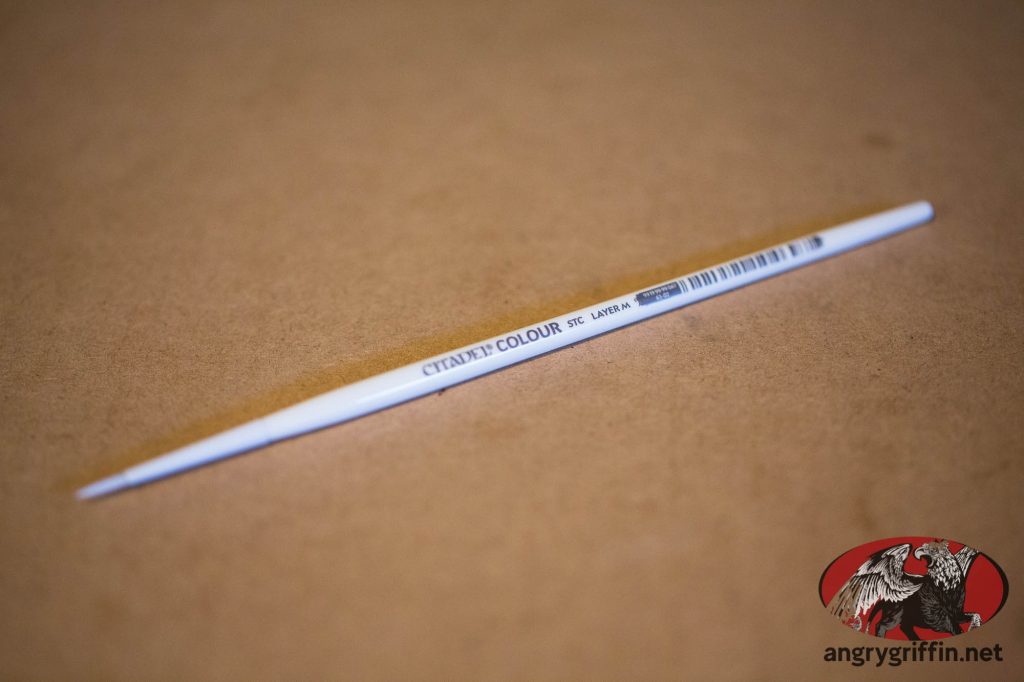
    So Citadel released their STC line of synthetic paint brushes – including detail brushes, glaze brushes, dry brushes and more – here’s my review of them.


    The full range consists of:

    Layer Small, Medium

    Base Small, Medium, Large, Extra Large

    Shade Medium, Large

    Dry Small, Medium, Large

    Glaze – one size

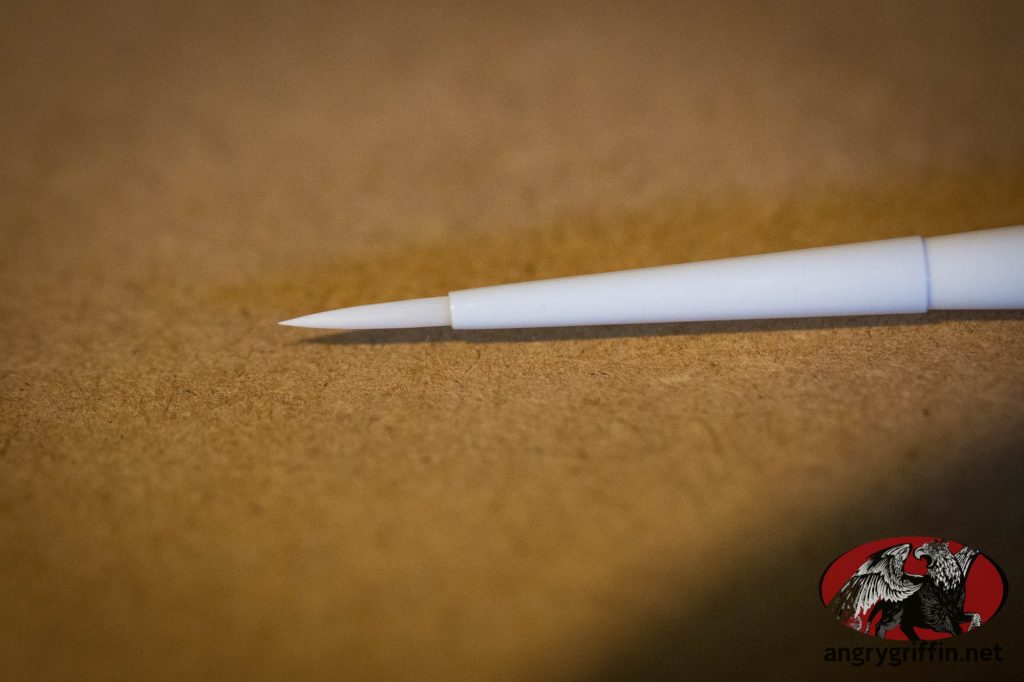
    Citadel claims that they have noticeable springiness and a different level of stiffness and snap-back compared to their regular brushes. This is definitely the case in practice – they don’t feel much like the normal range of Citadel brushes in use.

    So far I have tried the Small Layer brush, Medium Layer brush, Small Dry brush and Medium Shade brush. The Medium Layer brush splayed after the first use, unfortunately, where the Small Layer brush has proved to be excellent for use with metallics – which I am not keen on using with the sable brushes so it’s a good fit to use with those.

    The dry brush works well and it’s quite distinctly different to the standard Citadel dry brush – the springiness is noticeable and I find it works quite well, being predictable and easy to manipulate.

    The Shade brush works well and deposits washes at a controlled rate, so that’s a winner for me as well.

    I’ll pick some more up and see how the rest go. The Medium Layer brush I made the mistake of using a watered down paint with which raced up the bristles into the ferrule as soon as the tip contacted it – and no matter how I rinsed it or used brush soap on it afterwards I couldn’t get it to hold a point. I suspect if I had stuck to thicker paints with it it would have been fine.

    2 month update:

    I don’t much use the Small Layer Brush after acquiring the Brokentoad Fugazi brush set – the latter holds a much better point for longer. The STC Glaze brush is squarely my favourite from the STC range – followed by the Medium Shade brush, both of which I use daily.

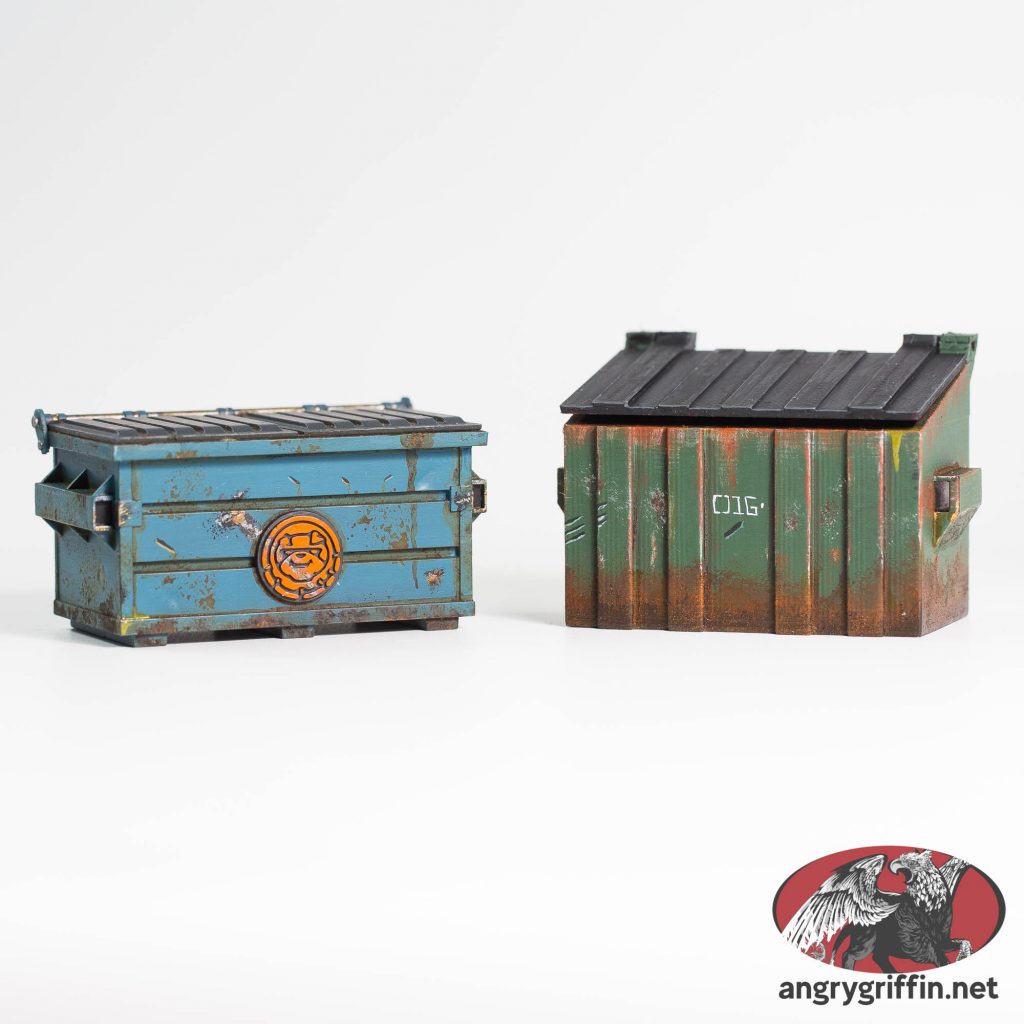
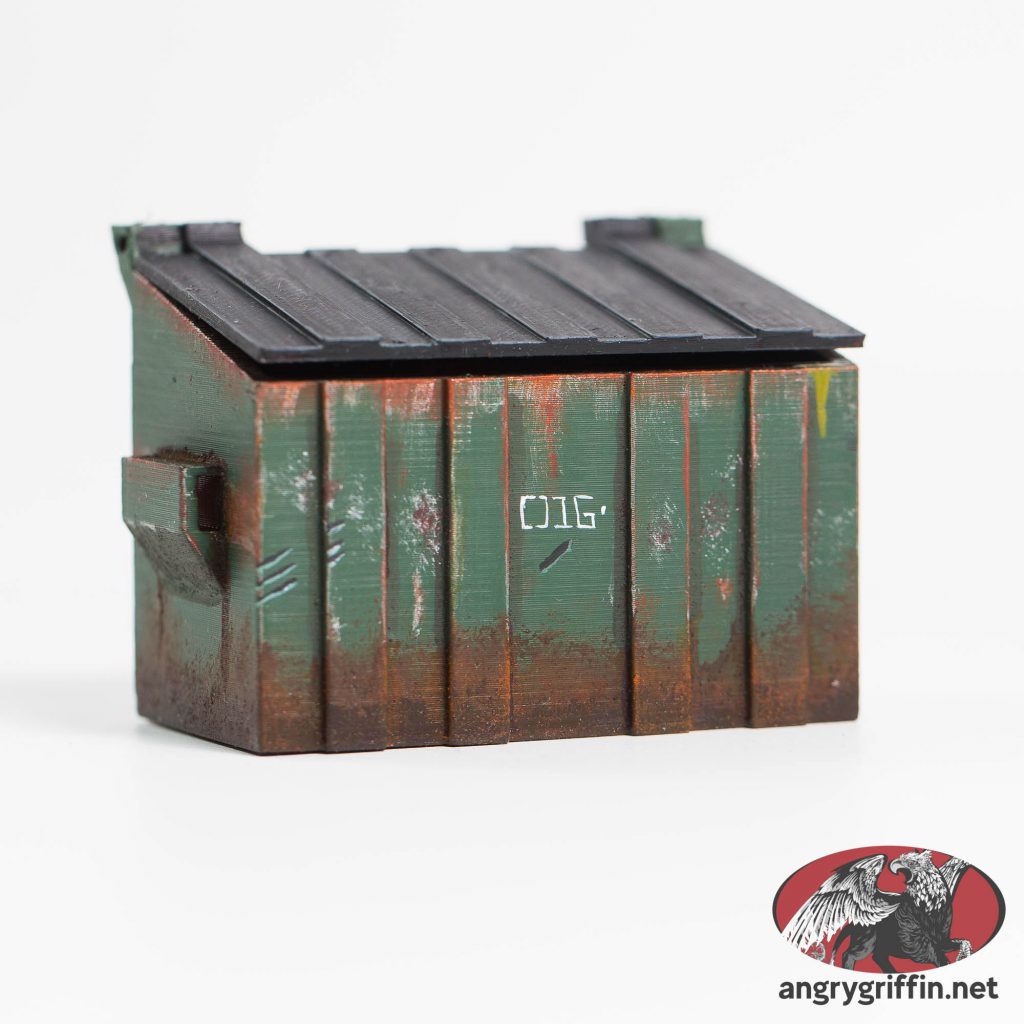
  • Painting alternate dumpsters for Crisis Protocol

    Undercoat: Vallejo Mecha Black
    Basecoat: Citadel Waaagh! Flesh
    Corner wash: 50/50 Waagh! Flesh and Typhus Corrosion

    Mud/dirt – start off with the lightest colour first, sponge or stipple on Mournfang Brown. Then repeat the process with some Rhinox Hide lower down. Drybrush Verminlord Hide to taste and edge highlight the dirty areas with Ryza Rust.

    Drybrush the raised edges to simulate rubbing wear with Necron Compound, then repeat with Verminlord Hide towards the center. Repeat with Ryza Rust again.

    The lid is Vallejo Model Color Grey Black with a coat of Contrast Basilicanum Grey over the top. Edge highlights on the lid were done with Mechanicus Standard Grey.

    Text was done using Vallejo Model Color White Grey and the wine splatter on the back was done with Blood for the Blood God.

    Vallejo Light Rust Model Wash was used to blend some of the colours together – particularly the muddy browns at the base.

    The scratches were made using Waaagh! Flesh mixed with Army Painter Matt Black for the dent, then Army Painter Matt White with a little bit of Waaagh! Flesh for the highlight at the bottom.

    Gritty, dirty texture on the underside of the bit that the forklift tines go through was 50/50 Waaagh! Flesh and Typhus Corrosion.

    Slime on the upper right part is Nurgle’s Rot.

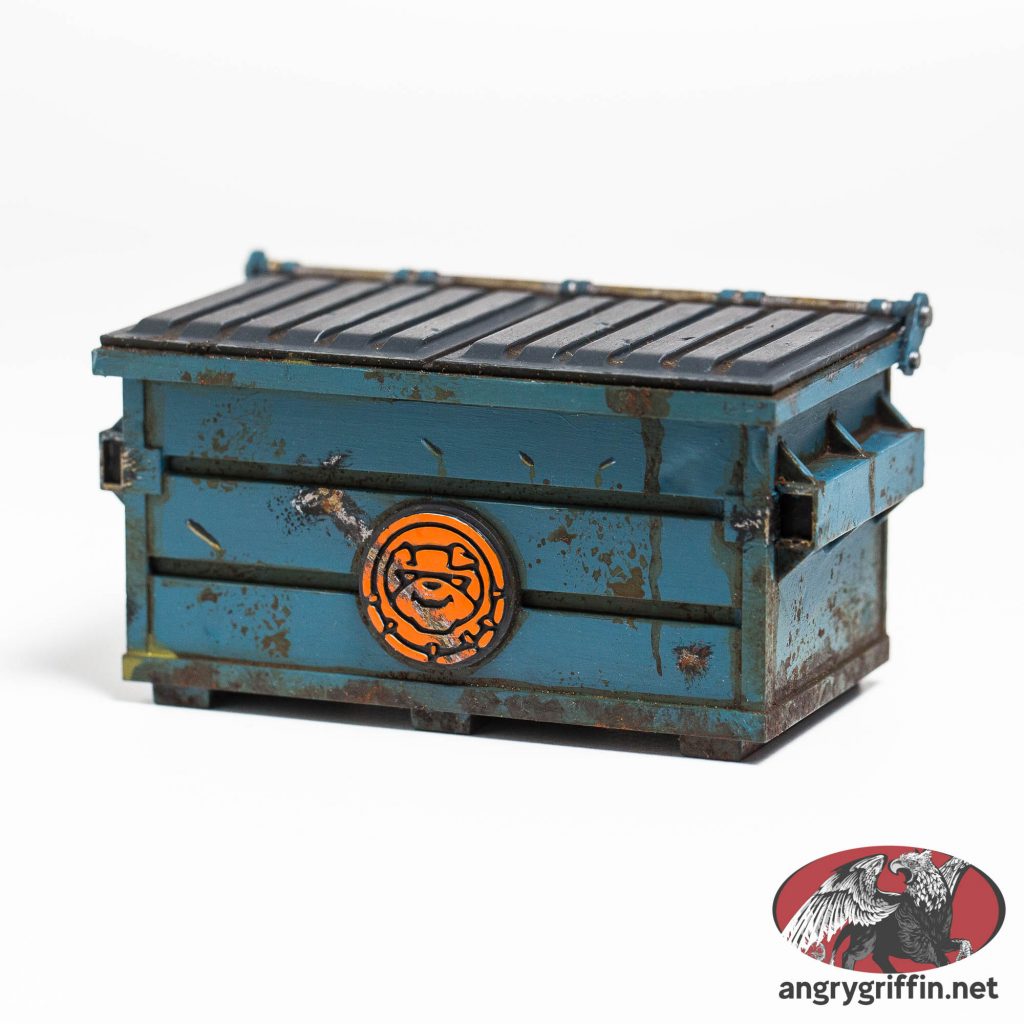
  • How to paint a Crisis Protocol dumpster

    The above Crisis Protocol dumpster was painted such:

    Undercoat: Vallejo Mecha Black

    Base blue: Citadel Thunderhawk Blue (several thin coats required for good coverage)

    Drybrush edges with Citadel Etherium Blue

    Lid: Vallejo Black Grey

    Lid edge drybrush: Citadel Dawnstone Dry

    All metal: Citadel Leadbelcher

    Recess for forklift tines: Citadel Abaddon Black

    Scratches: Citadel Abaddon Black with a line of Citadel Grey Seer beneath

    Grunge: Citadel Typhus Corrosion mixed with Vallejo Model Wash 76.505 Light Rust for the recesses. Straight Typhus in the corners/base. Typhus + water to help make the transitions slightly smoother. Sponged on in the areas that aren’t edges/recesses.

    Gloop: Citadel Nurgle’s Rot

    Rust: Stippled Vallejo Pigment Old Rust with Vallejo Pigment Binder in select sections.

    Logo: Citadel Grey Seer beneath Citadel Trollslayer Orange

  • Battle Report: 2021-05-15

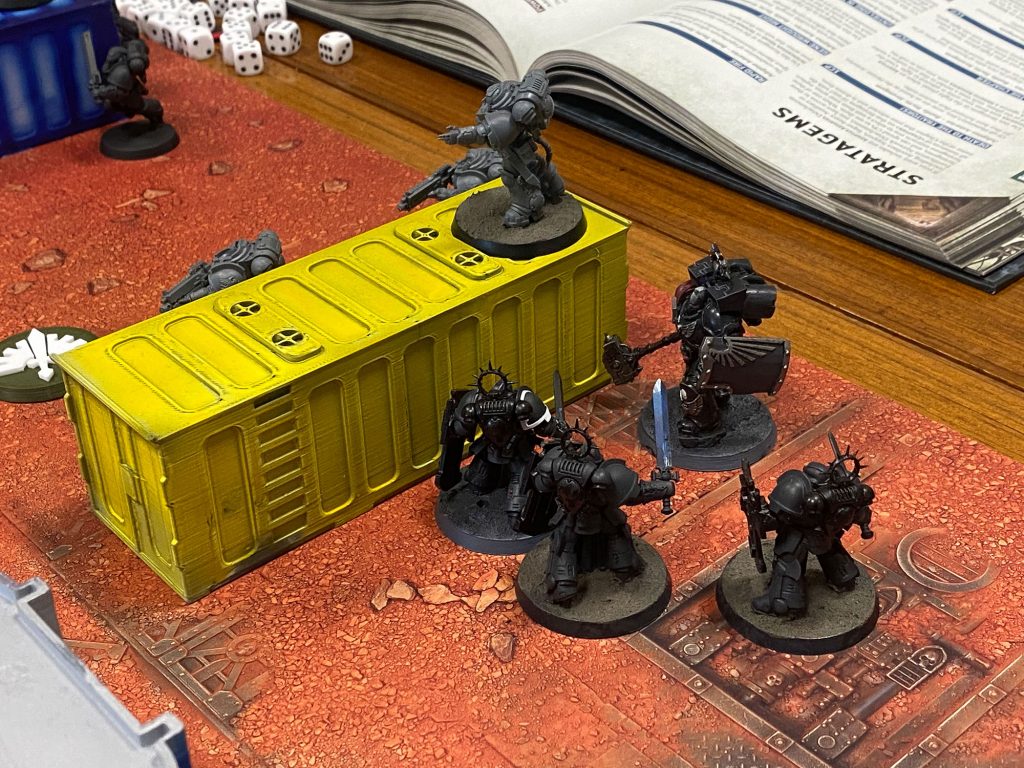
    Today it was a Raven Guard Successor chapter vs. the Angels of Annihilation (Imperial Fists successor).

    500pt game which was largely decided before the second turn of the first round. A RG smash captain and Bladeguard Veteran squad were Master of Ambushed up the board and successfully charged an Outrider squad, between the two of them taking it out and consolidating into a squad of heavy intercessors, who were forced to fall back rather than shoot in their first turn.

    I think we are finding that 500pt games are sometimes easily decided like this – the Outrider squad was 30% of the total army points, and that’s a blow that would be hard to recover from (at least at our skill level…). As fun as it is to MoA a close combat squad up the board it would be a more fun game at a higher points figure, I suspect.

    We’ll try 1000 pts for next time and see if we can fit it in a reasonable timeframe. Despite the game being over relatively quickly it still took 2hrs to set up, play and pack away. It would have been quicker had it not been months since we last played…

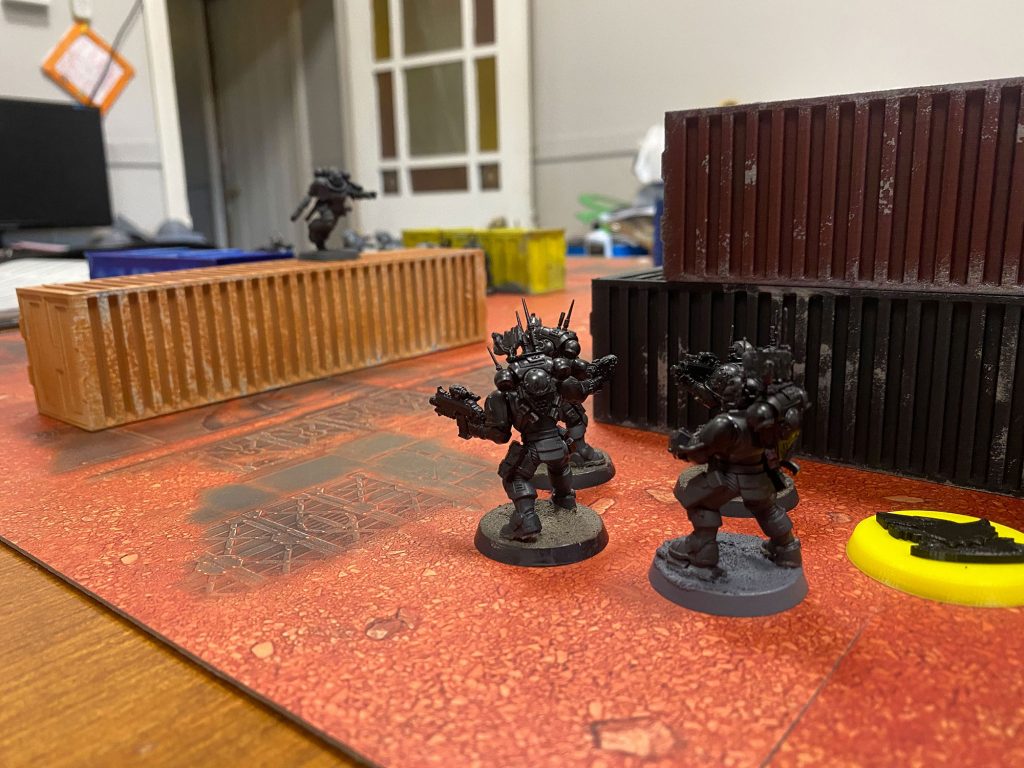
    RG successor won, as you may have gathered. Terrain takeaway: Need more ruins!

  • Painting energy effects on Warhammer 40K thunder hammers

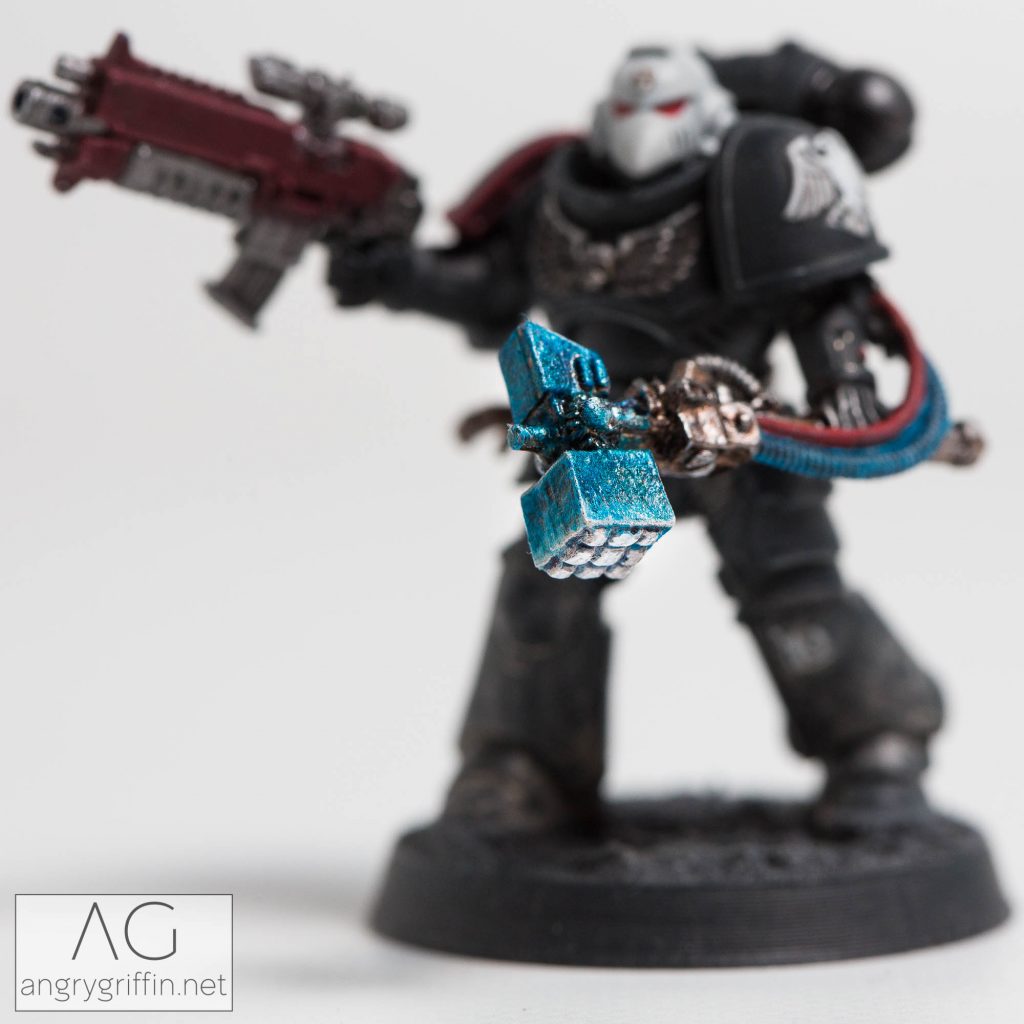
    I’m painting up some Raven Guard Primaris Intercessors squads where the sergeants have thunder hammers, and here’s the recipe I’m using to get the following look:

    The hammer started off being undercoated in Mecha Black and a base coat of Hashut Copper was applied. A wash of Canoptek Armourshade was next and once that dried a heavy drybrush of Ironbreaker followed. The contact face of the hammer then received some White Scar and a drybrush of Praxeti White was applied, brushing from the face back so that it faded the further it went.

    Calth Blue Clear was applied to the sides of the hammer. It dries a little more slowly than the Citadel washes so it’s a little easier to move it around to create a light to dark transition without having to get it right first time around.

    Talassar Blue was applied closer to the face of the hammer to help with the transition, then Drakenhof Nightshade was carefully painted onto the face in the recesses and further back on the hammer where there were still lighter spots visible in recesses.

    A little more drybrushing with Praxeti White and then some careful edge highlighting with White Scar got it to the point you see above.